I MUST BE AN IDIOT
BUT NOW SOLD TO FUND THE NEW BUSINESS
BUT NOW SOLD TO FUND THE NEW BUSINESS
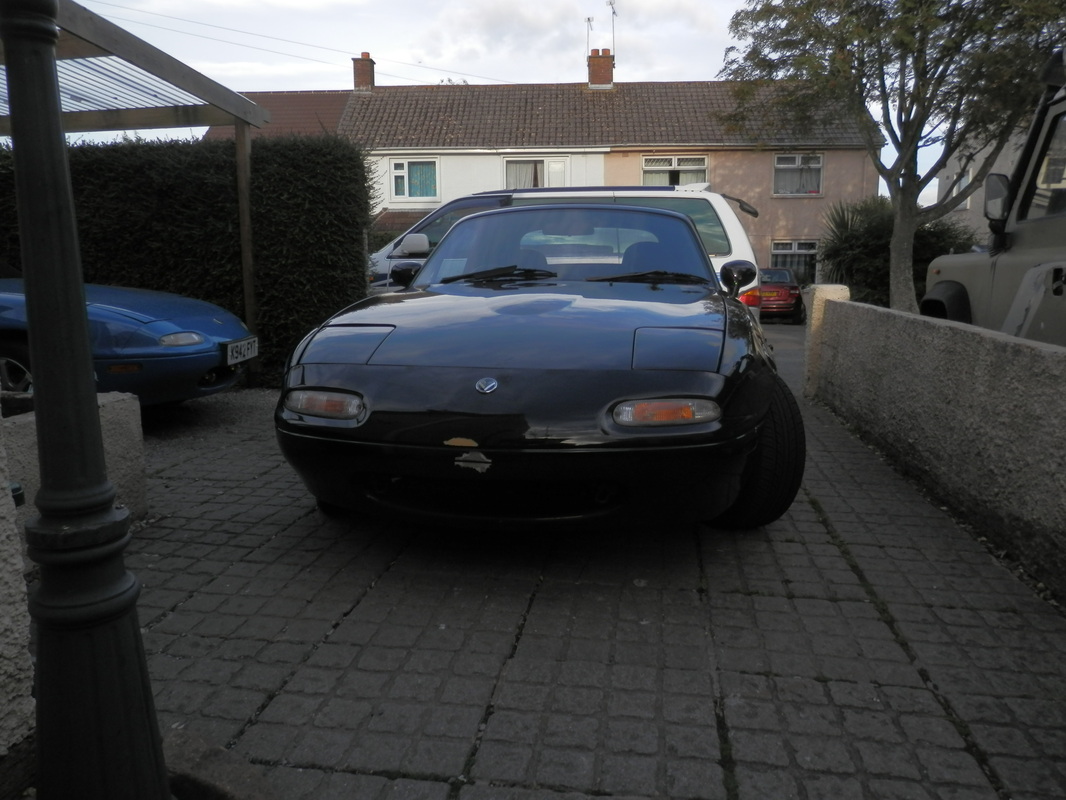
1.8 mk1 s special
It all stared when i went to Barry a few weeks ago to look at a mk1 which i had received a message about on here
i offered the very nice young lady a few ££.
she swung ...i ducked....i apologized for my cheek and left.
I had a new message yesterday saying come and collect her and so
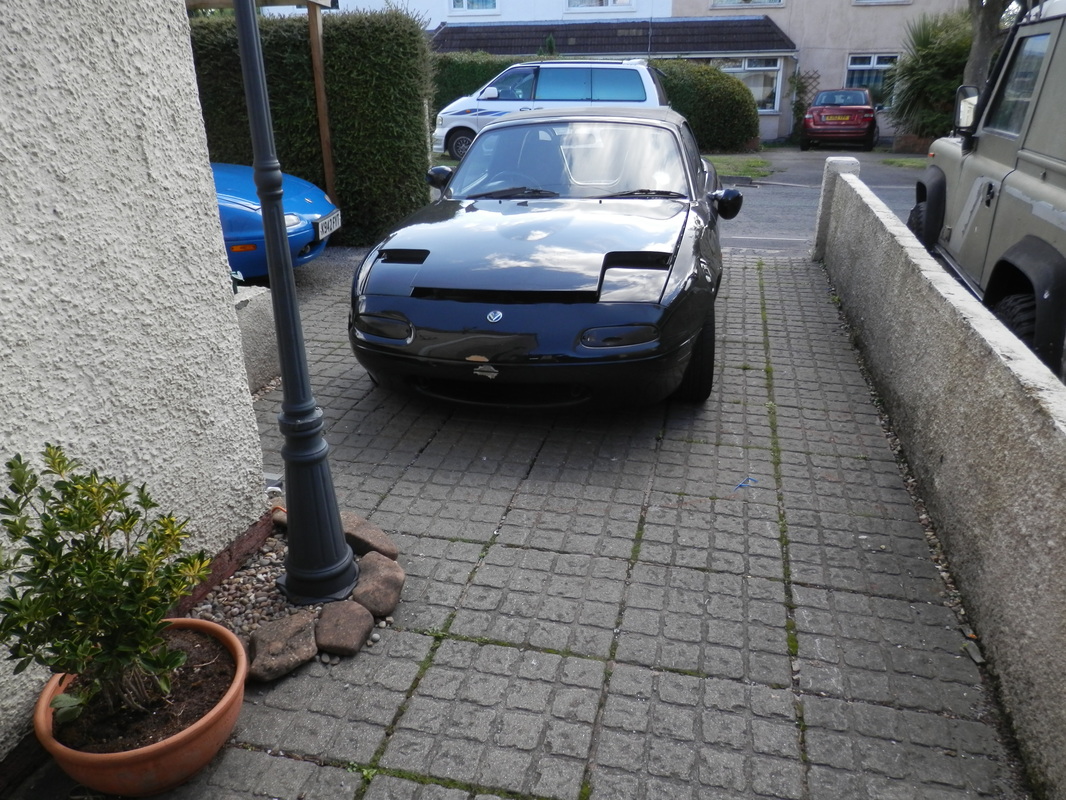
I gave the lovely Abby a few magic beans and a can of pop in exchange for a rather sorry looking mucky 5
so far the problems i have found are
passenger side...
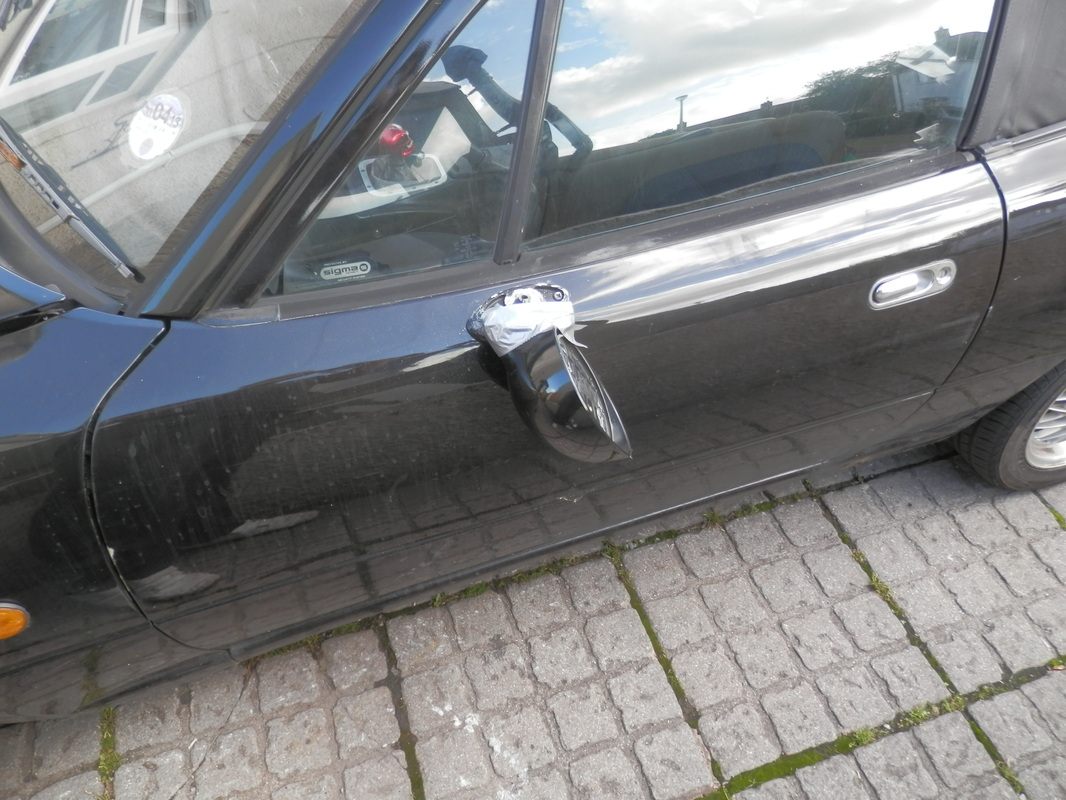
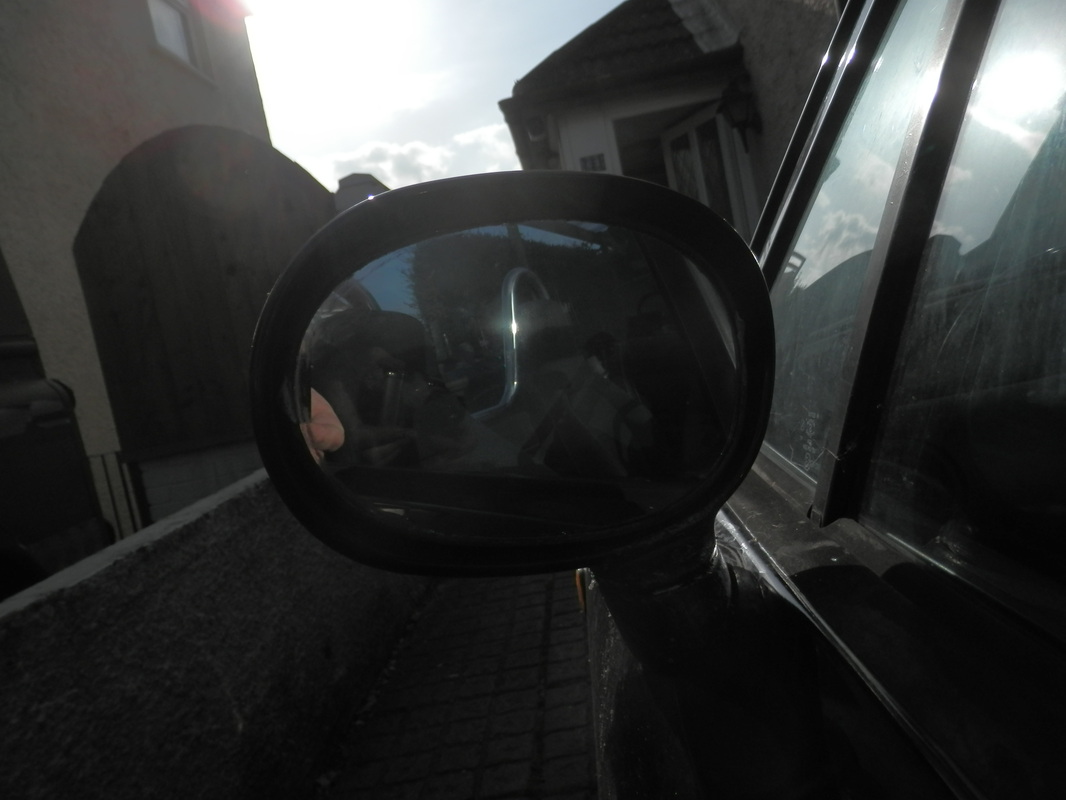
door mirror snapped and missing glass (already fixed)
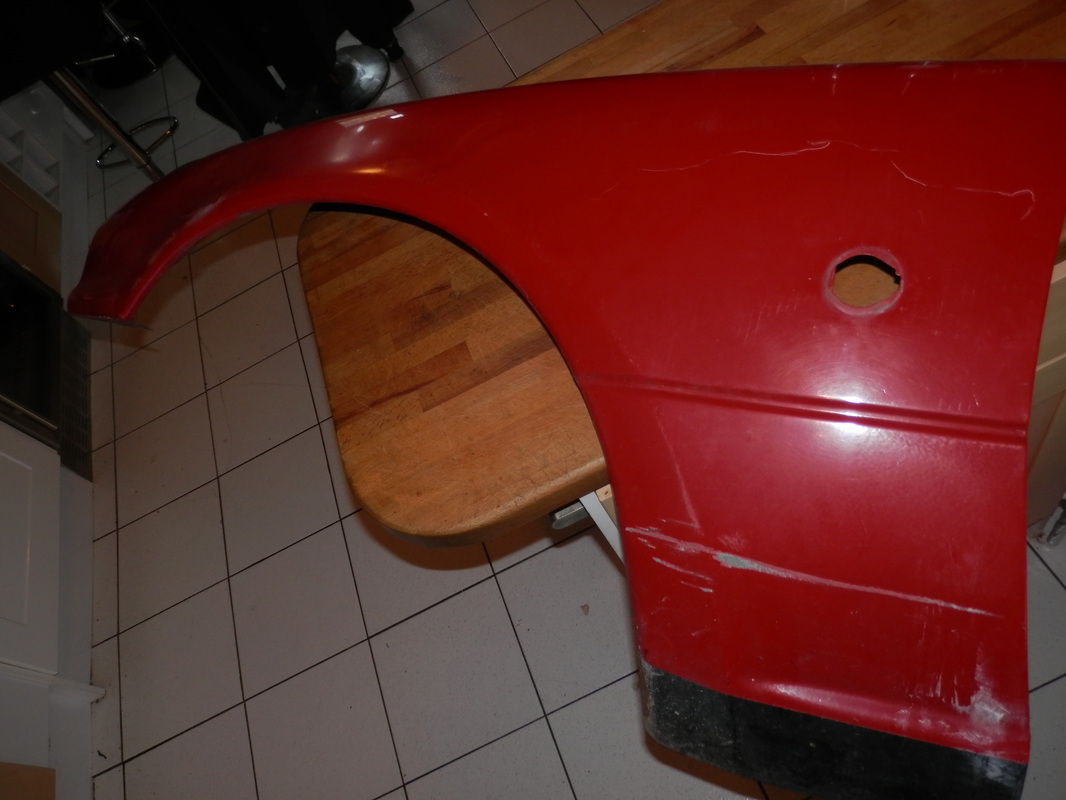
front wing badly dented
slight scratches to the rear wing (may polish out)
sill rust as per normal and hopefully an easy fix
............
drivers side
window cables snapped
sill bubbling and may need some welding but may not
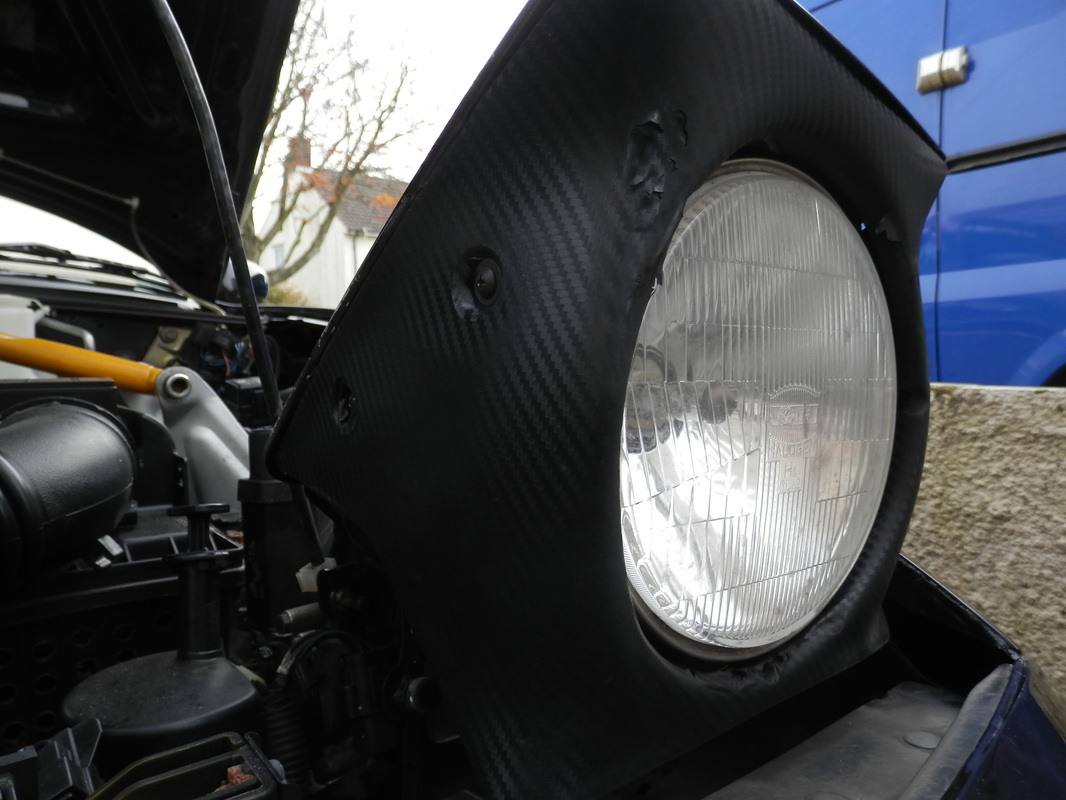
a pair of front side lights needed
1 headlight bulb required
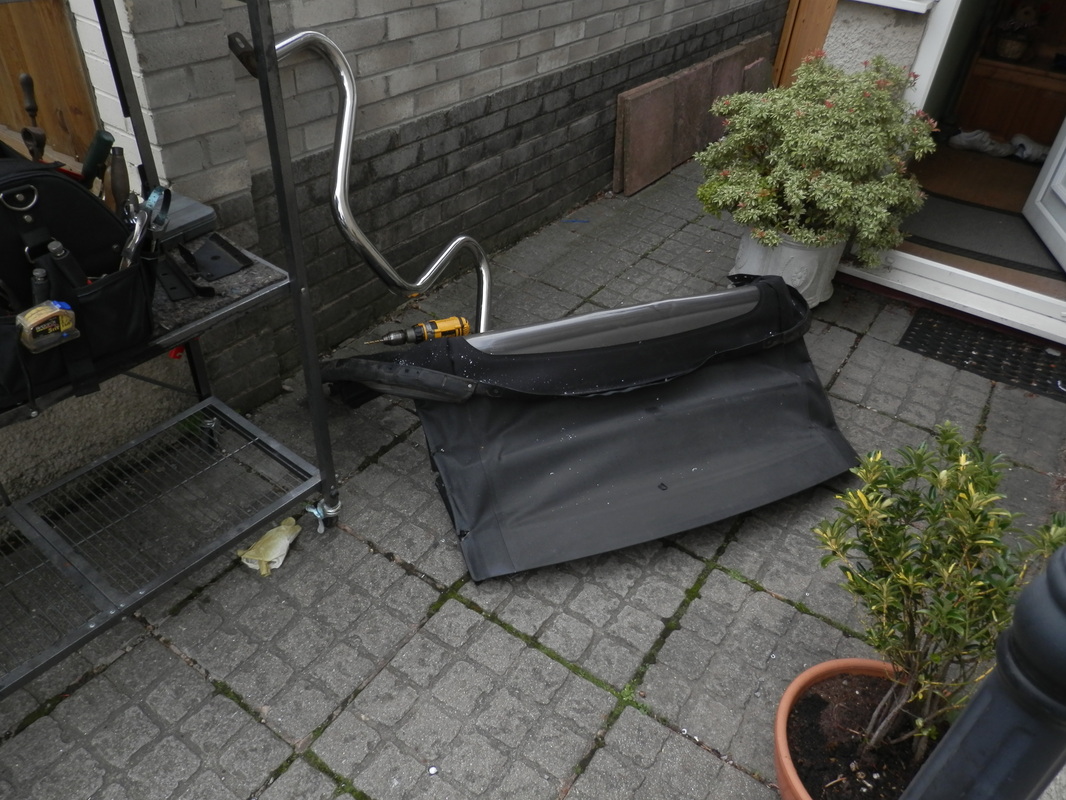
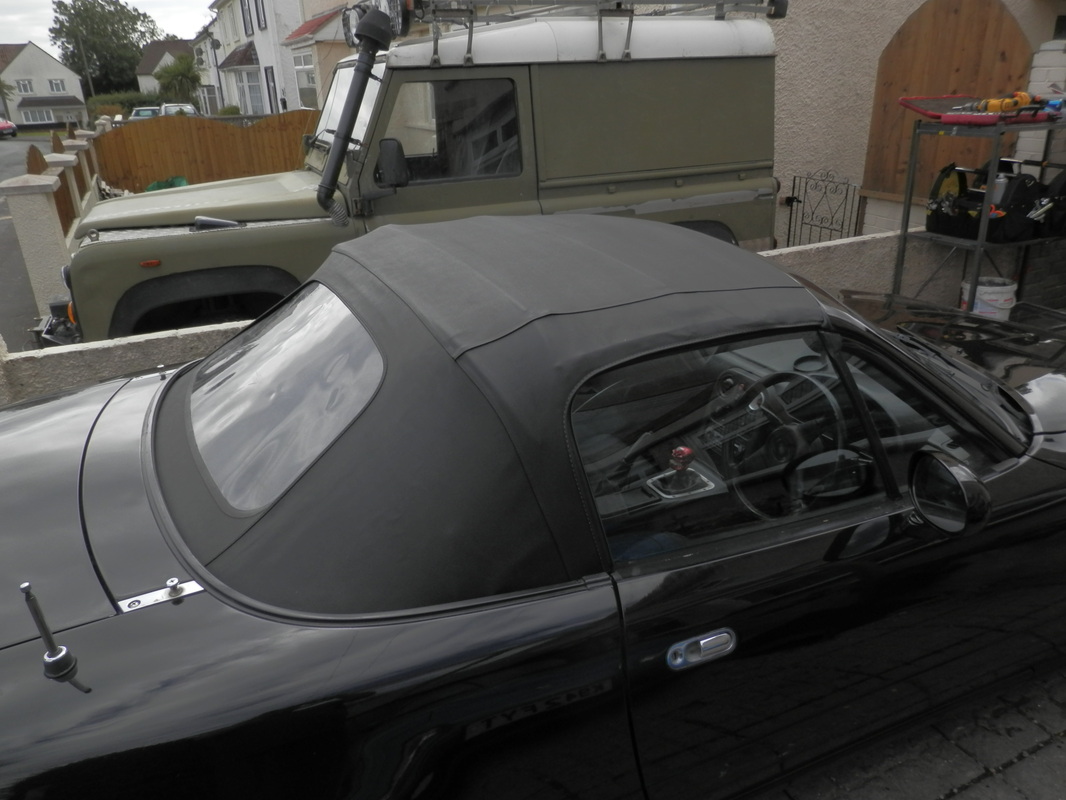
hood is hmm bad
service and a dam good clean
i offered the very nice young lady a few ££.
she swung ...i ducked....i apologized for my cheek and left.
I had a new message yesterday saying come and collect her and so
I gave the lovely Abby a few magic beans and a can of pop in exchange for a rather sorry looking mucky 5
so far the problems i have found are
passenger side...
door mirror snapped and missing glass (already fixed)
front wing badly dented
slight scratches to the rear wing (may polish out)
sill rust as per normal and hopefully an easy fix
............
drivers side
window cables snapped
sill bubbling and may need some welding but may not
a pair of front side lights needed
1 headlight bulb required
hood is hmm bad
service and a dam good clean


Well it looks like she is staying
so
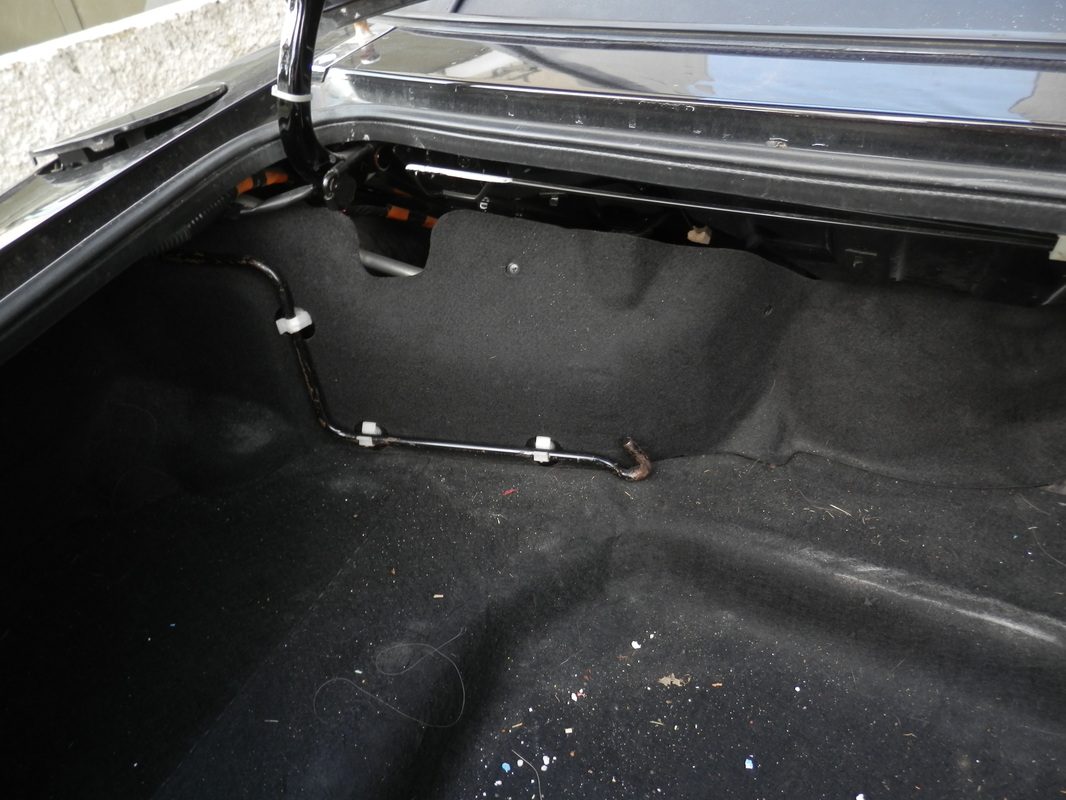
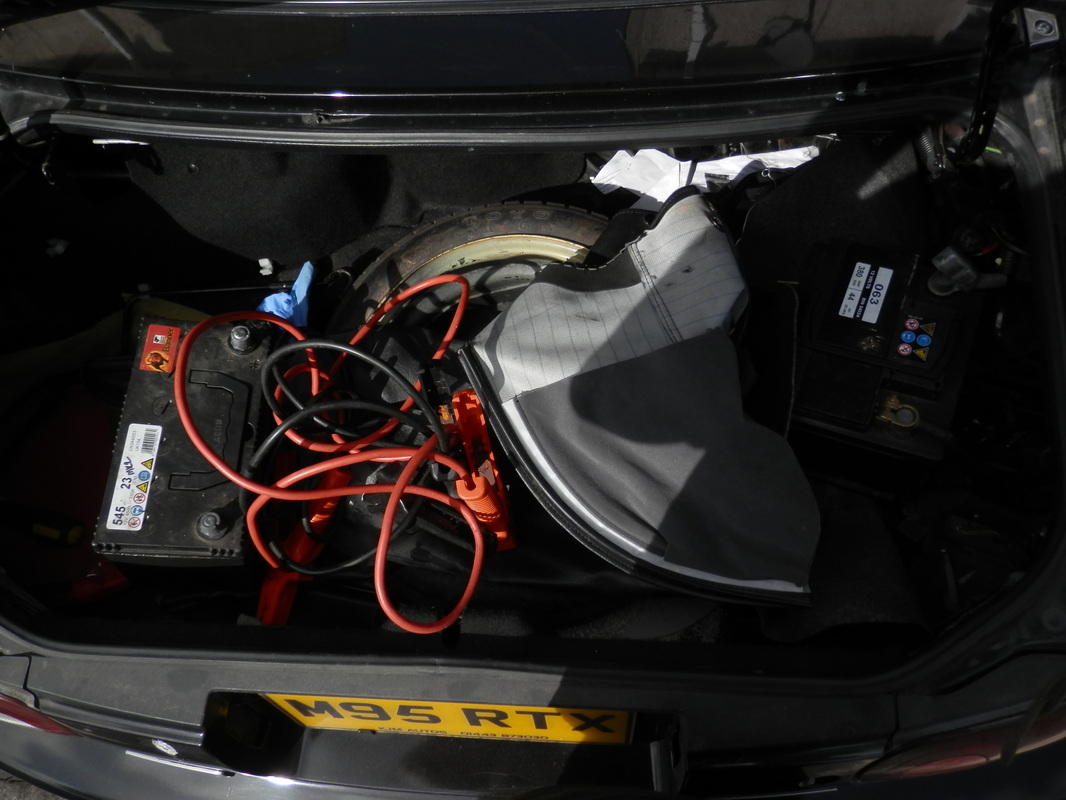
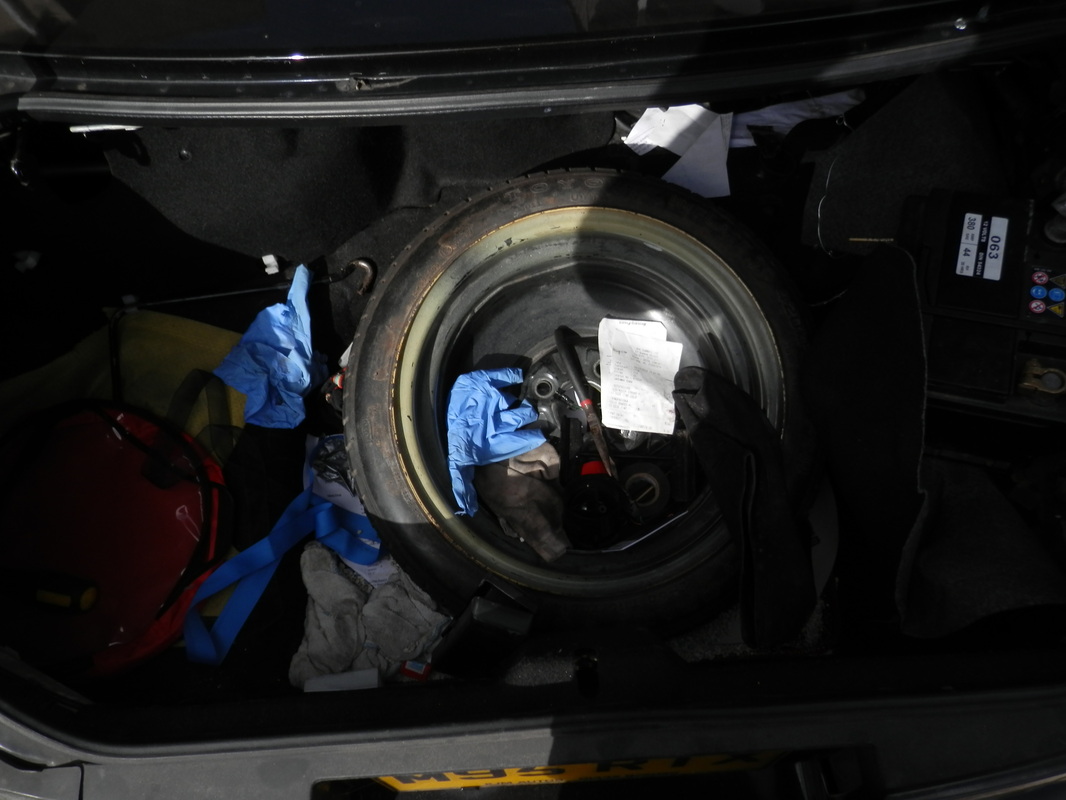
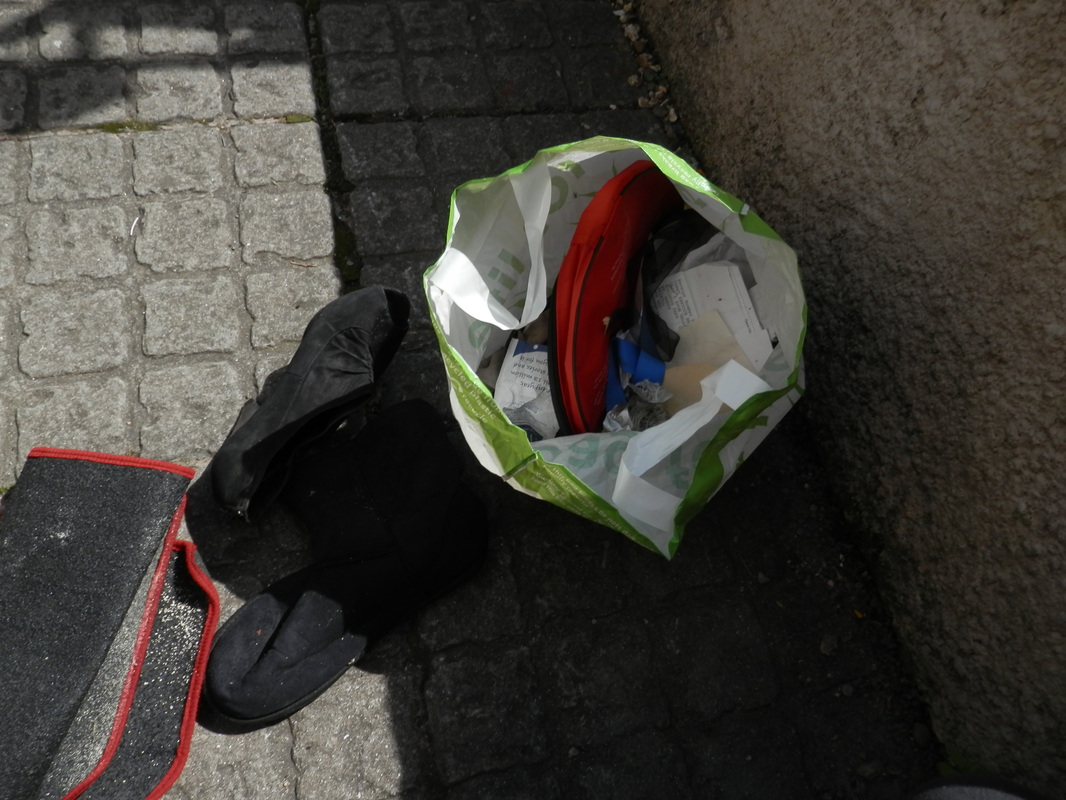
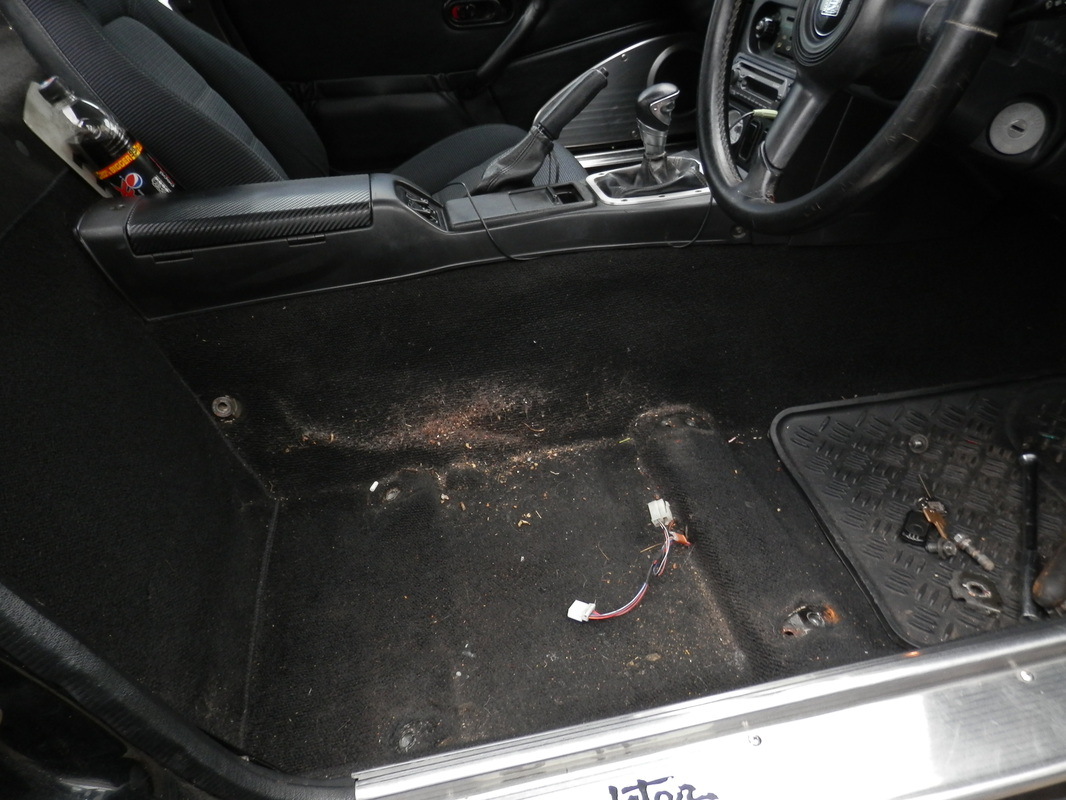
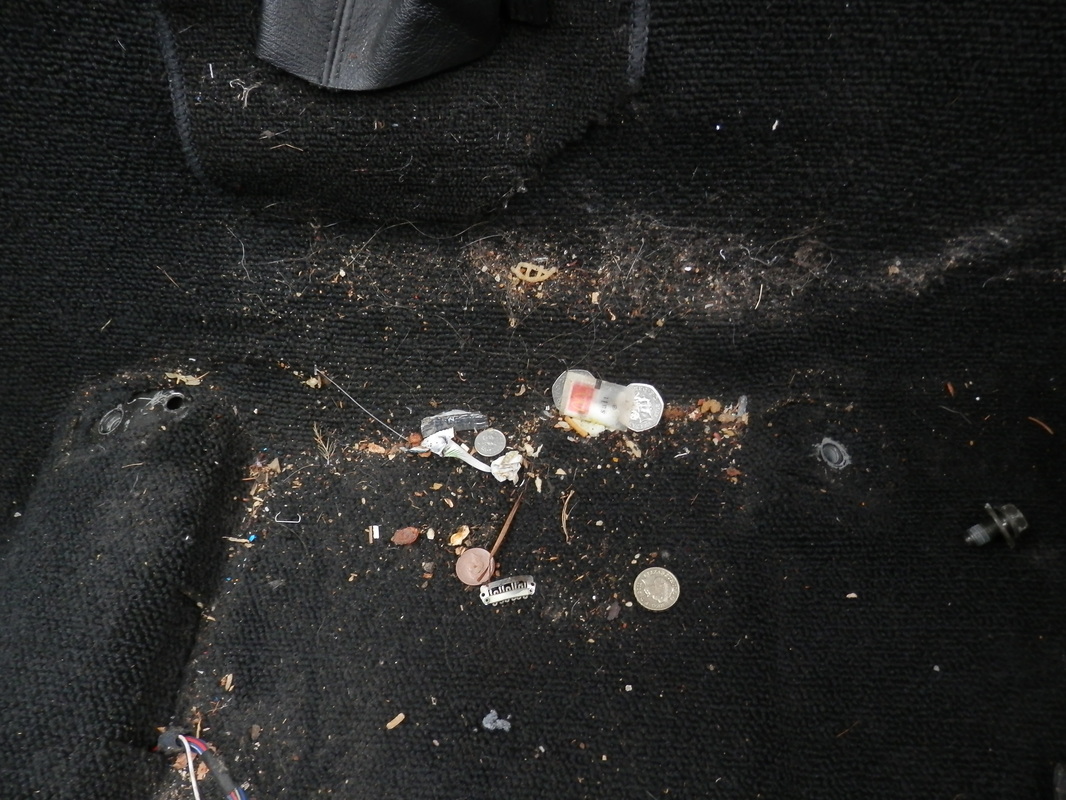
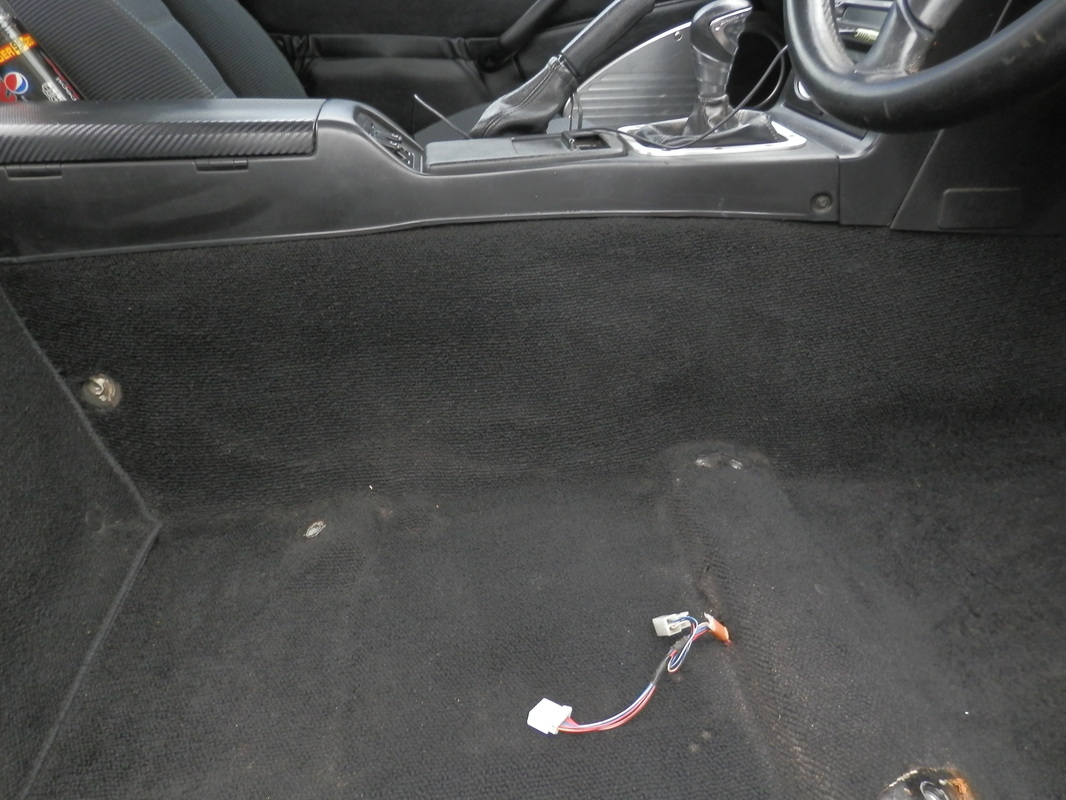
i cleaned out the car
there was a lot of crap in the boot and in the cabin
so
i cleaned out the car
there was a lot of crap in the boot and in the cabin

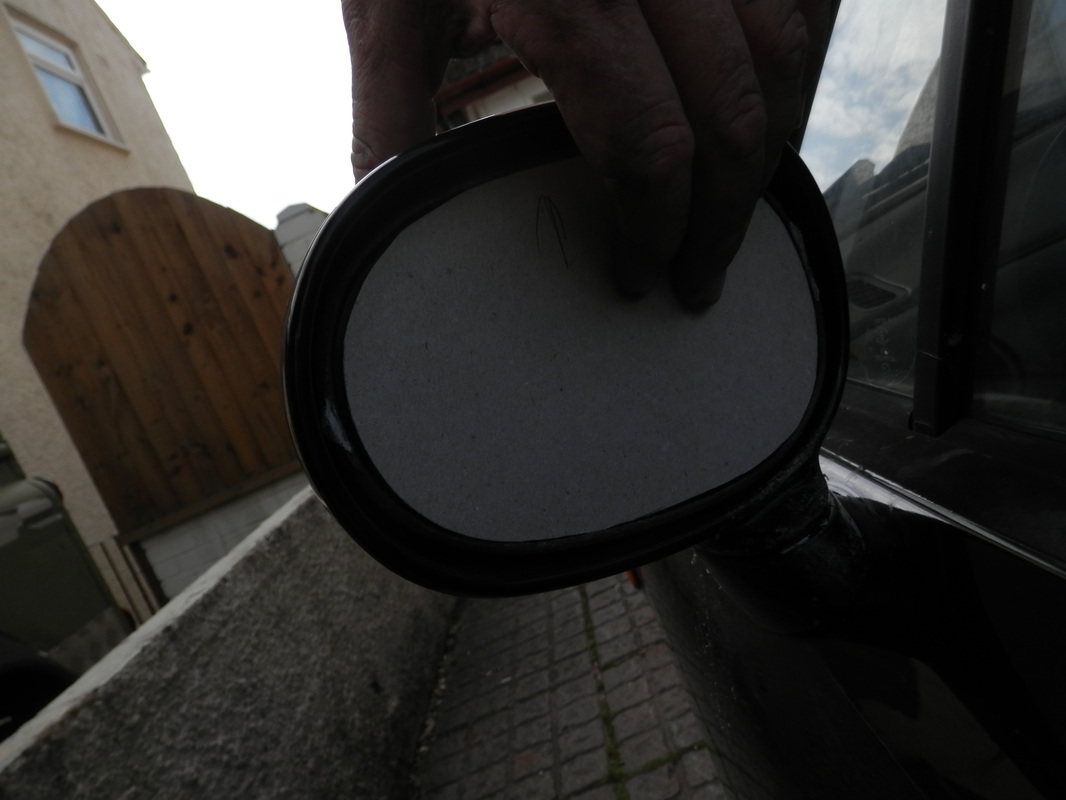
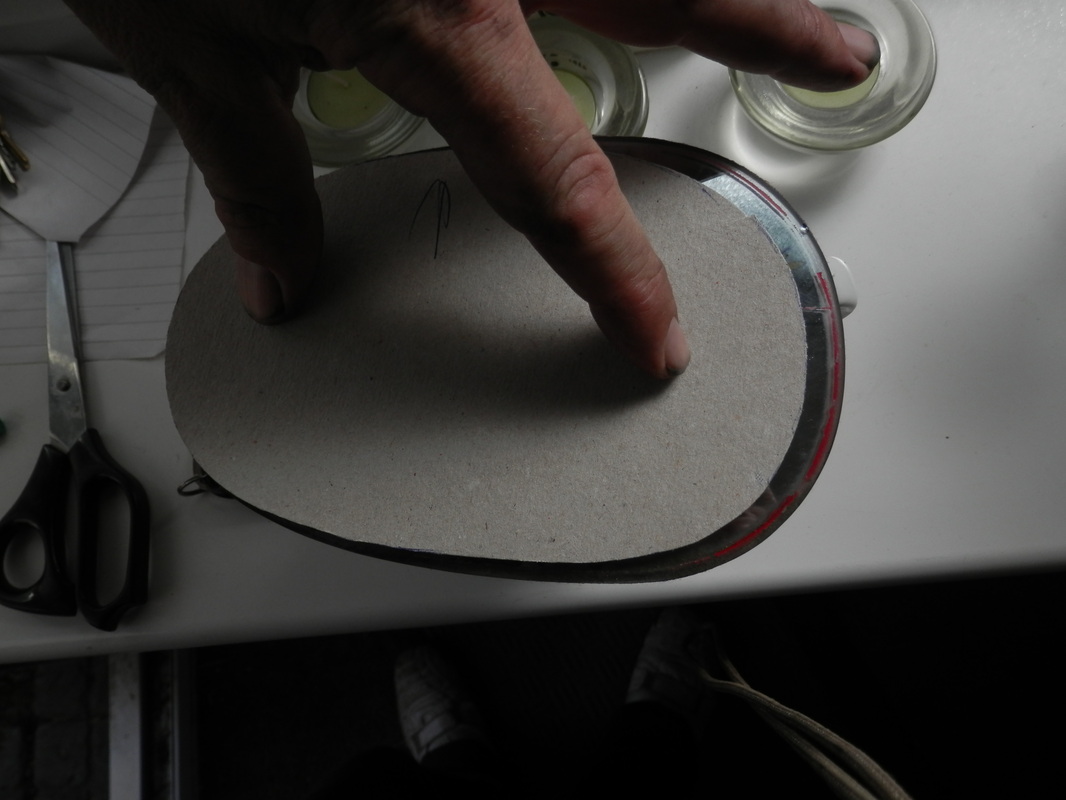
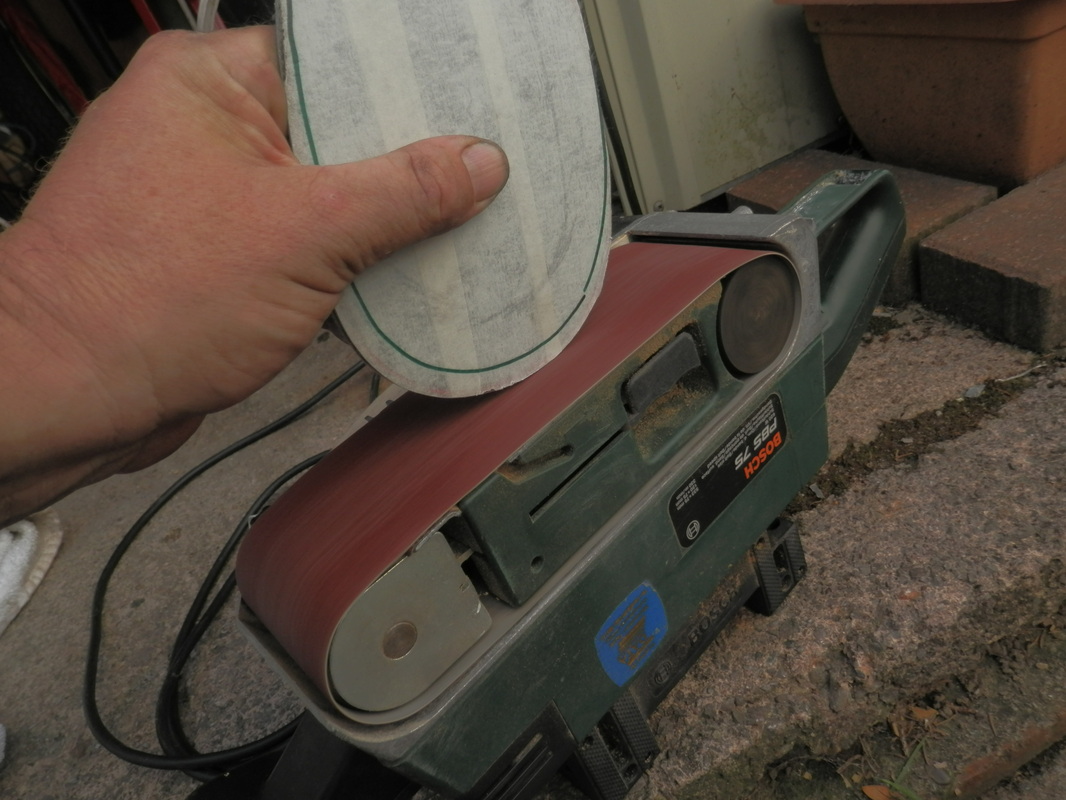
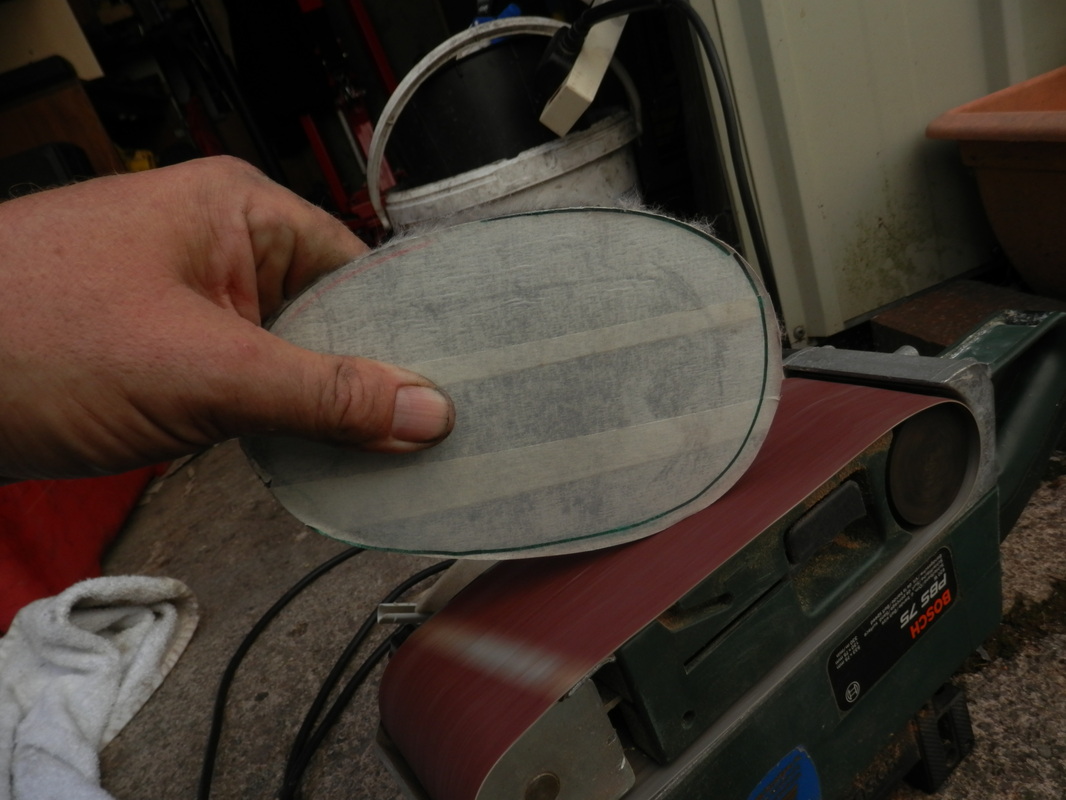
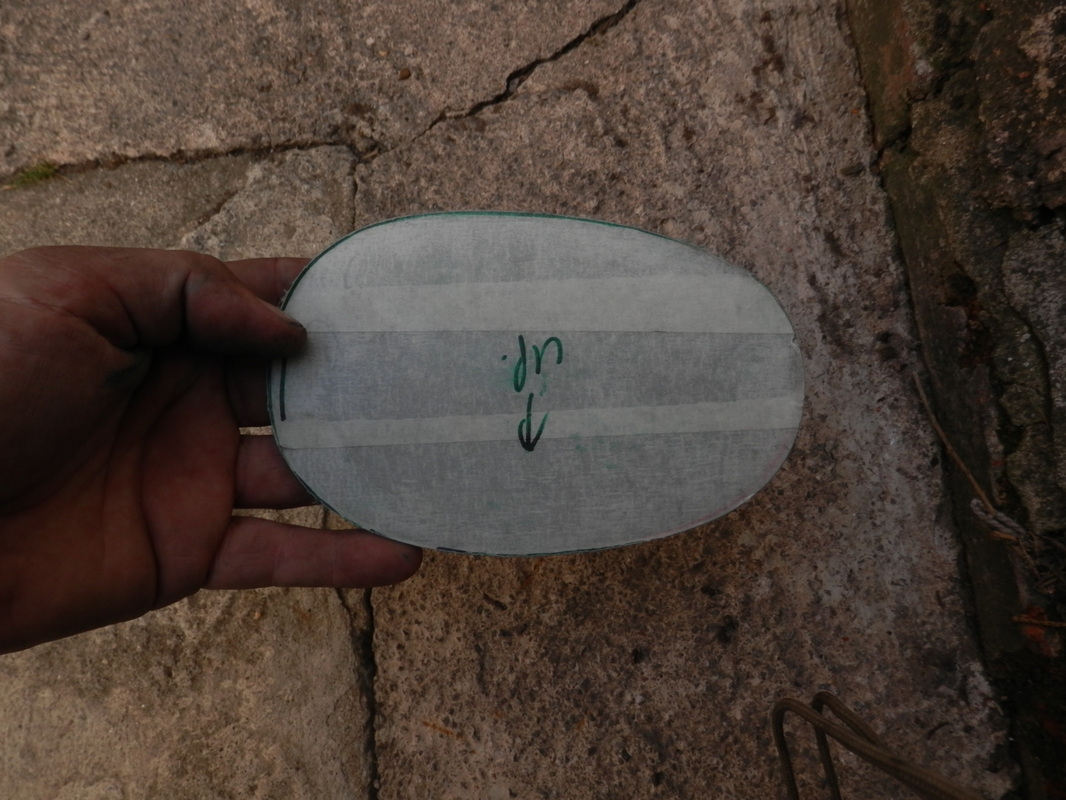
new mirror required but me bieing me (cheap) i did a chepo fix
this was find one of my standard mk1 mirrors and sand it down to fit the electric mk1 type base
this was find one of my standard mk1 mirrors and sand it down to fit the electric mk1 type base


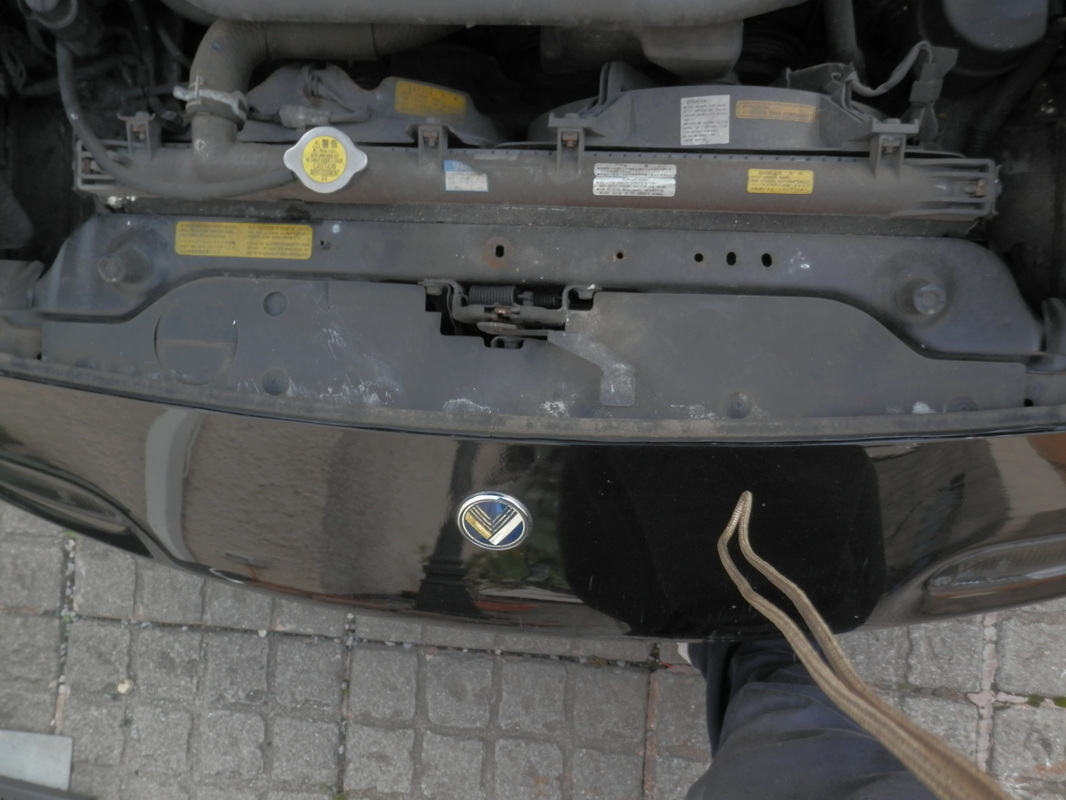
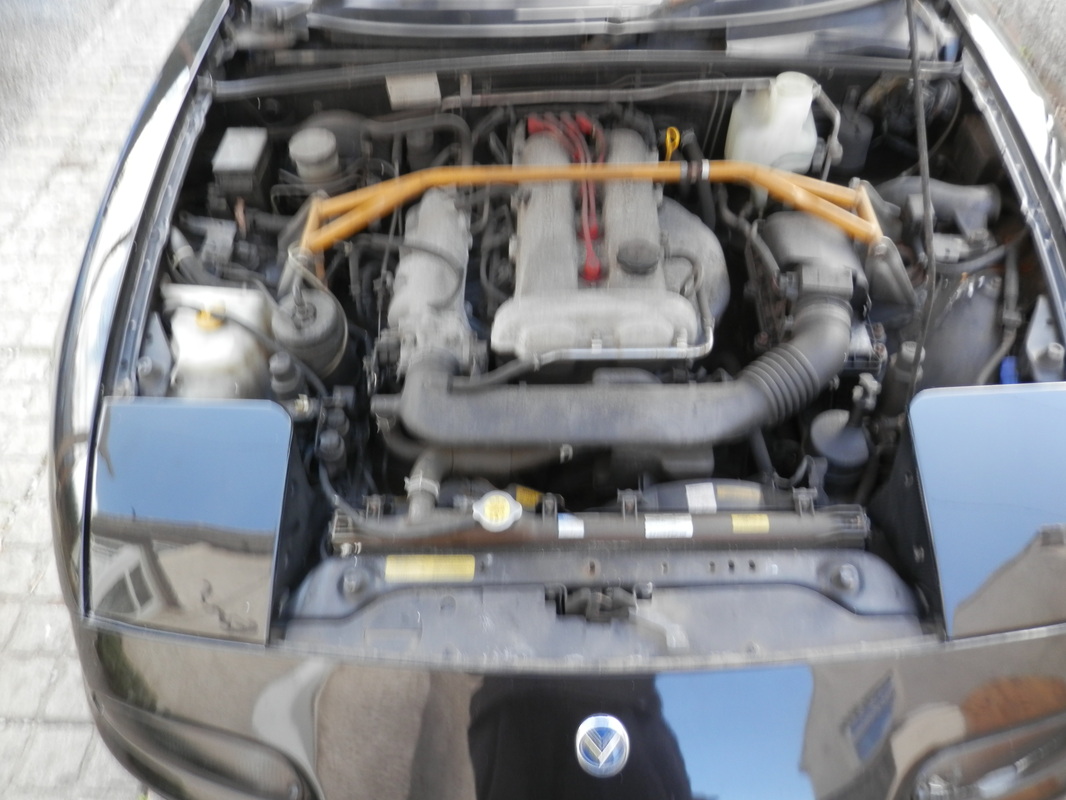
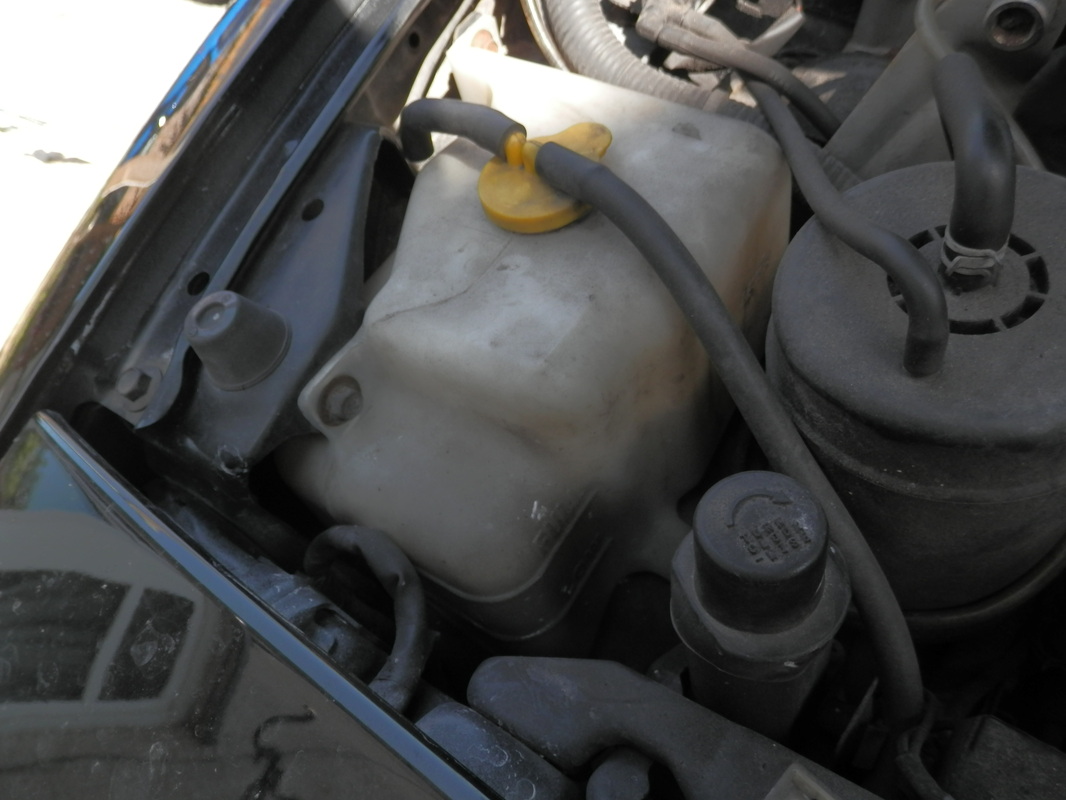
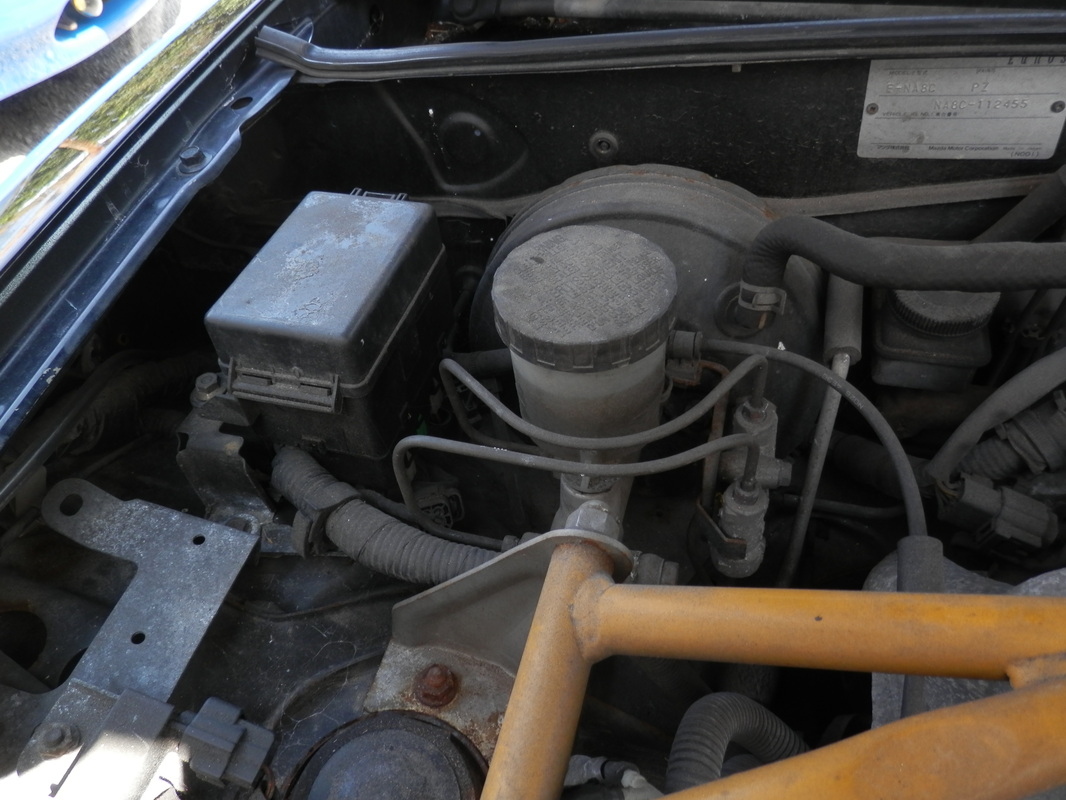
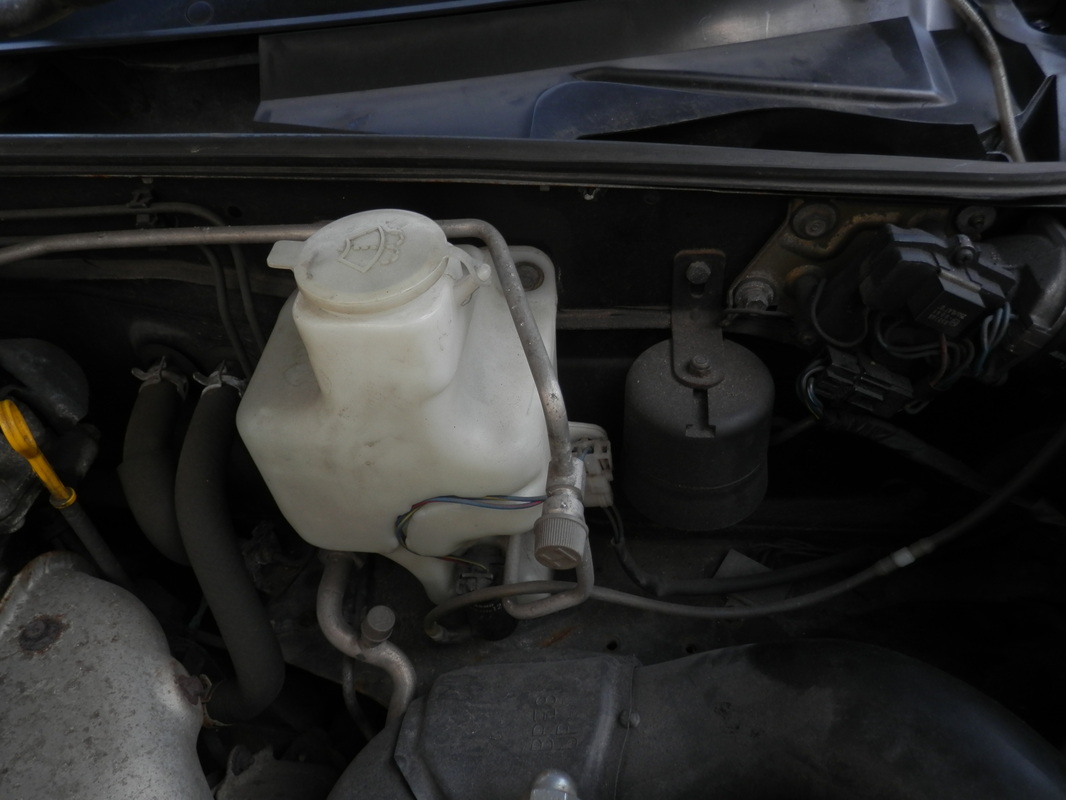
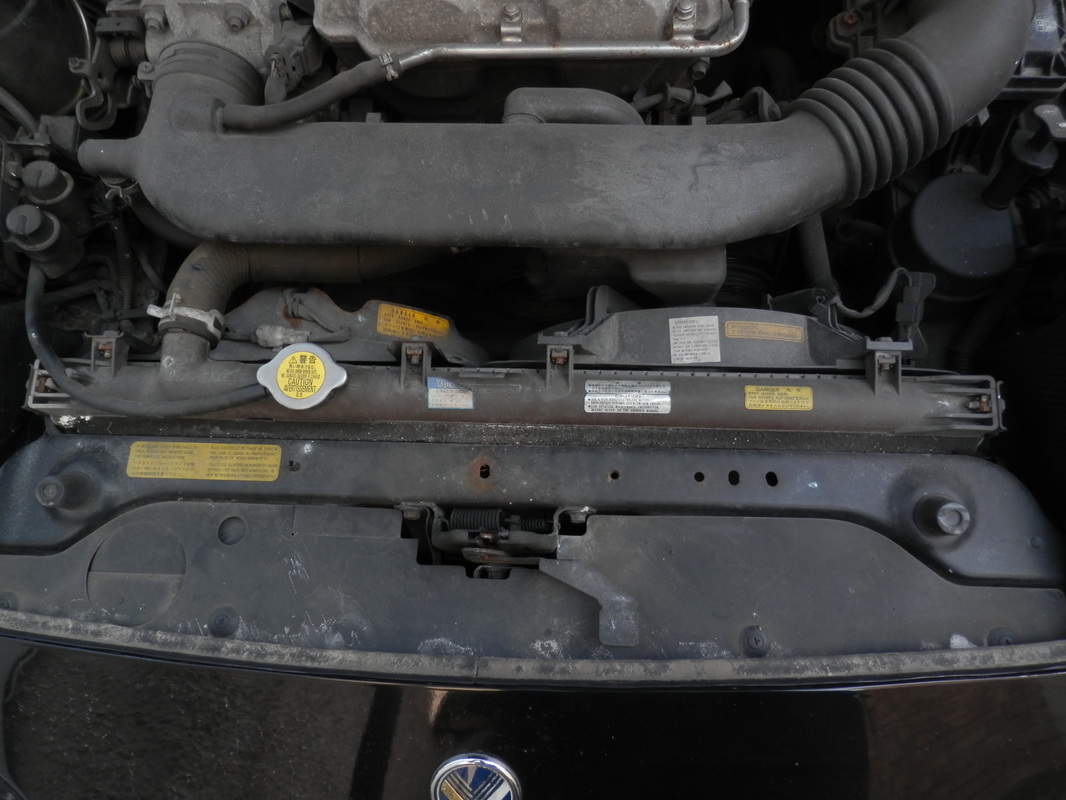
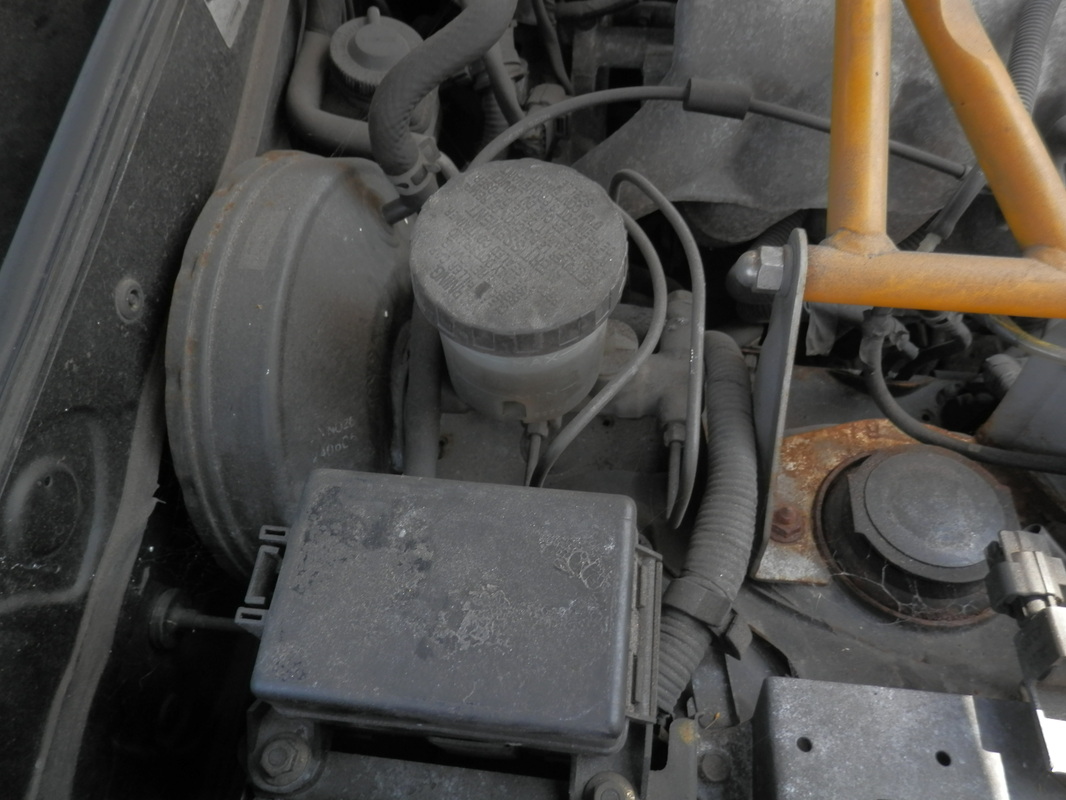
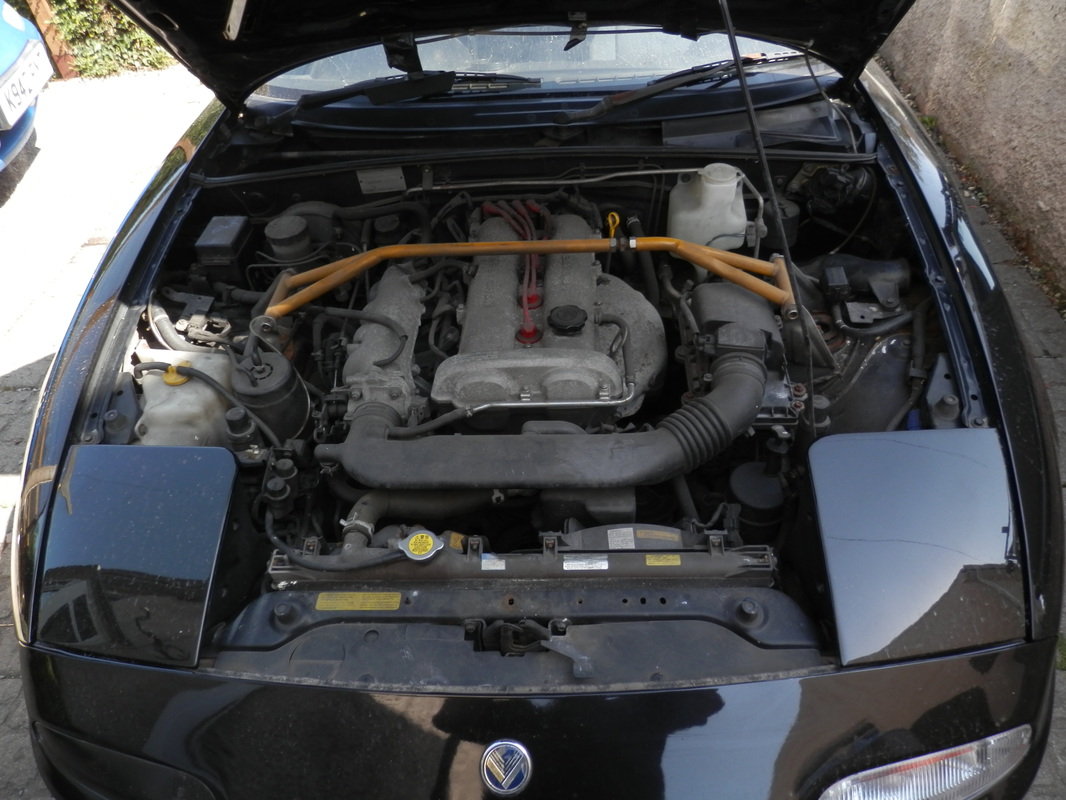
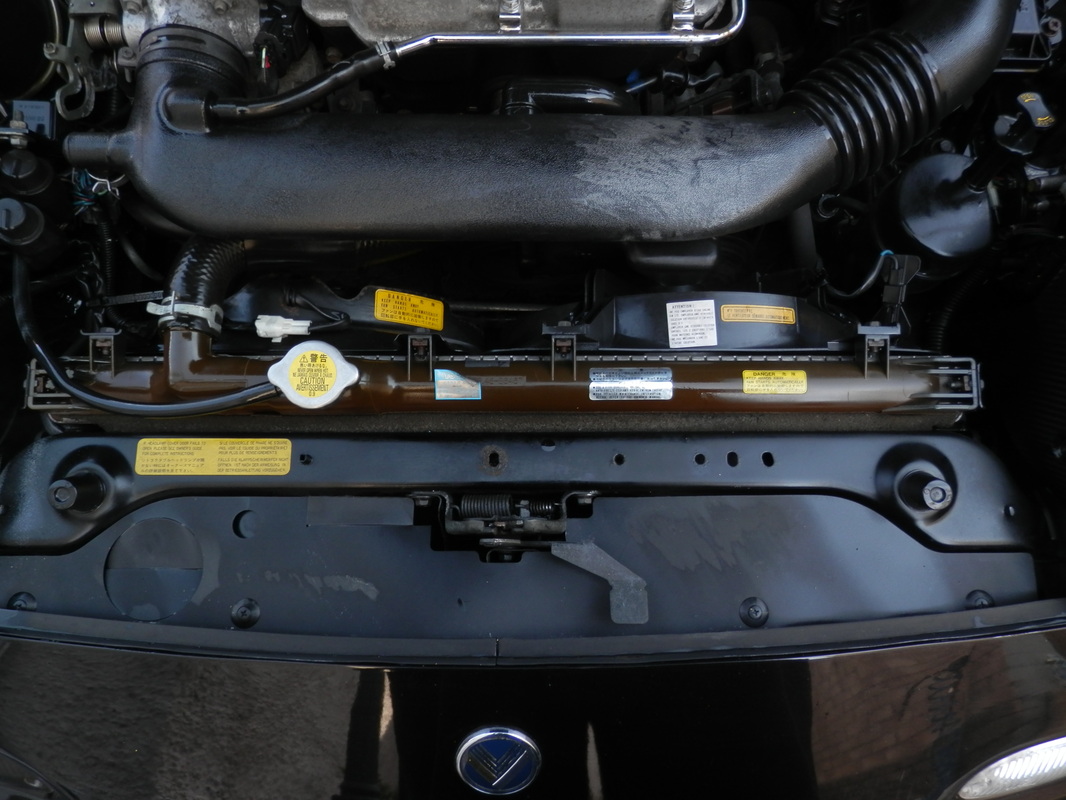
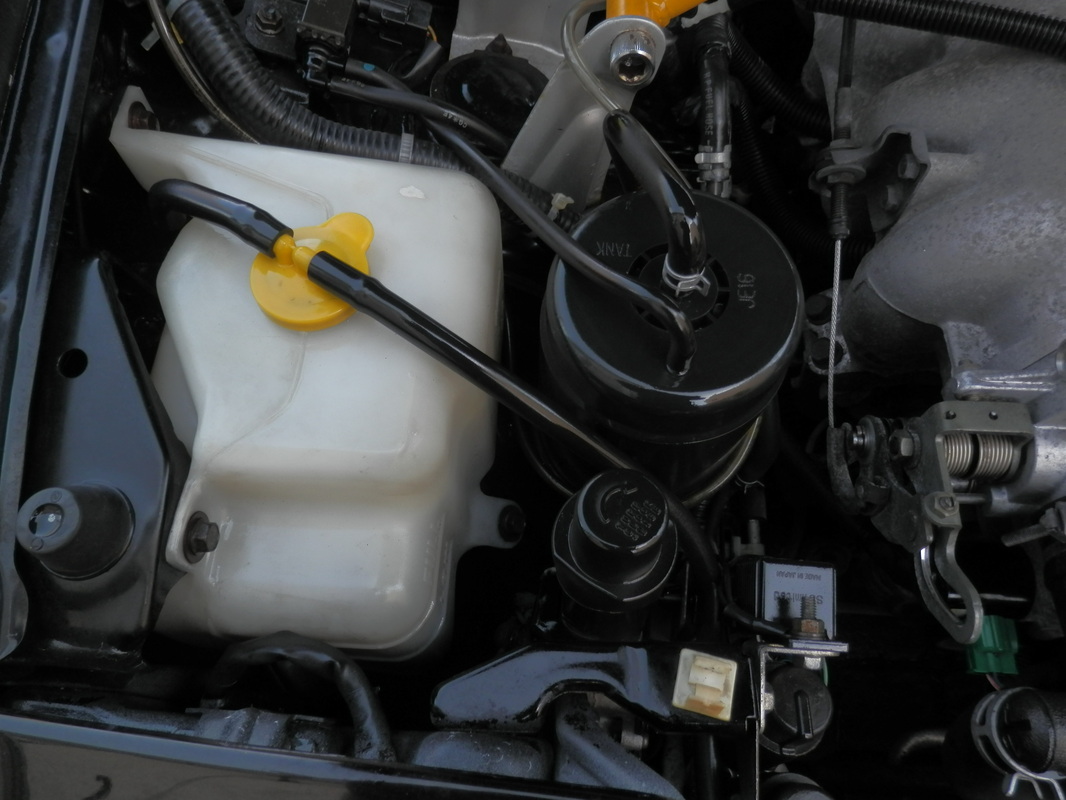
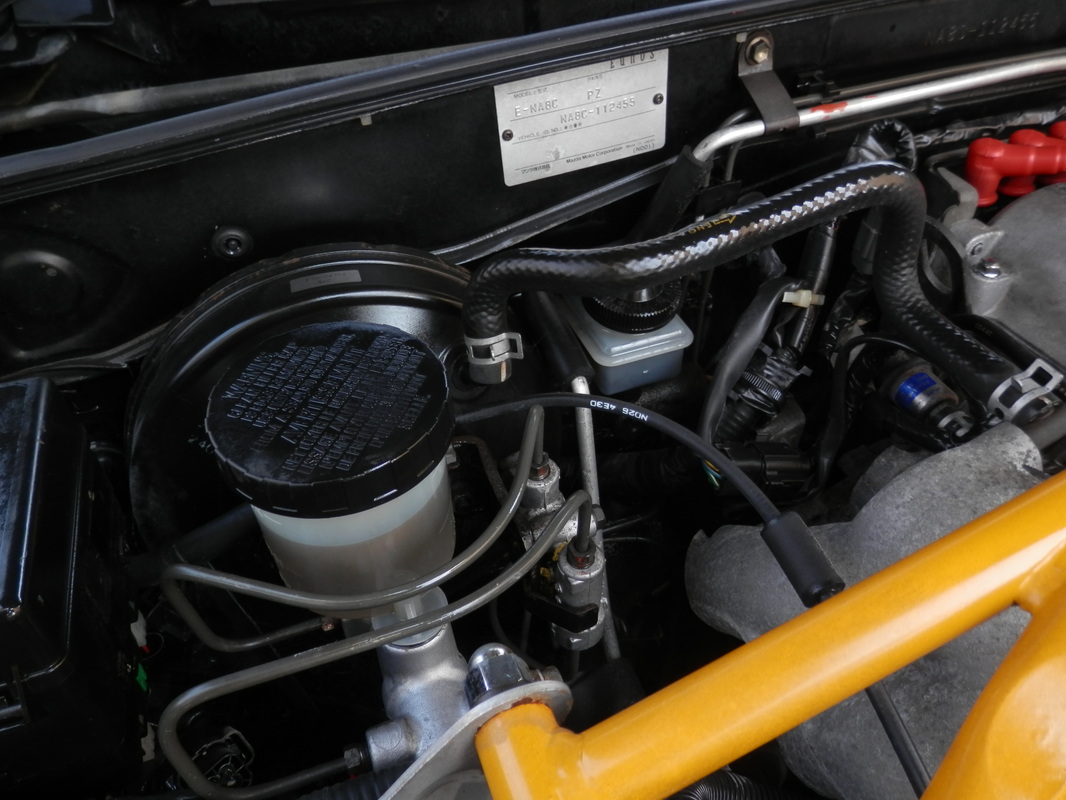
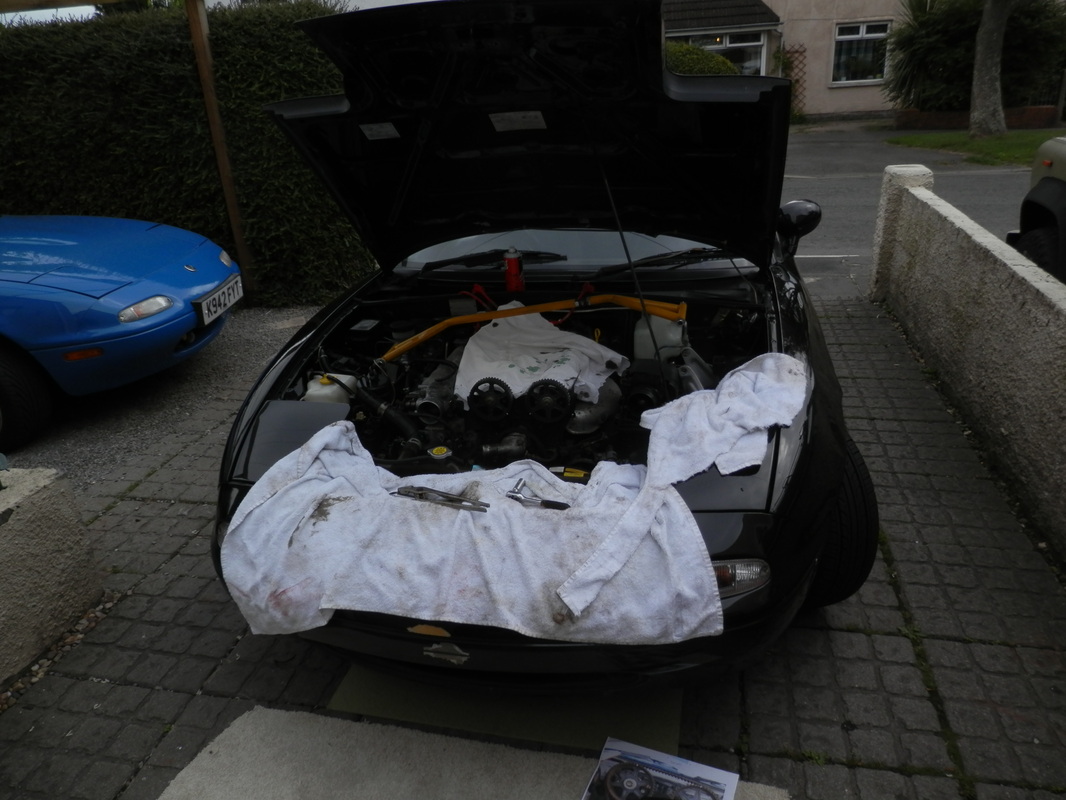
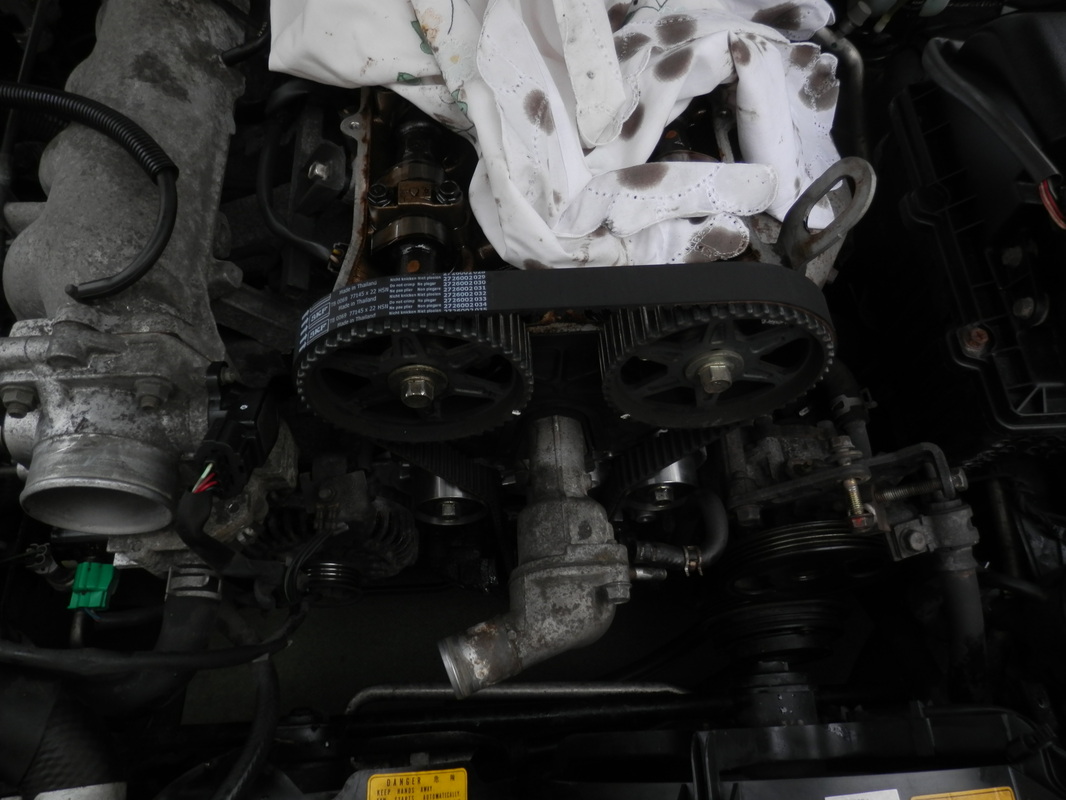
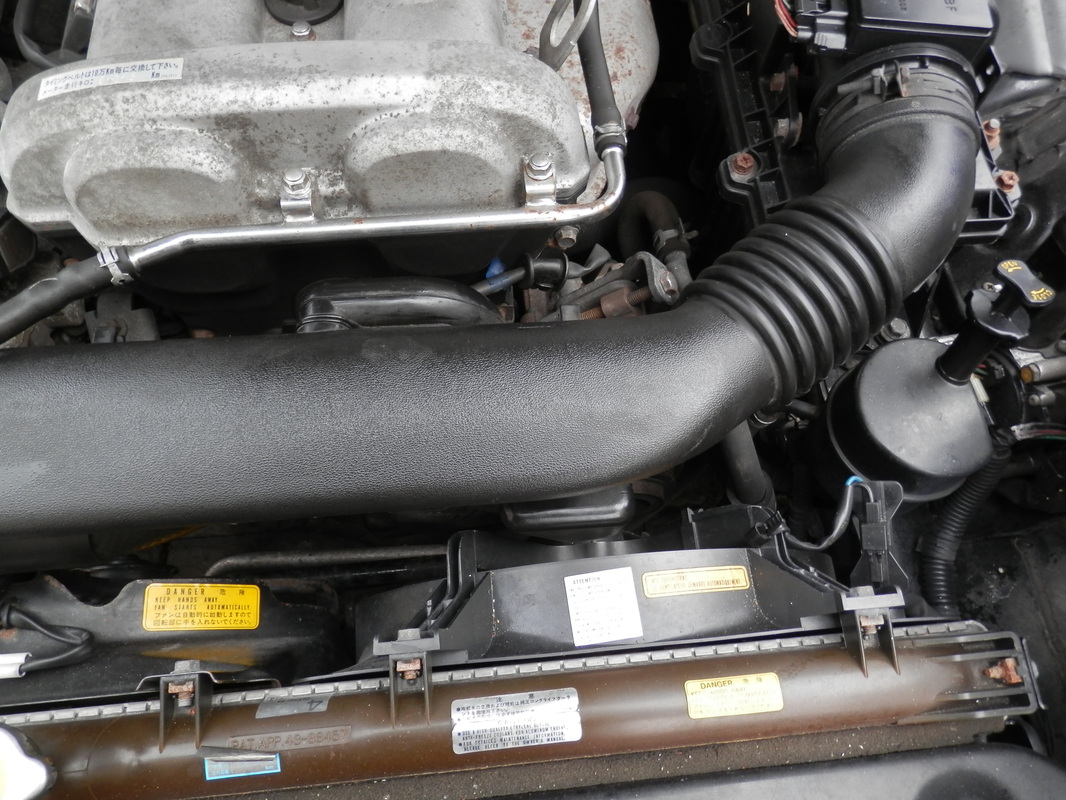
i had an hour or so before collecting the mrs today so i cleaned the engine bay a bit,
i need to do some work which will include a new water pump and timing belt so now i won't get stinking dirty.
some before and after pics.
i need to do some work which will include a new water pump and timing belt so now i won't get stinking dirty.
some before and after pics.


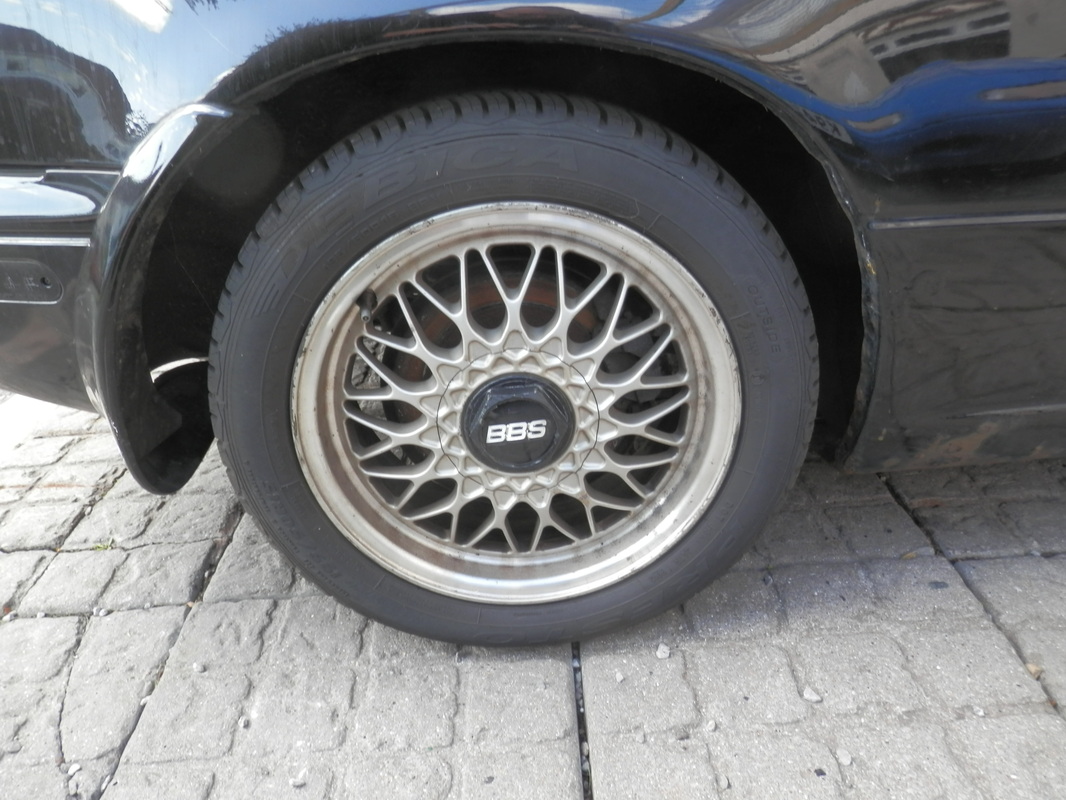
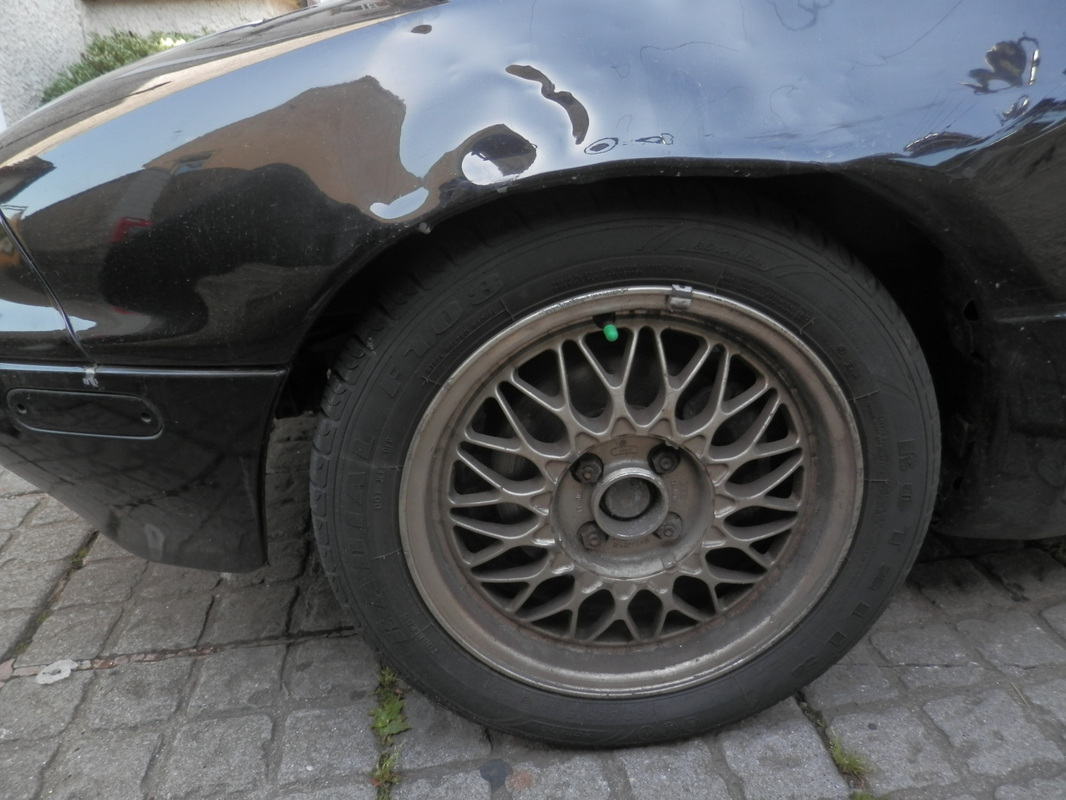
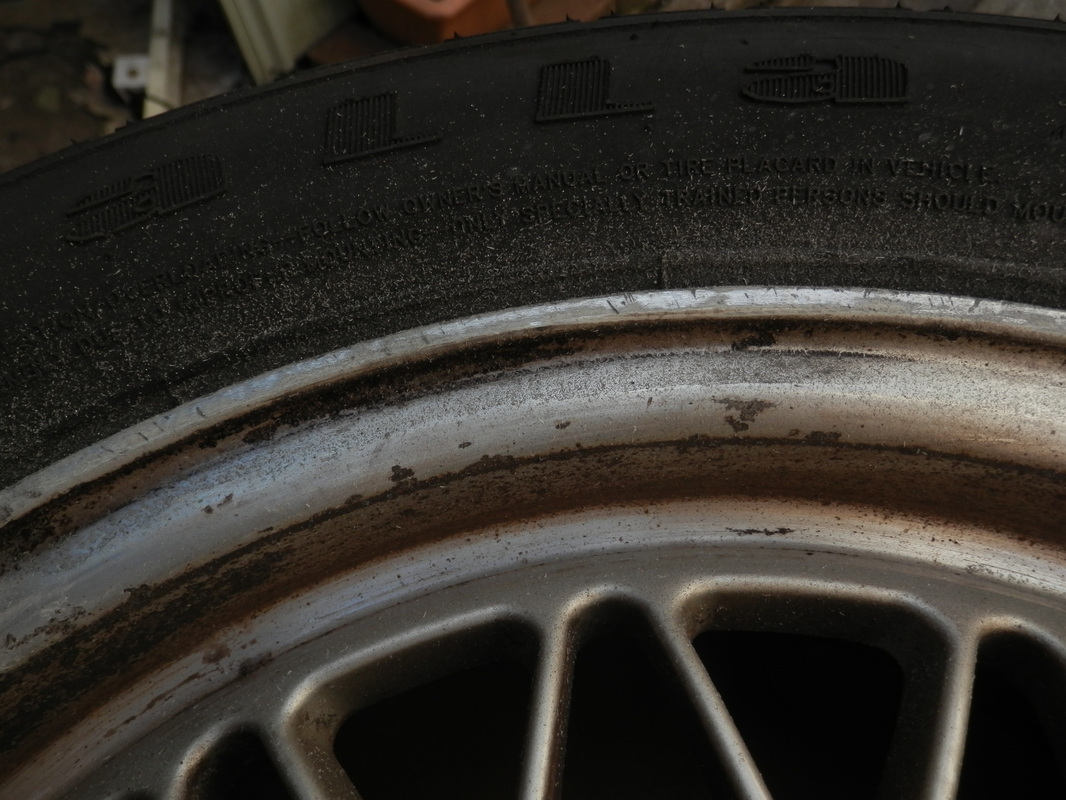
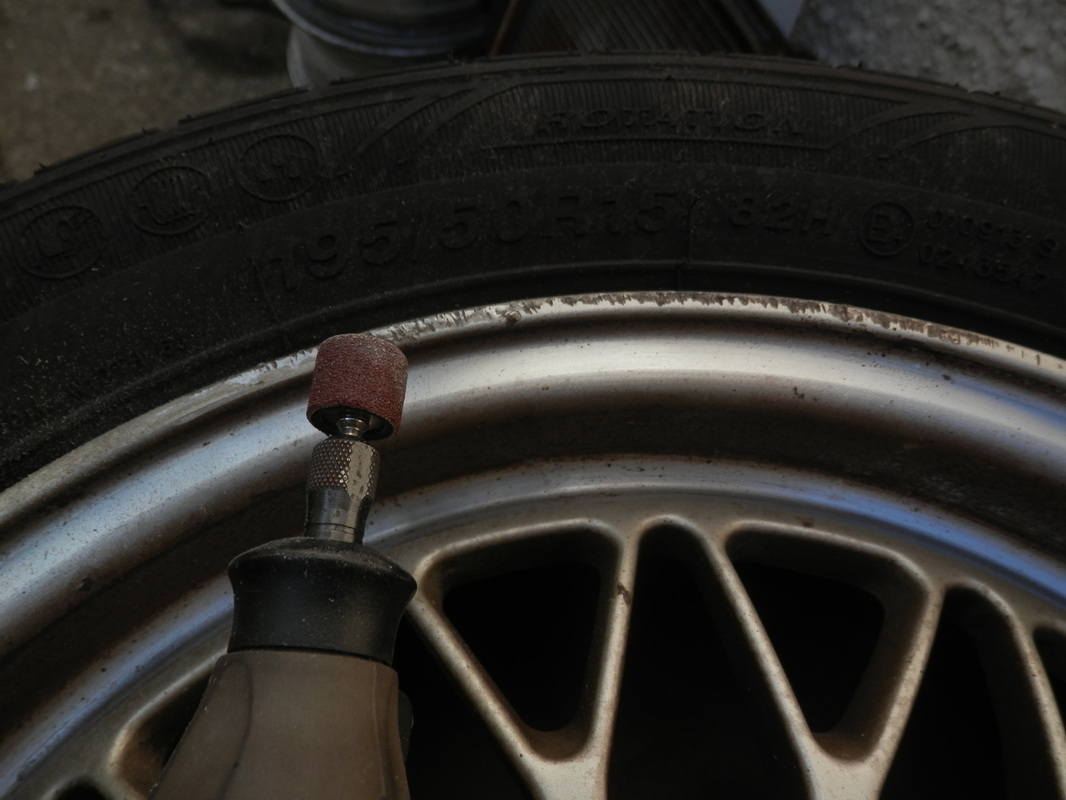
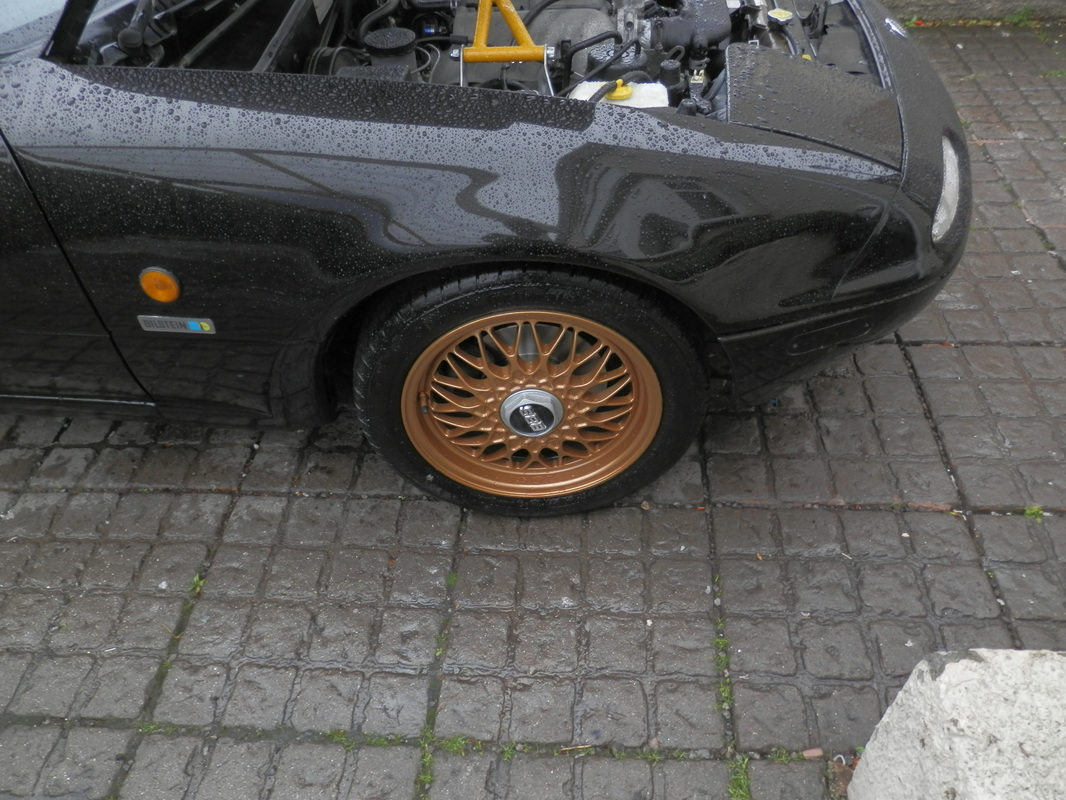
i also jet washed the wheels to see how bad they are and how much work they are going to need... they need a lot of work
no dents or major curbing though.
no dents or major curbing though.

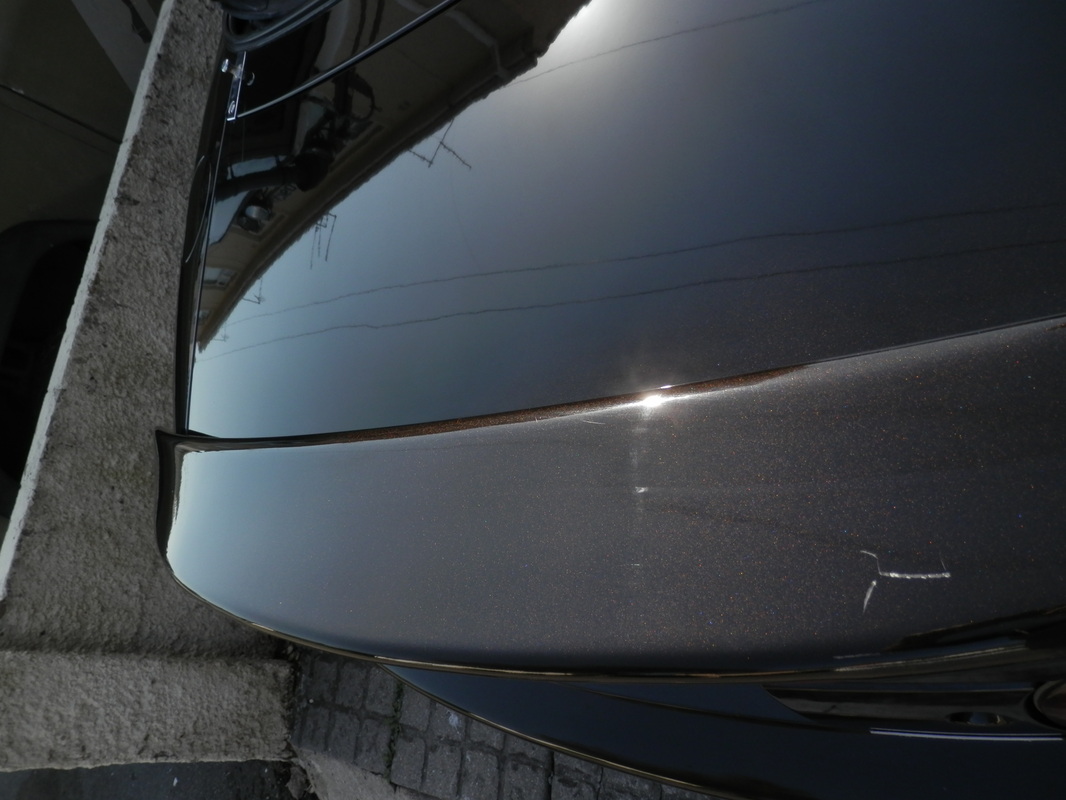
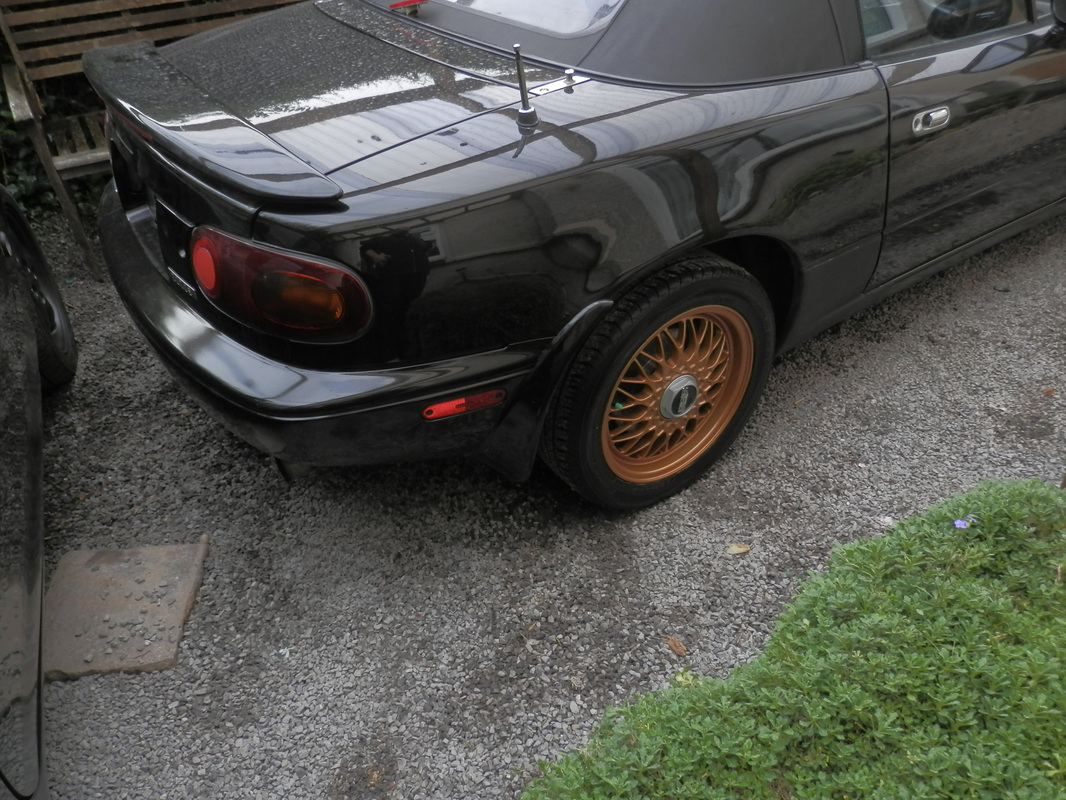
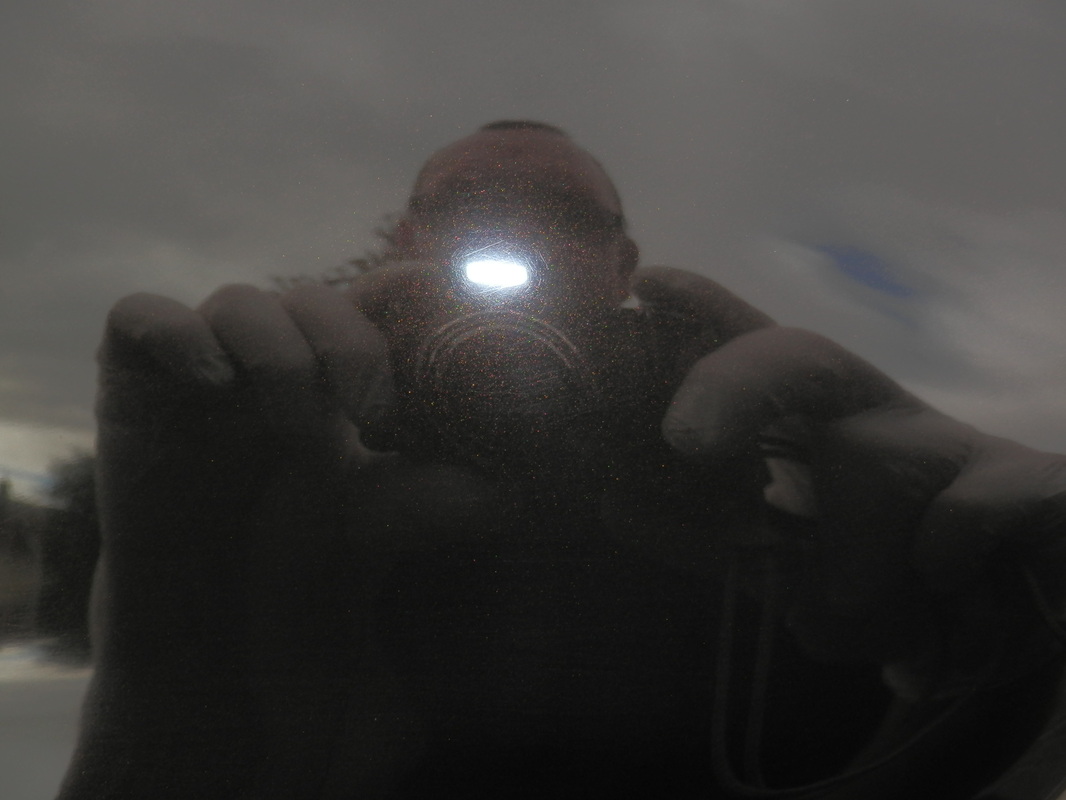
and then gave the bodywork paint a good clean and polish to see what if anything needs doing.
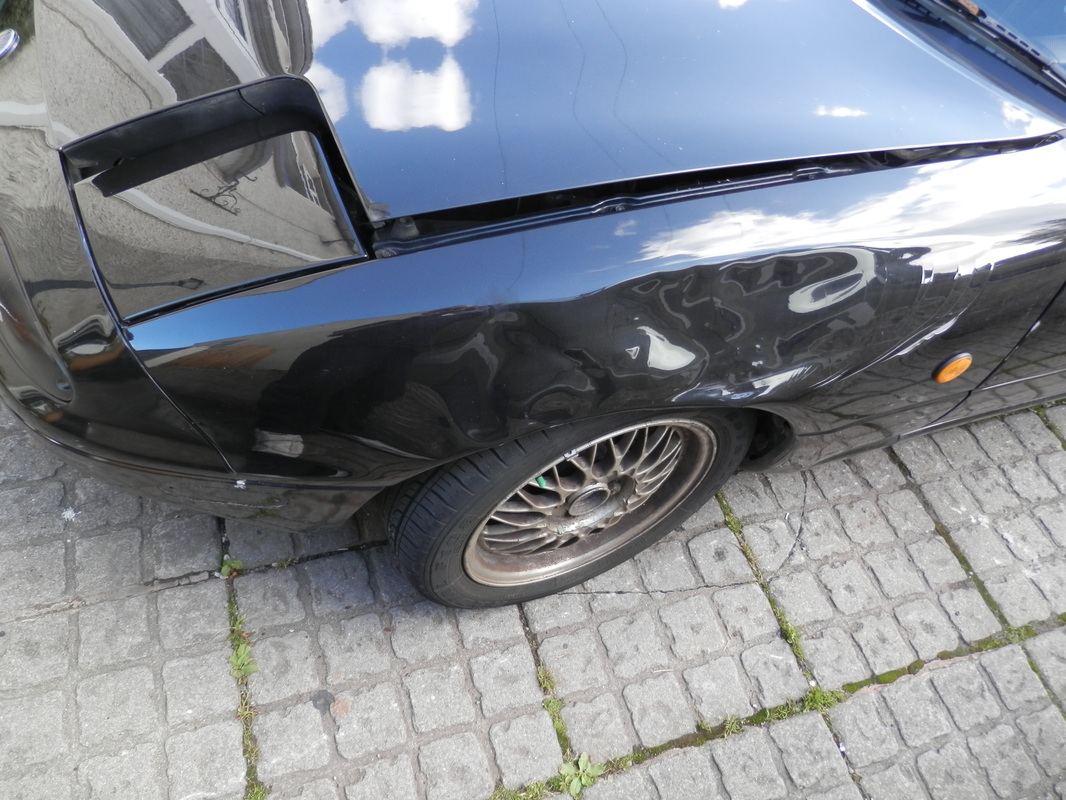
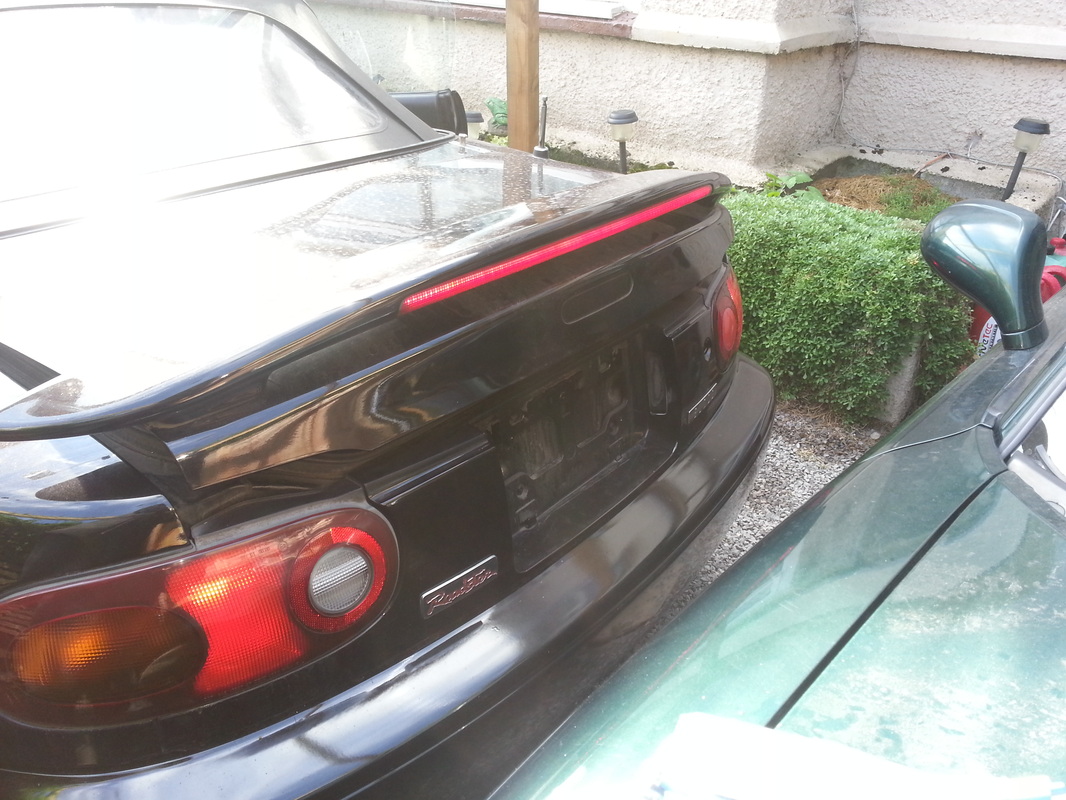
a pic of the rear to try and show the fleck
with one thing that needs work spoiler with scratch
a pic of the rear to try and show the fleck
with one thing that needs work spoiler with scratch
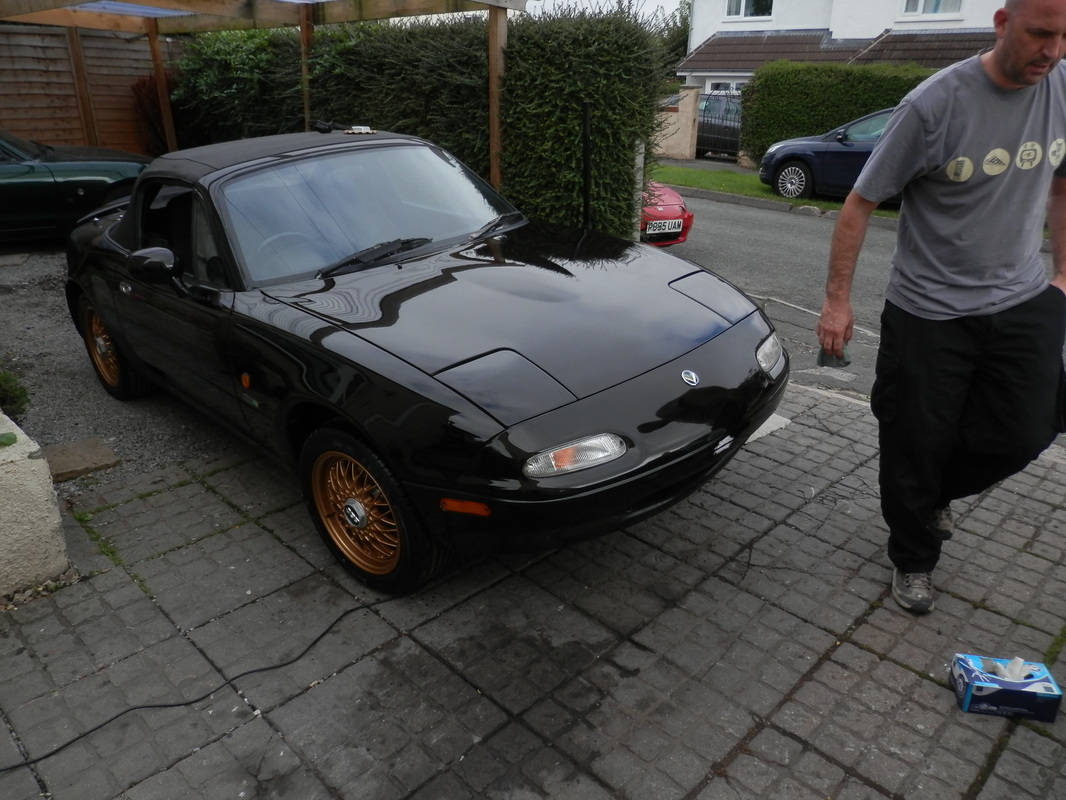
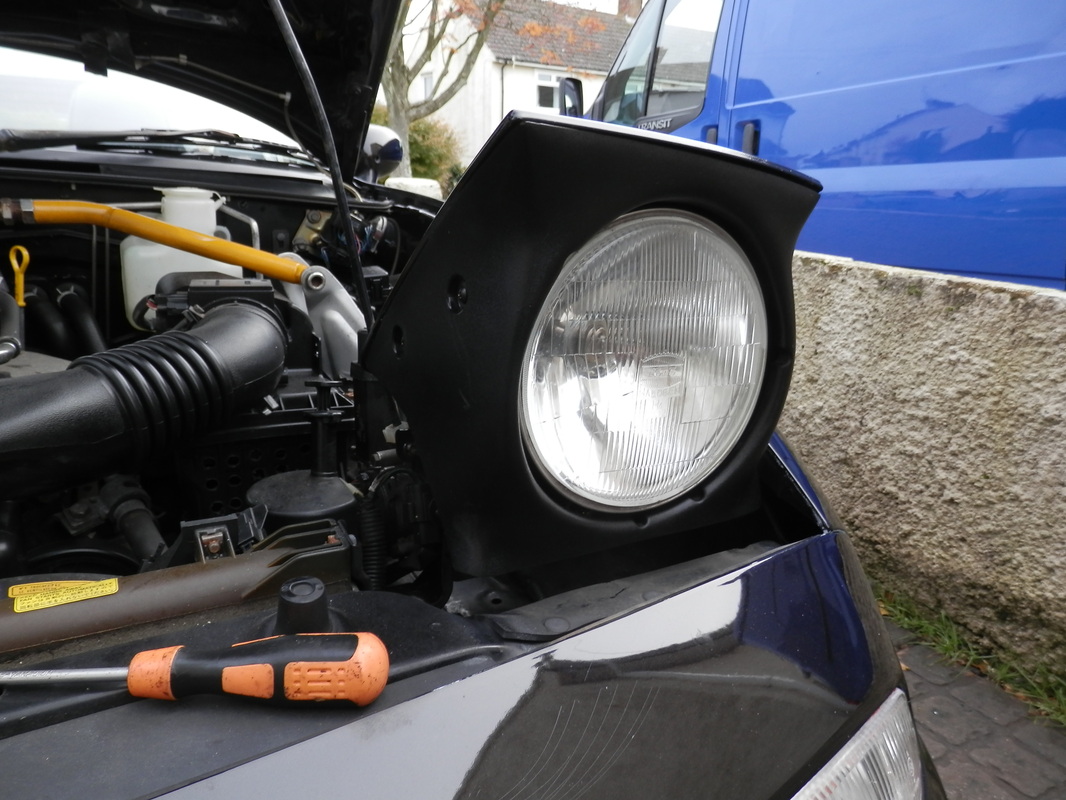
I collected the new hood today along with a pair of clean clear front sidelights which in my opinion make the car look more grow up.


Sunday 25th 08 2013
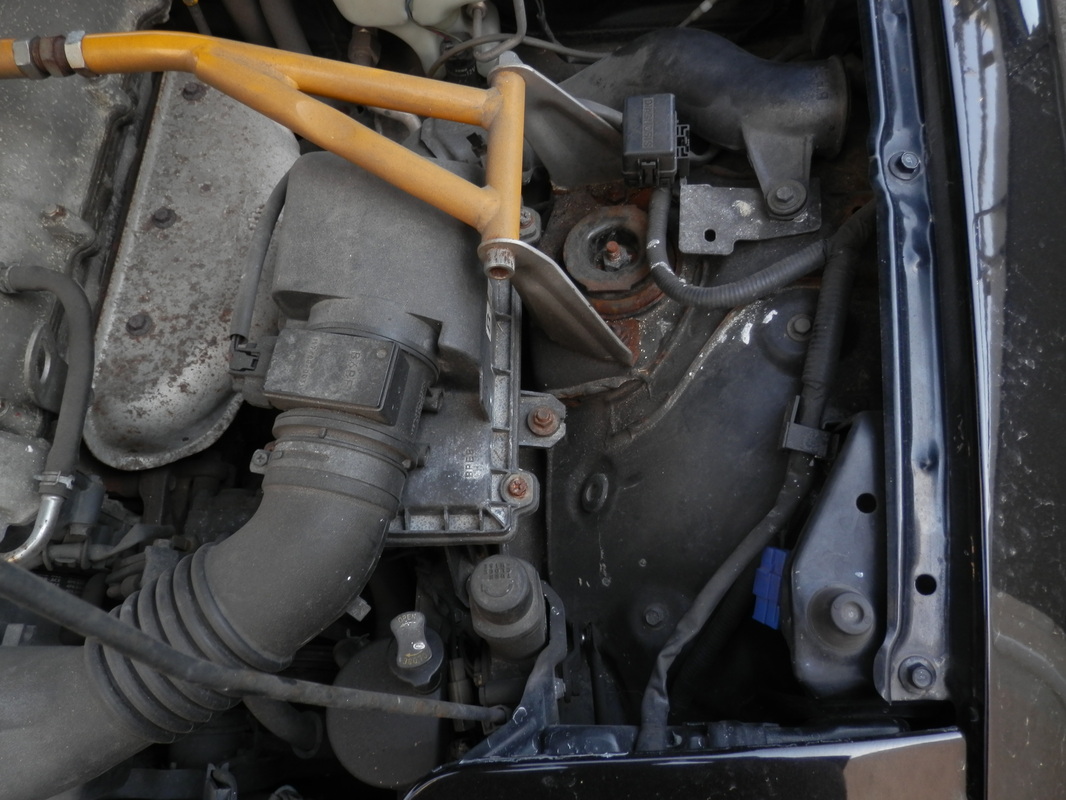
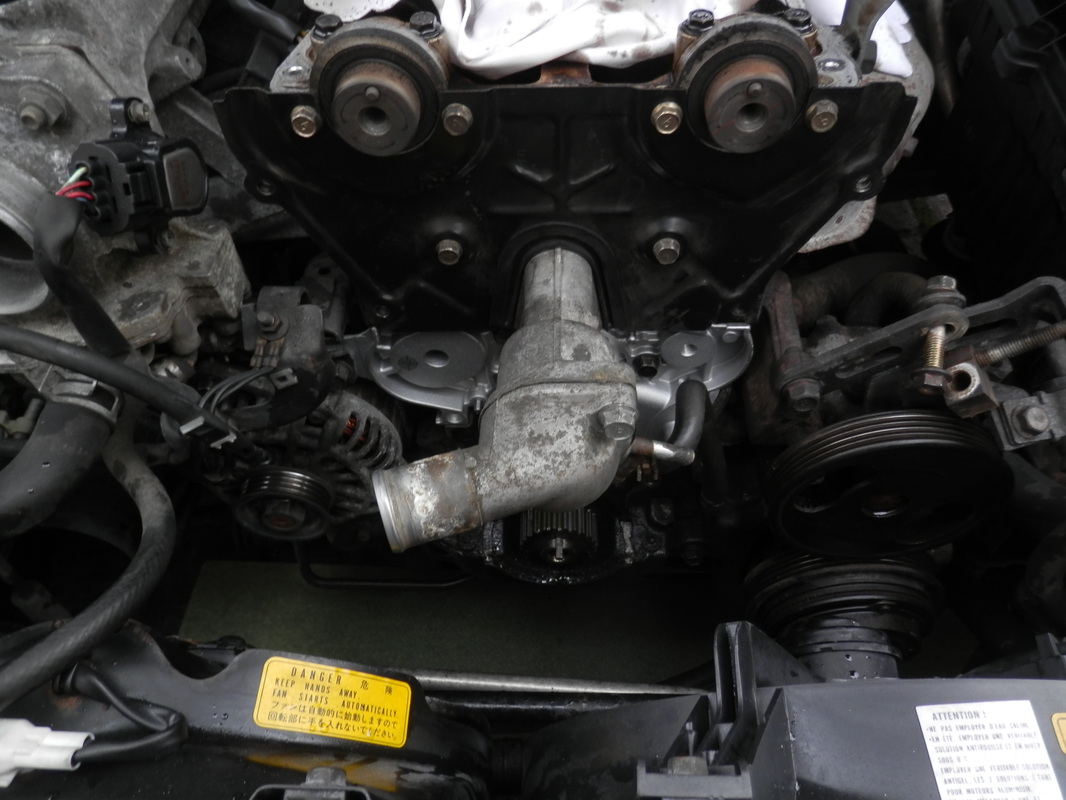
cam belt and water pump time today and i am hoping this will cure the nasty rumble and slapping noises she has
first thing i noticed was the loose belt
cam belt and water pump time today and i am hoping this will cure the nasty rumble and slapping noises she has
first thing i noticed was the loose belt
then i turned the belt by hand to see what was wrong oh my thats not right

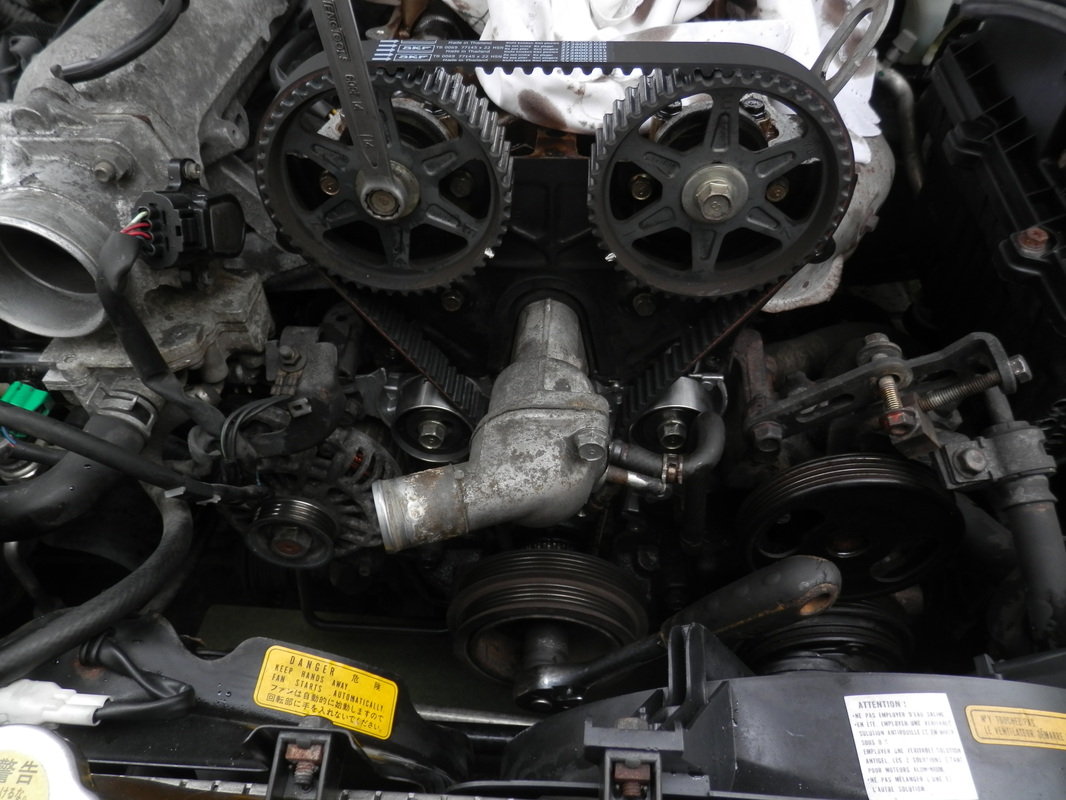

After the new belt was fitted i did a few test turns
this is how it should turn
She then had an oil and filter change

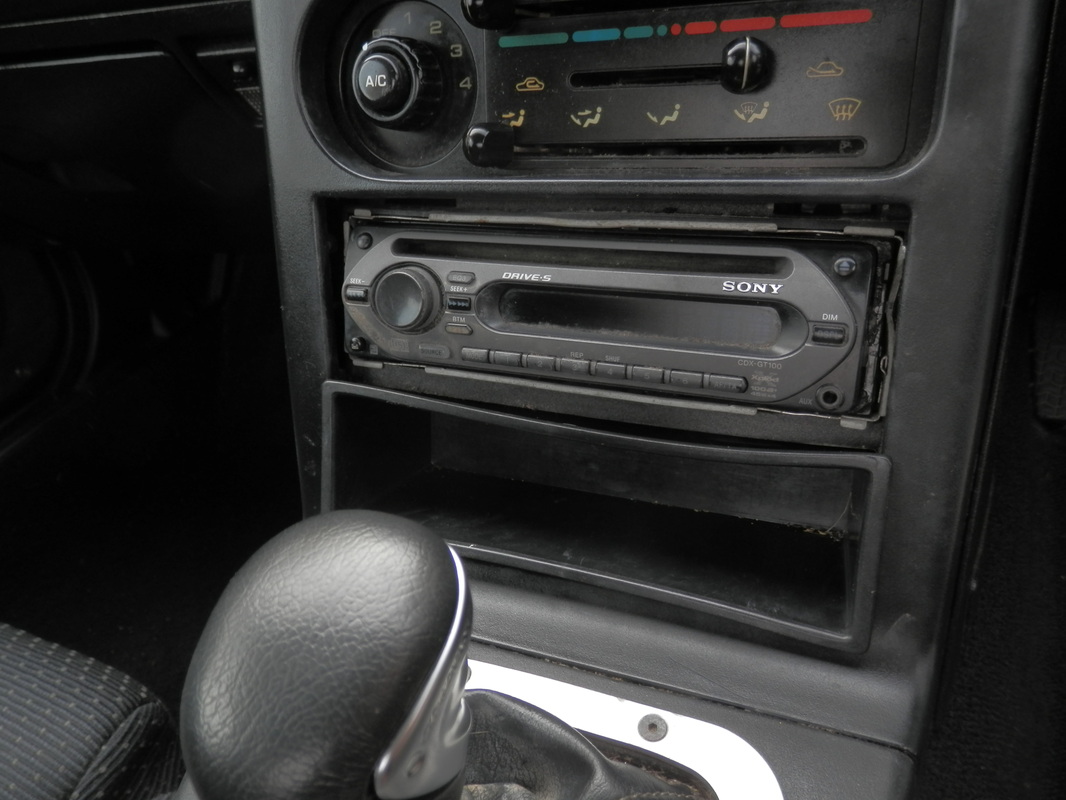
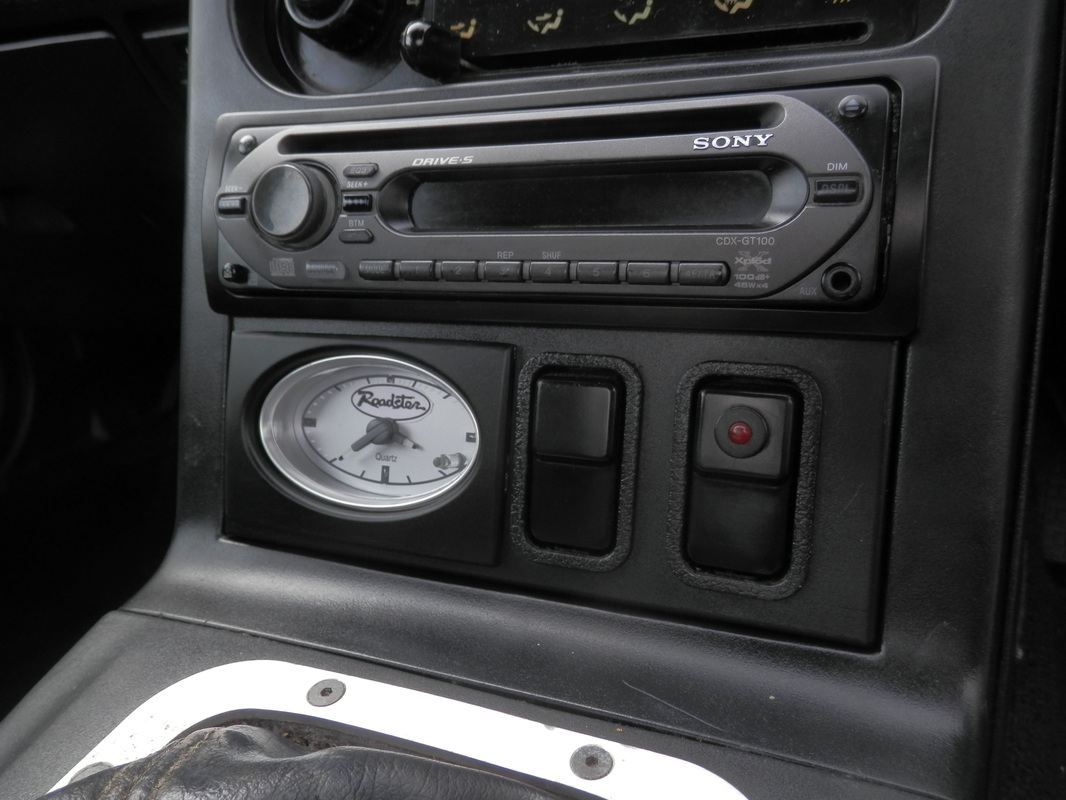
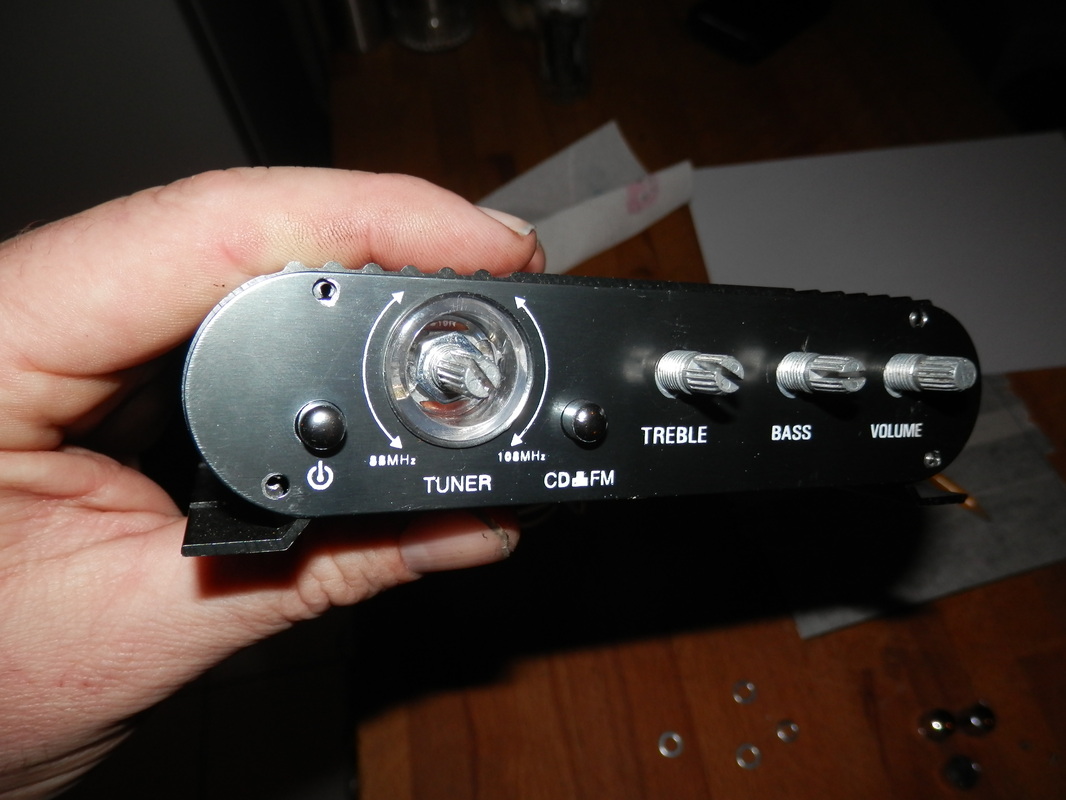
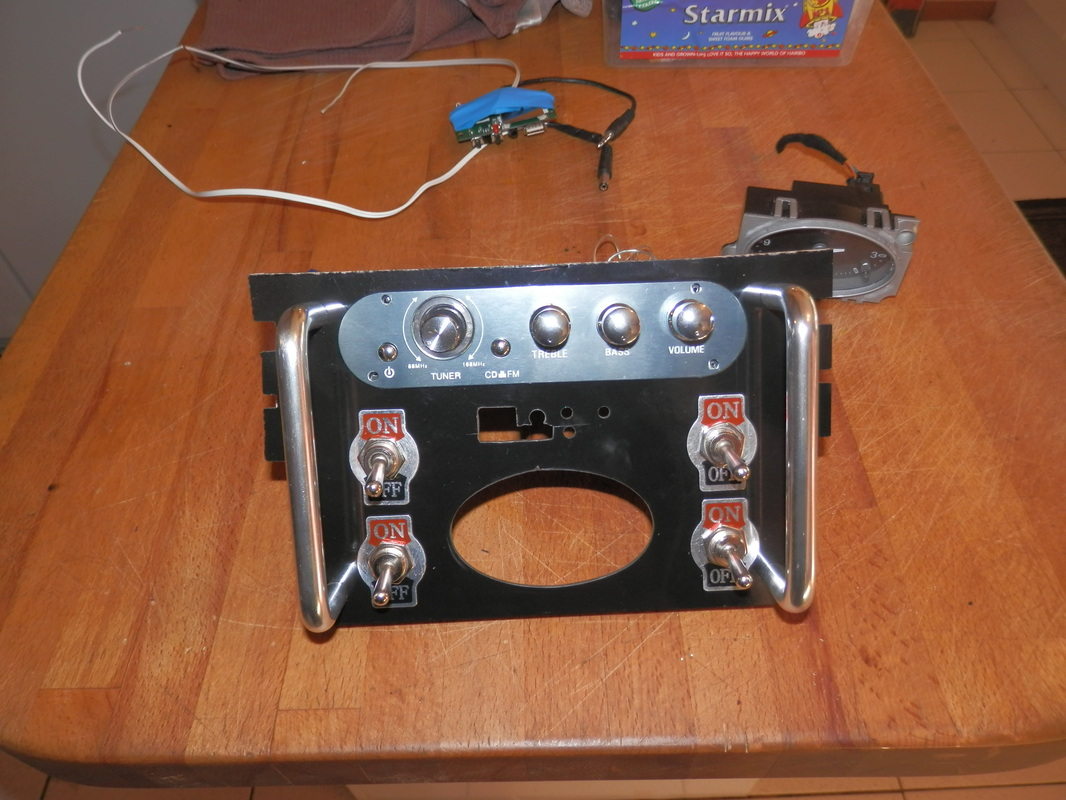
oh my this stereo mess is not nice and needs sorting
the stereo is stinking dirty, has been fitted behind the console
and the cubby underneath just does not fit in at all.
.....
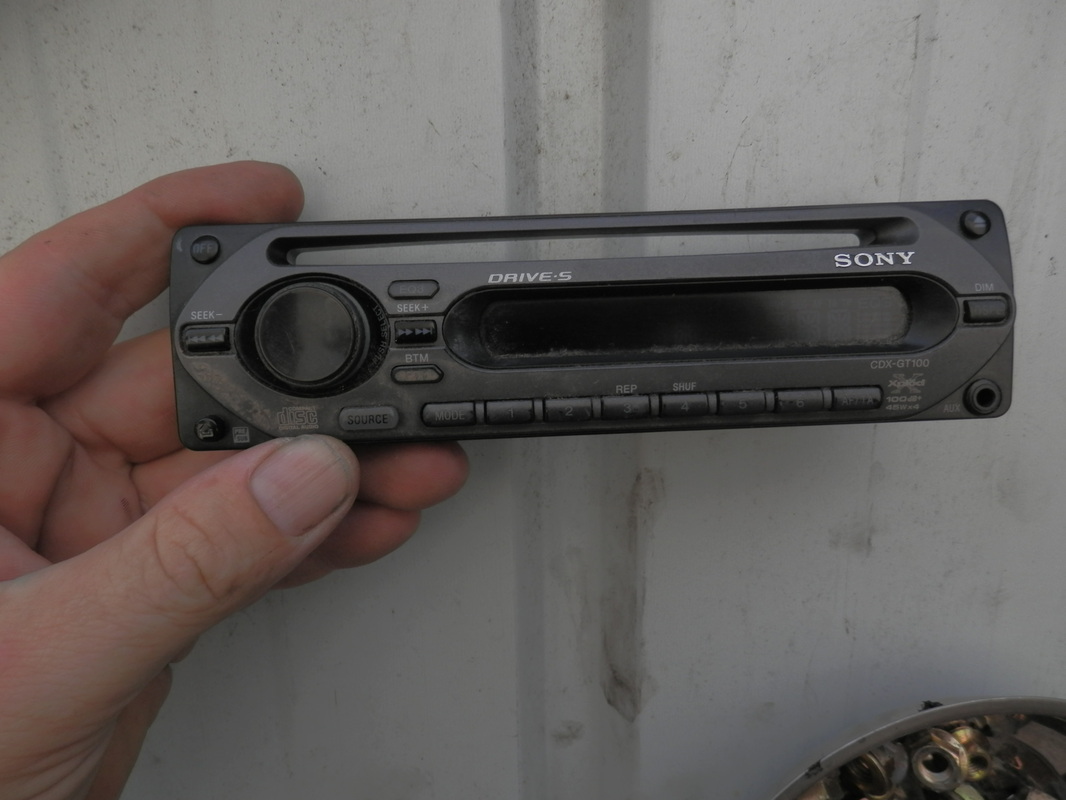
I have found.
a new black sony surround
and a few other bits in my man cave
so lets see what we can do.

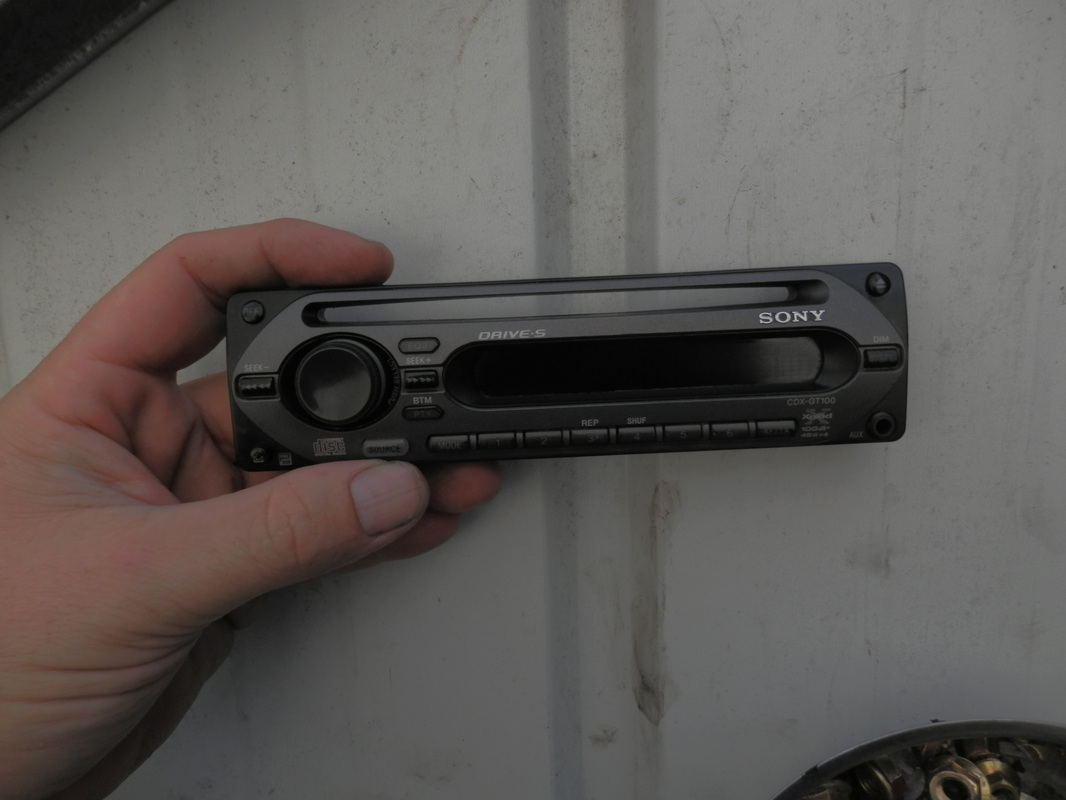
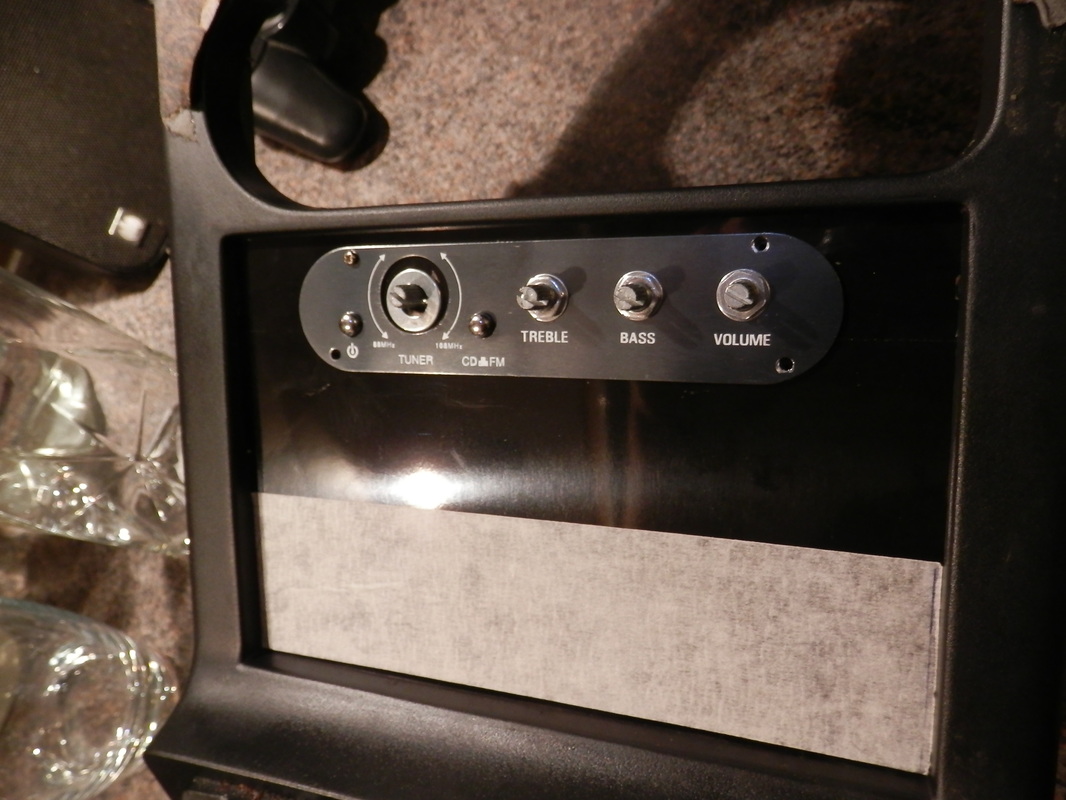
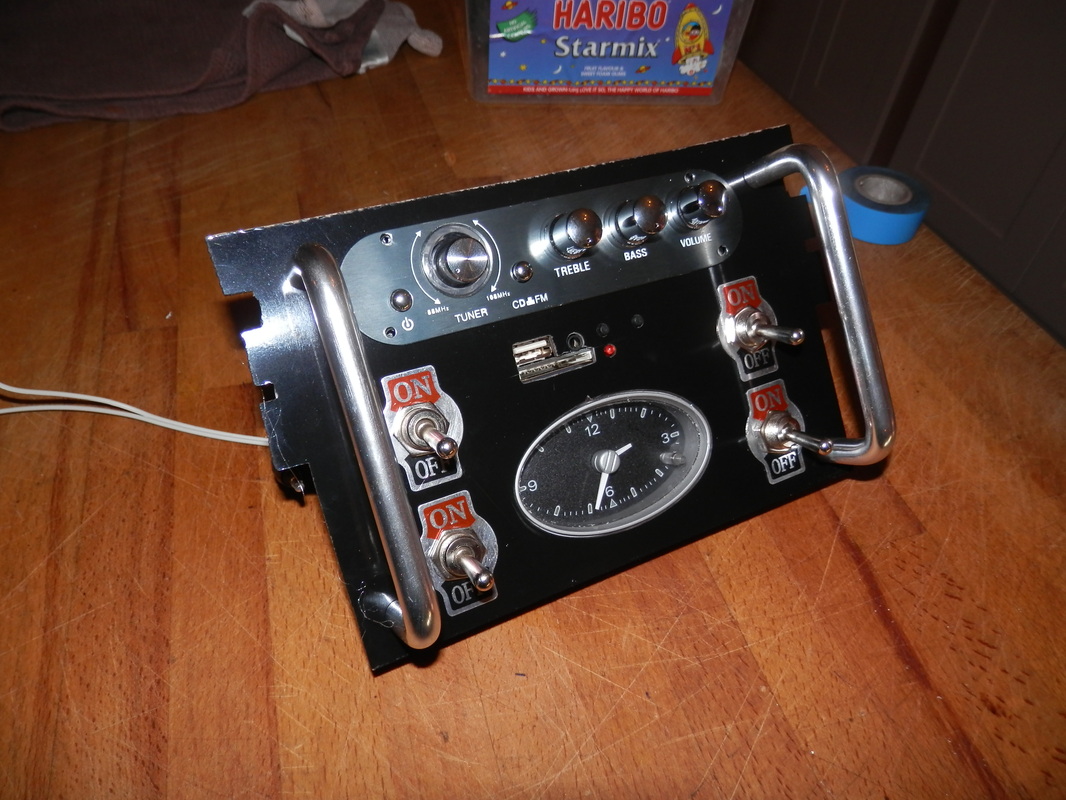
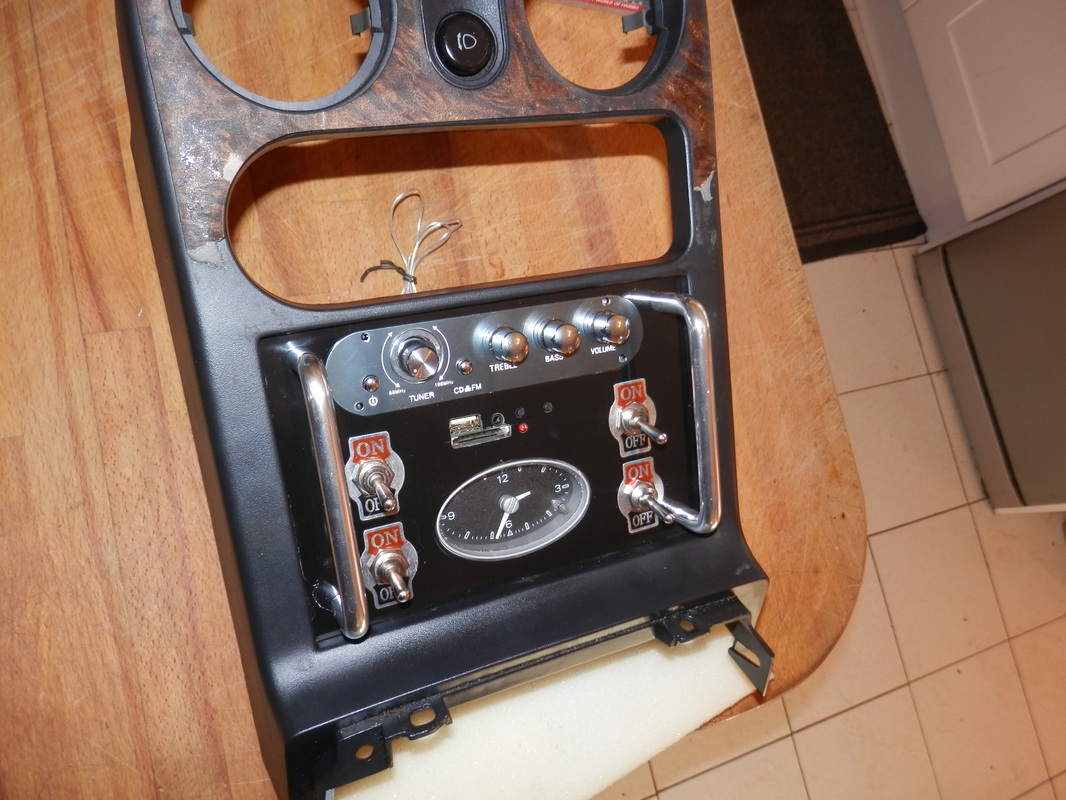
After a good scrub the stereo face looks good and i think it can stay
also the black sony surround i found fitted well
and
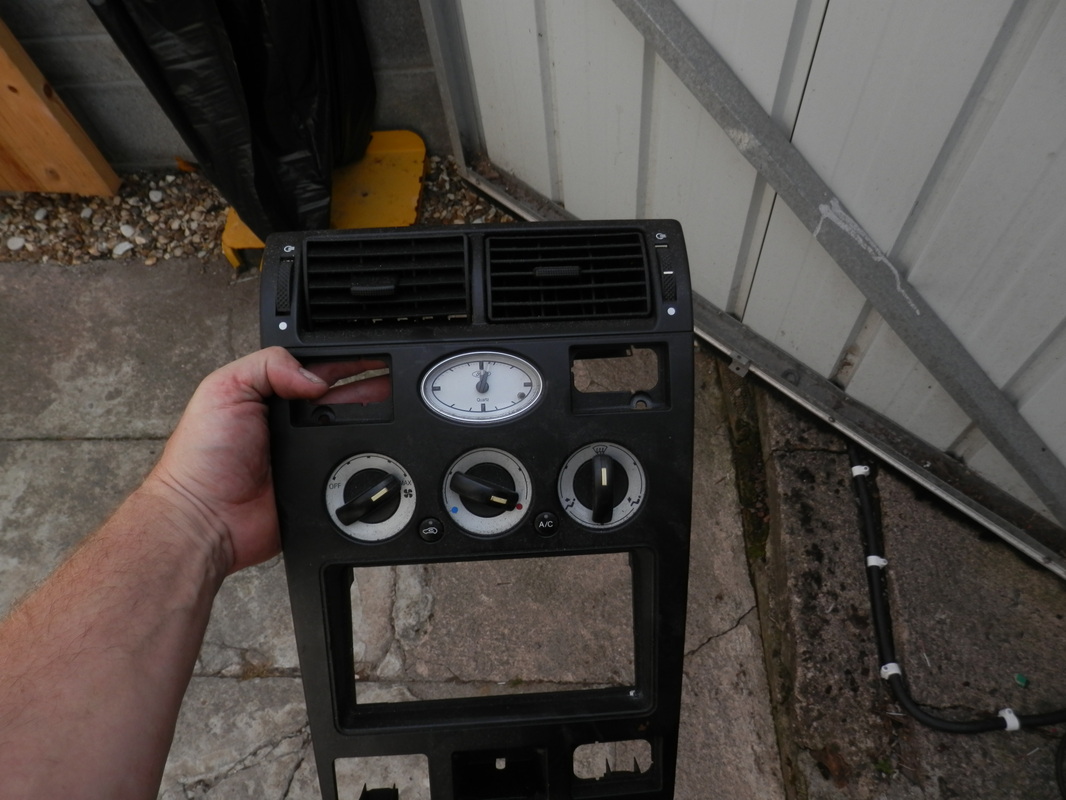
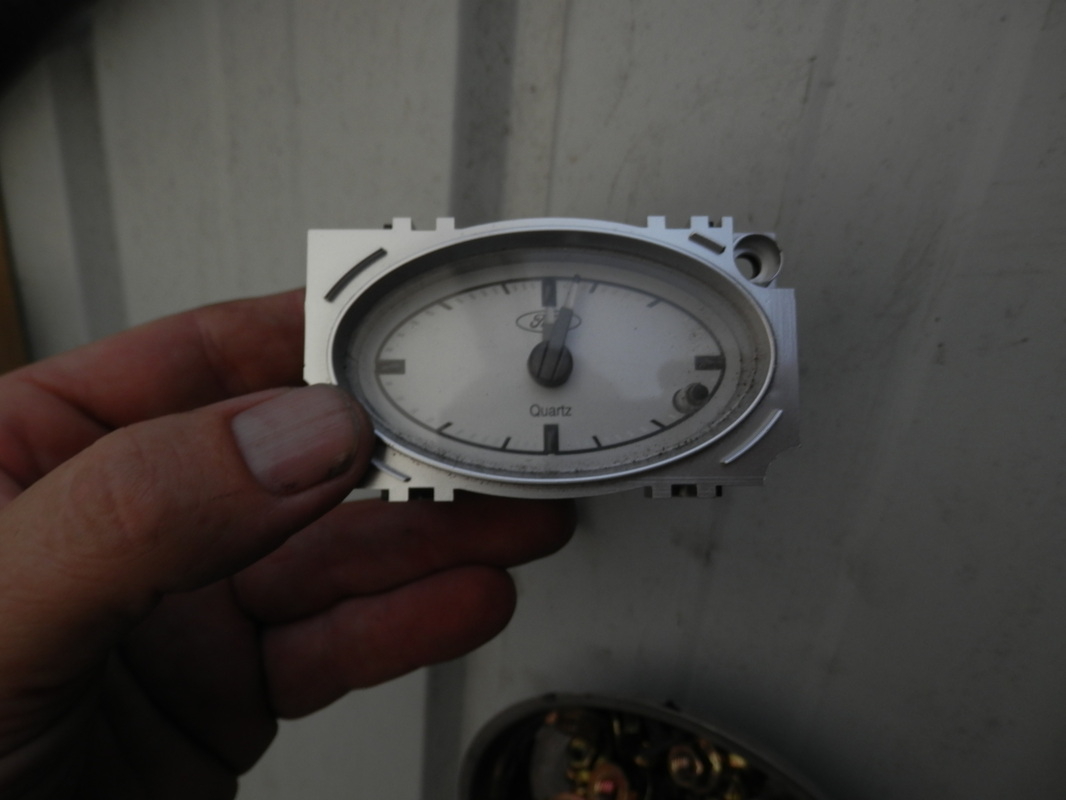
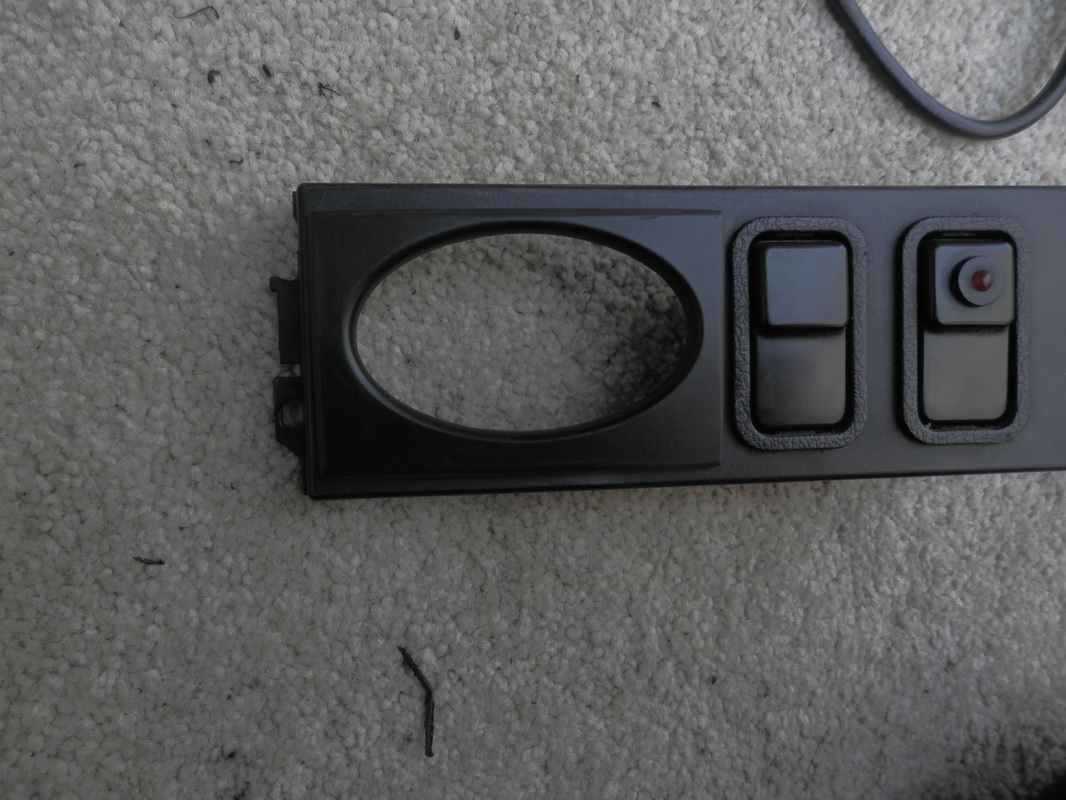
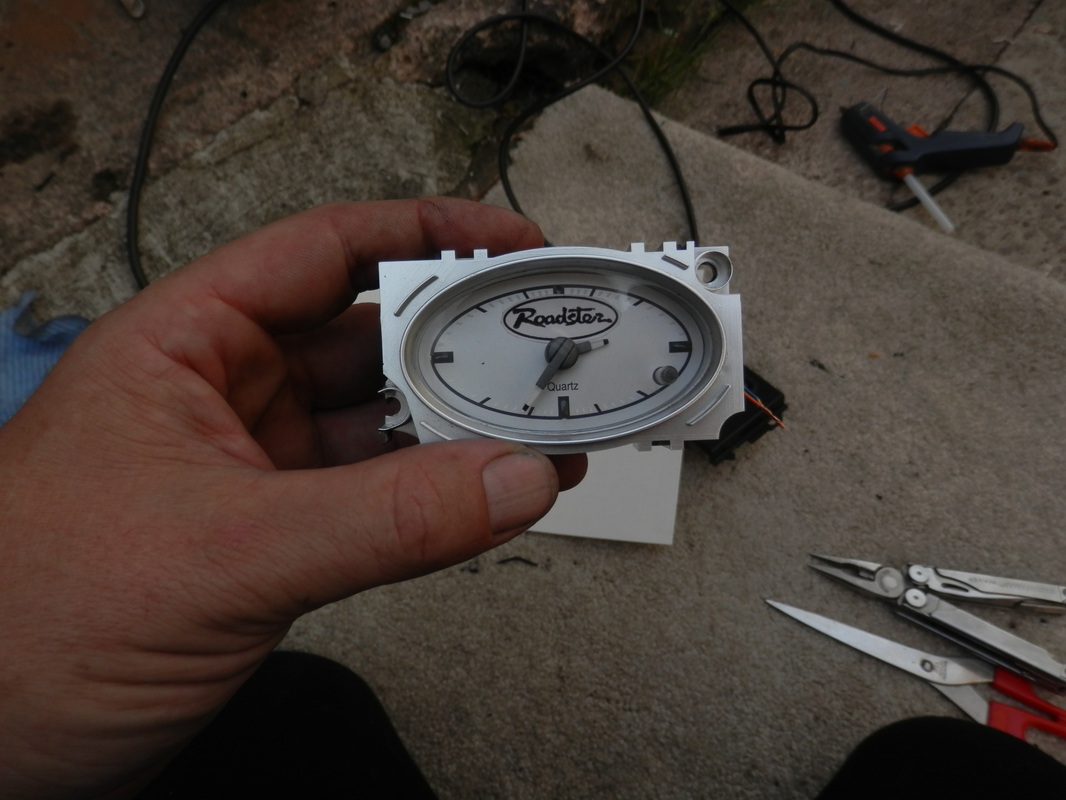
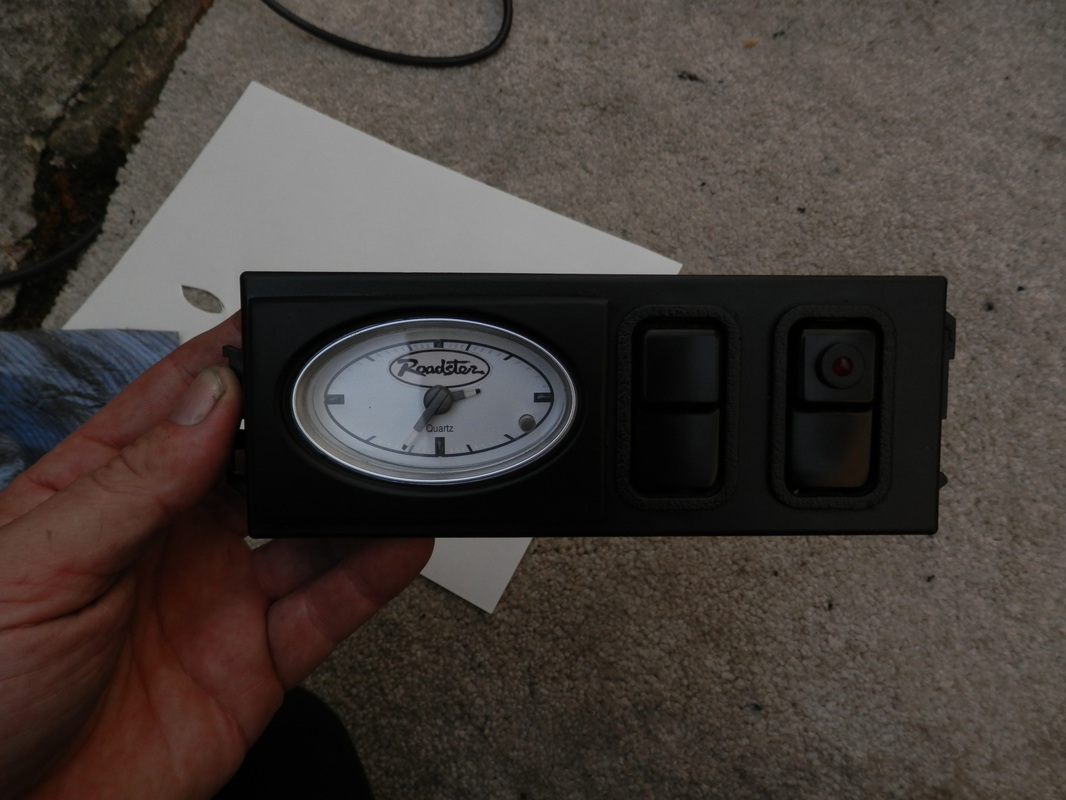
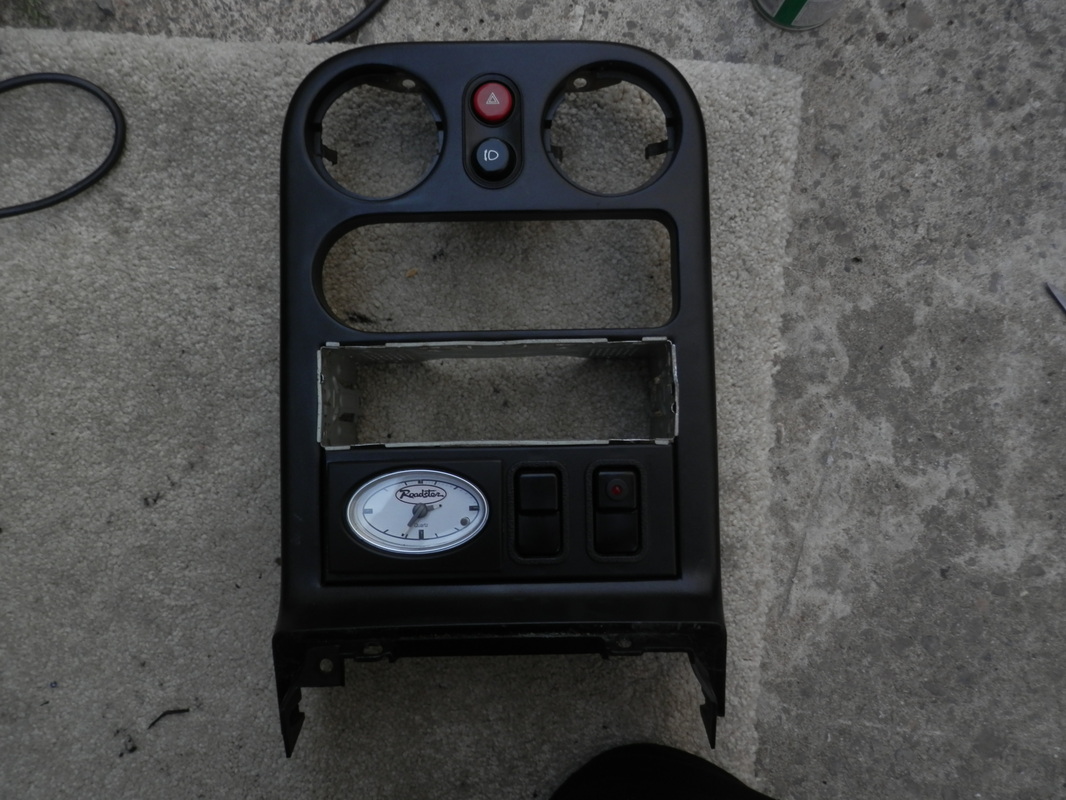
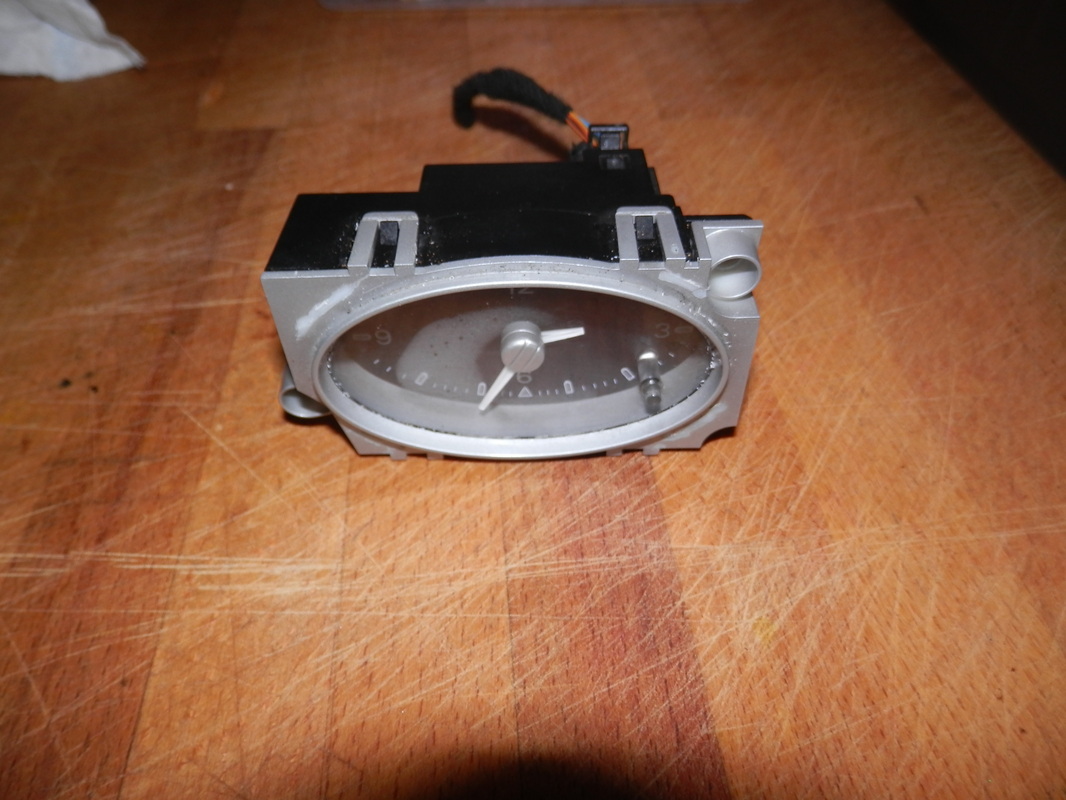
I also found hiding in the back an old ford Mondeo clock
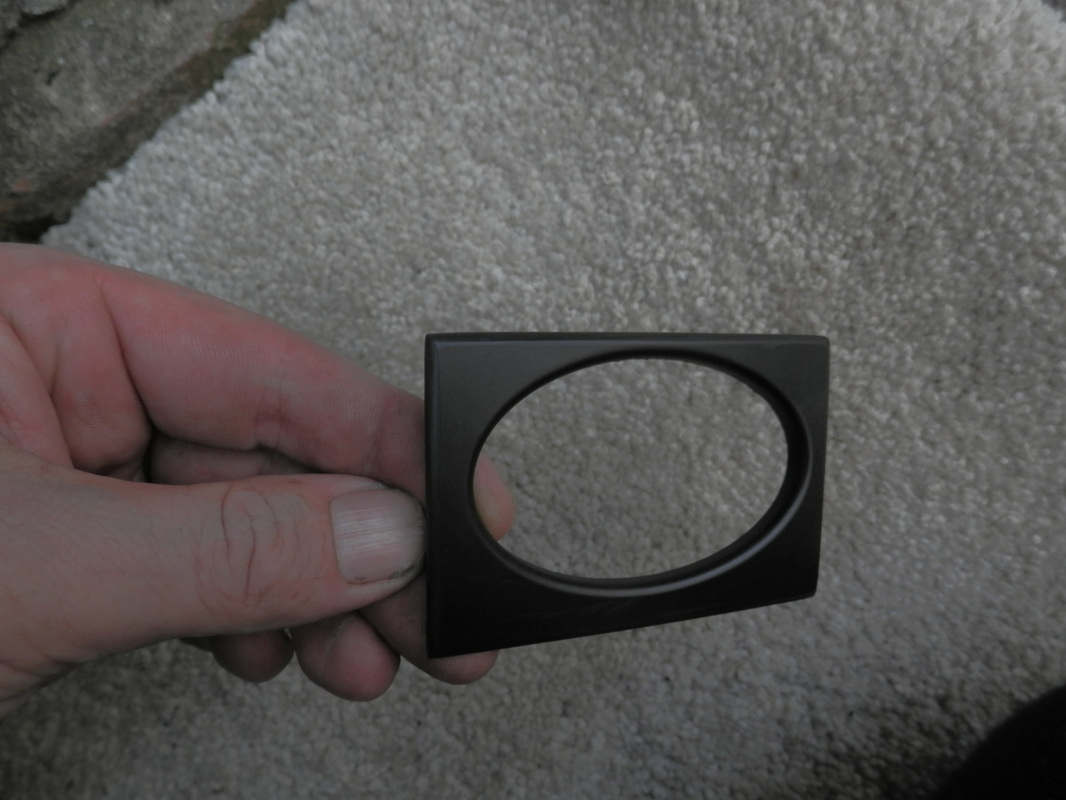
and an old mk1 blanking plate
hmm what can we do with these
i will let the pictures speak.
also the black sony surround i found fitted well
and
I also found hiding in the back an old ford Mondeo clock
and an old mk1 blanking plate
hmm what can we do with these
i will let the pictures speak.


Sat
1/08/2013
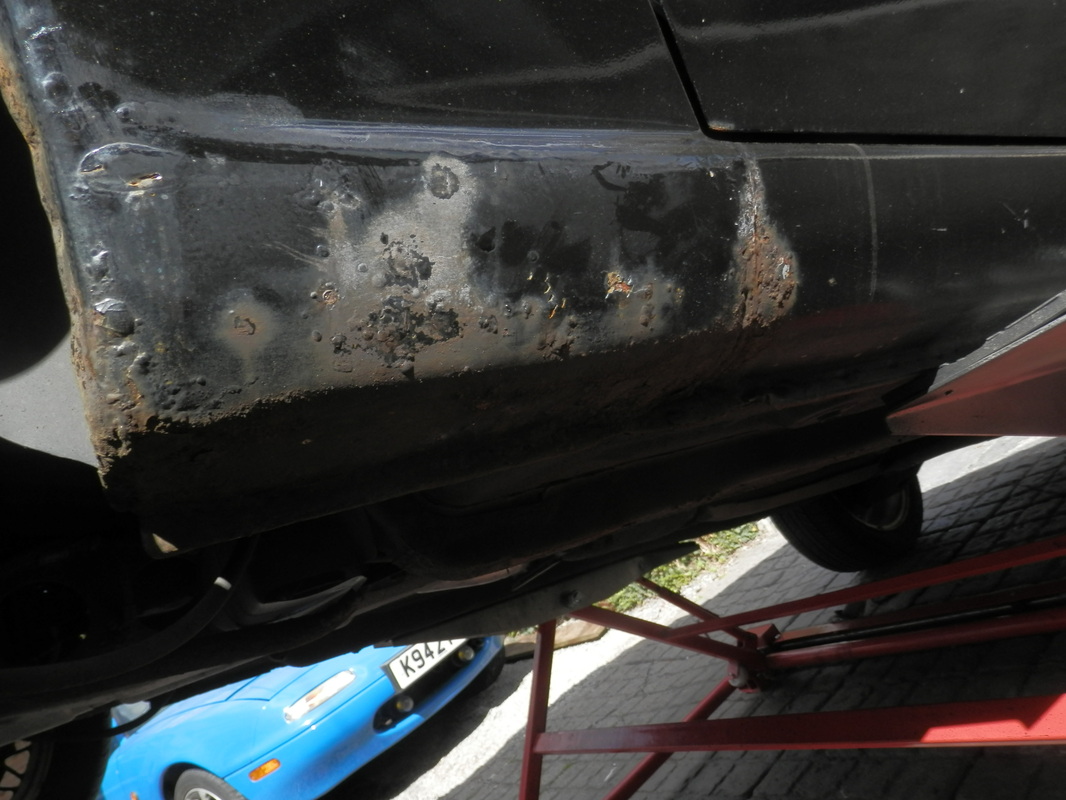
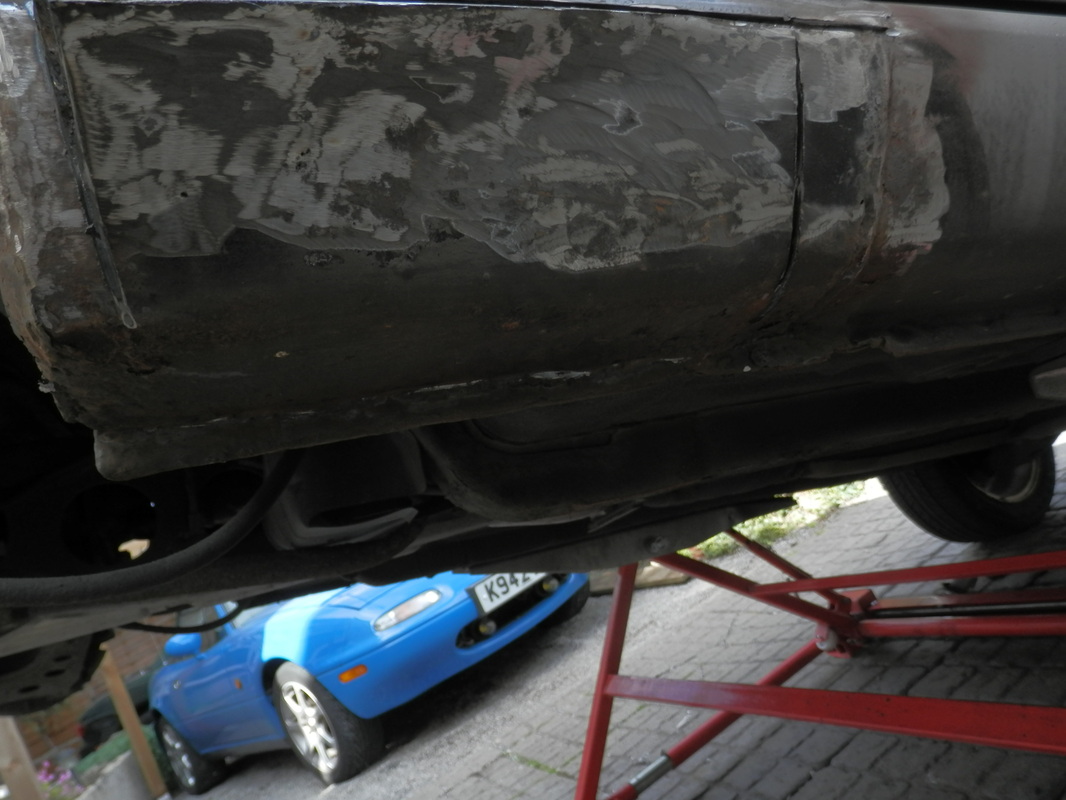
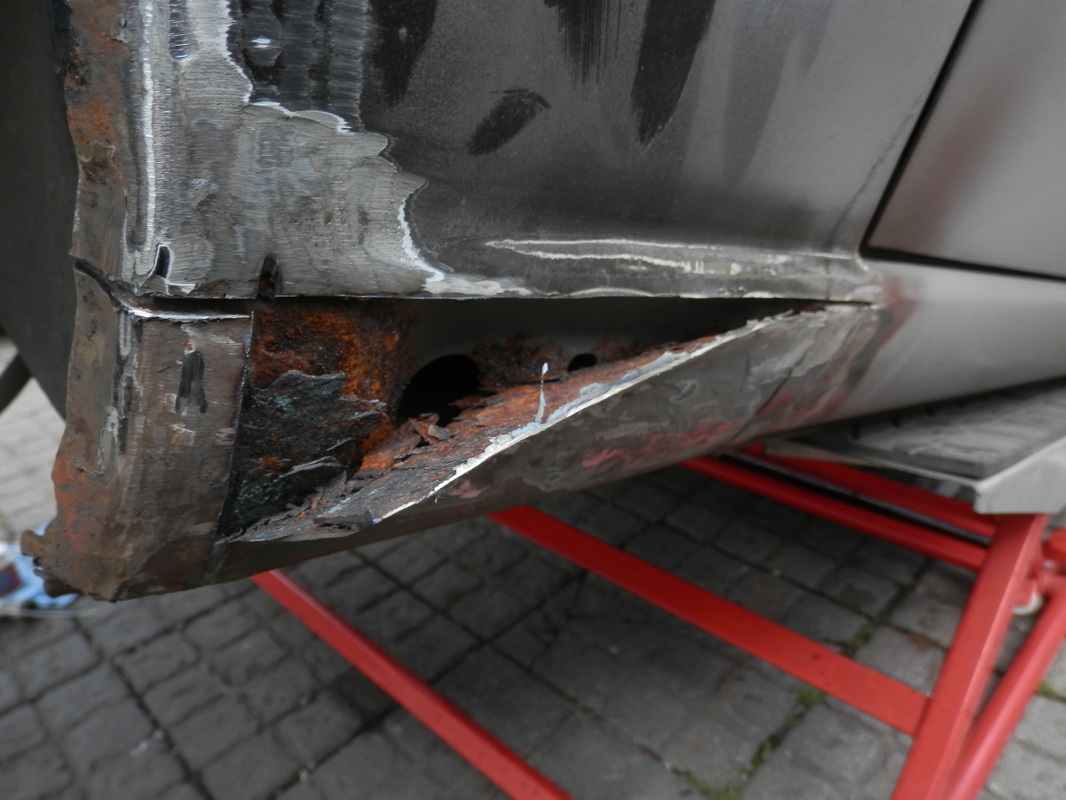
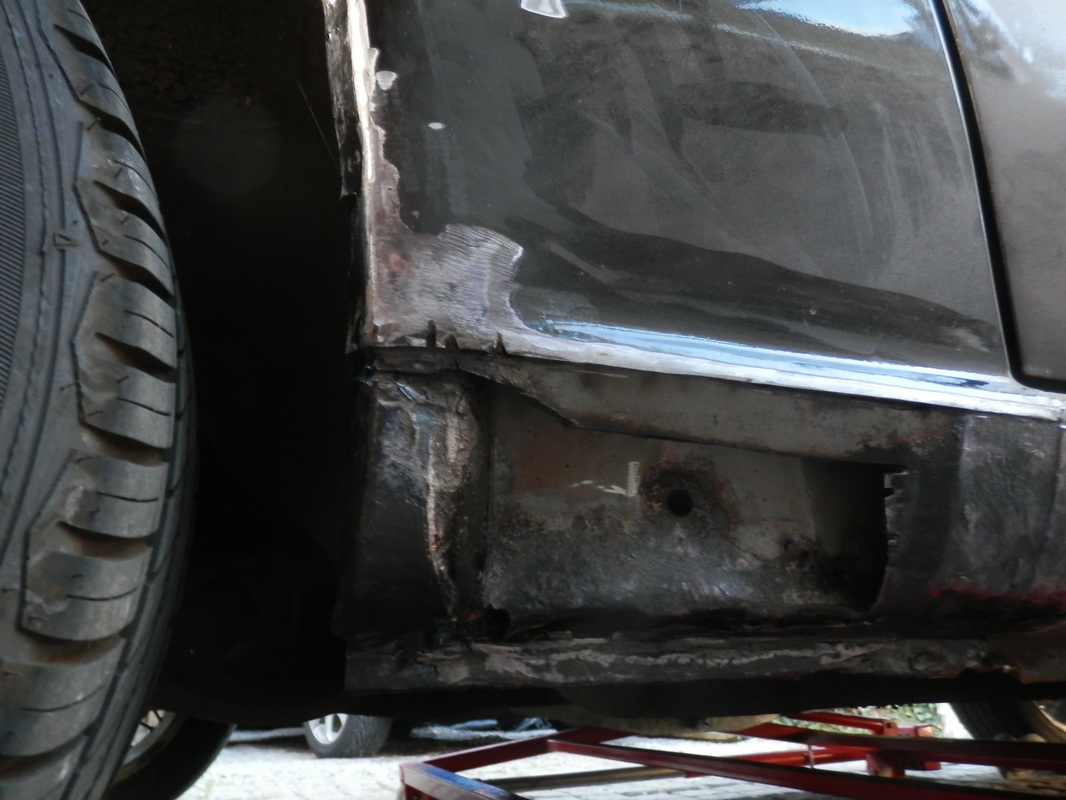
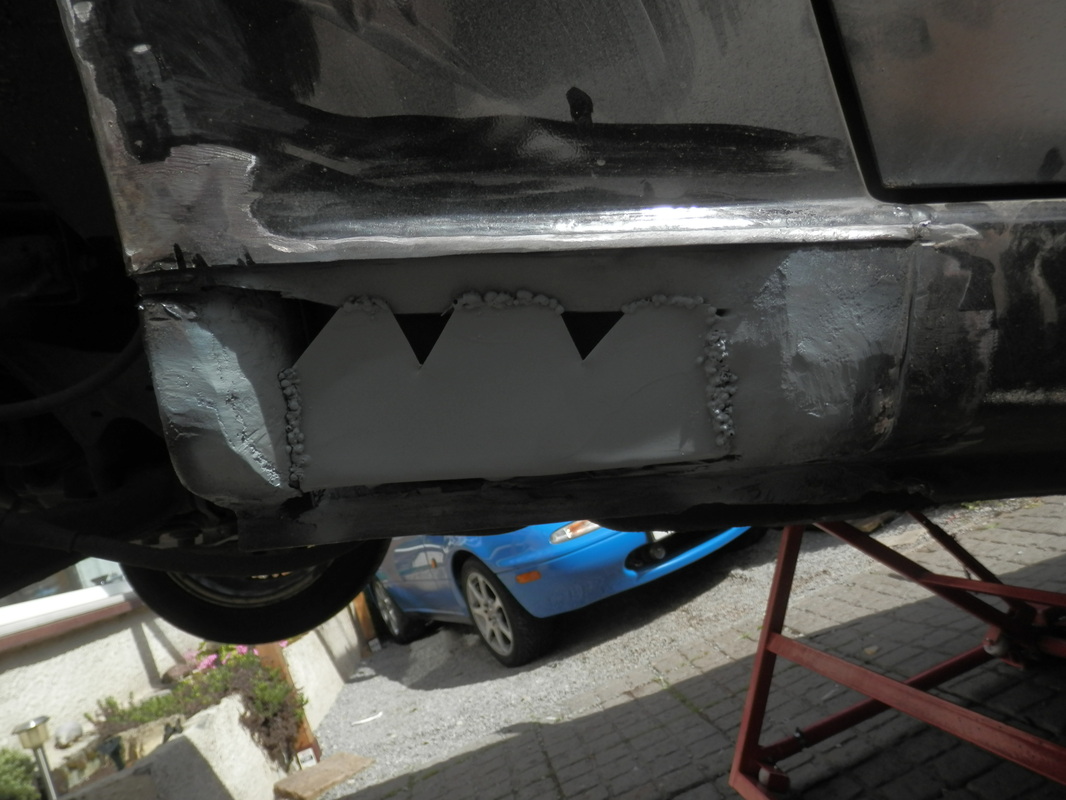
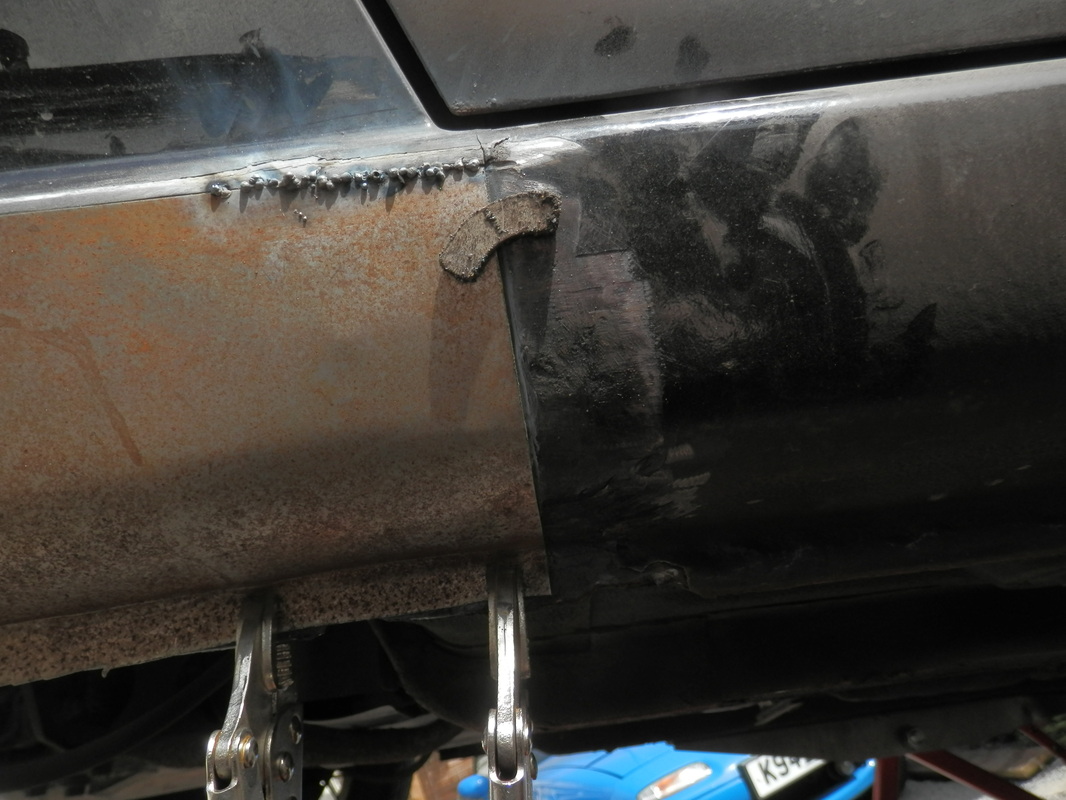
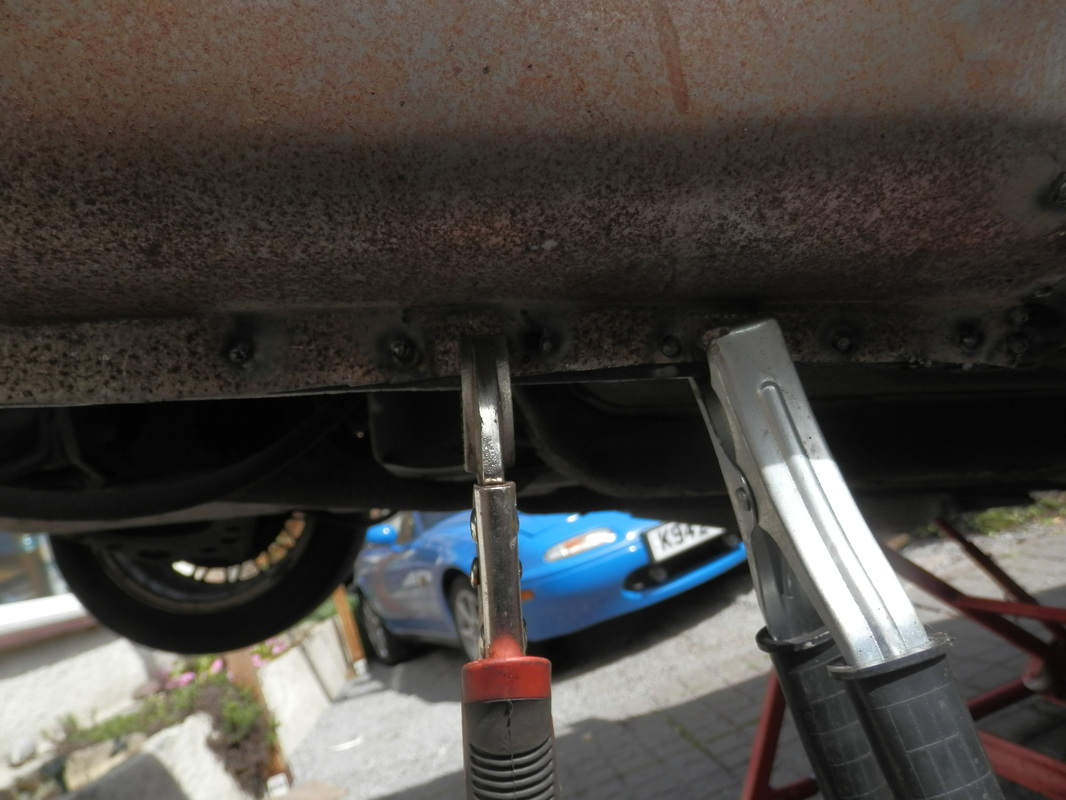
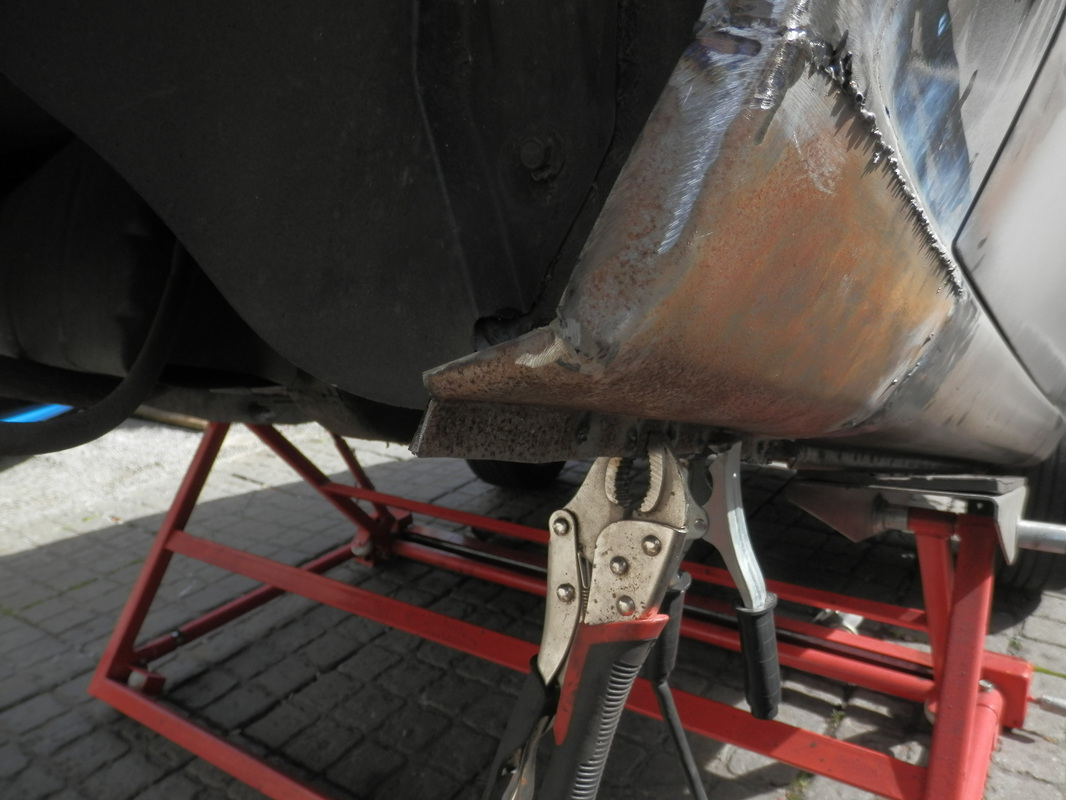
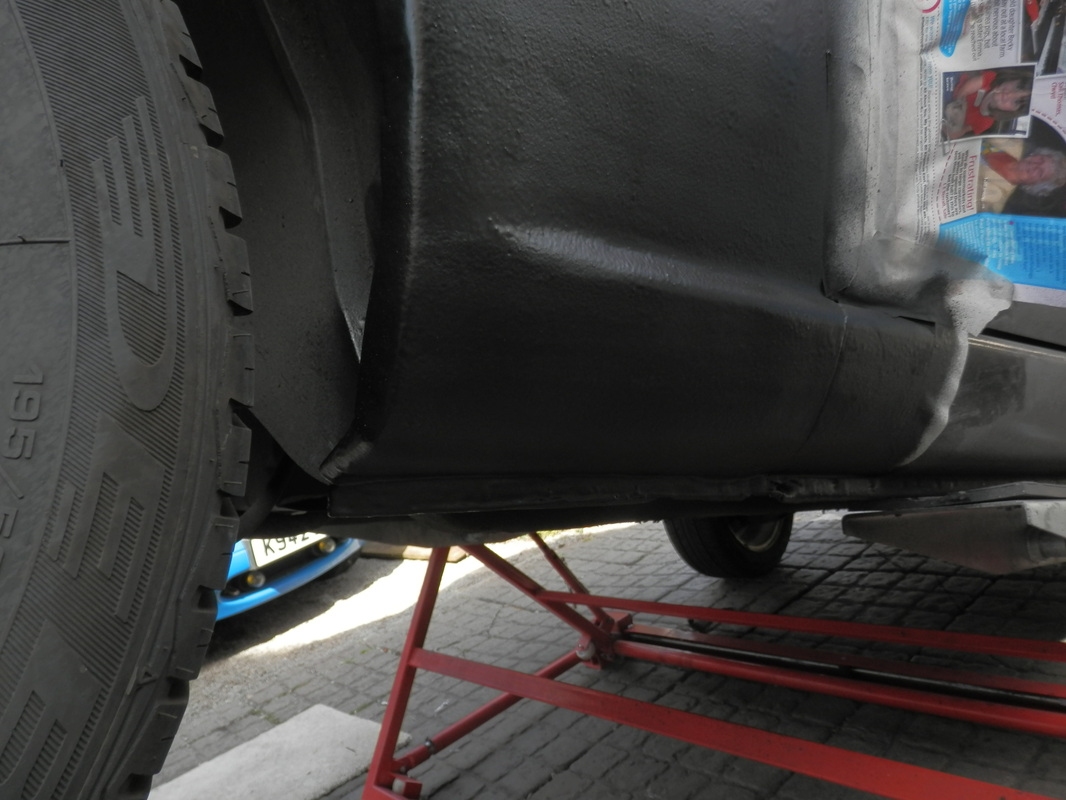
today is cut out the rusty sills day and oh my what a fun day it was to.
the passenger side which i thought was just a bit of bubbling is nasty and will need patching
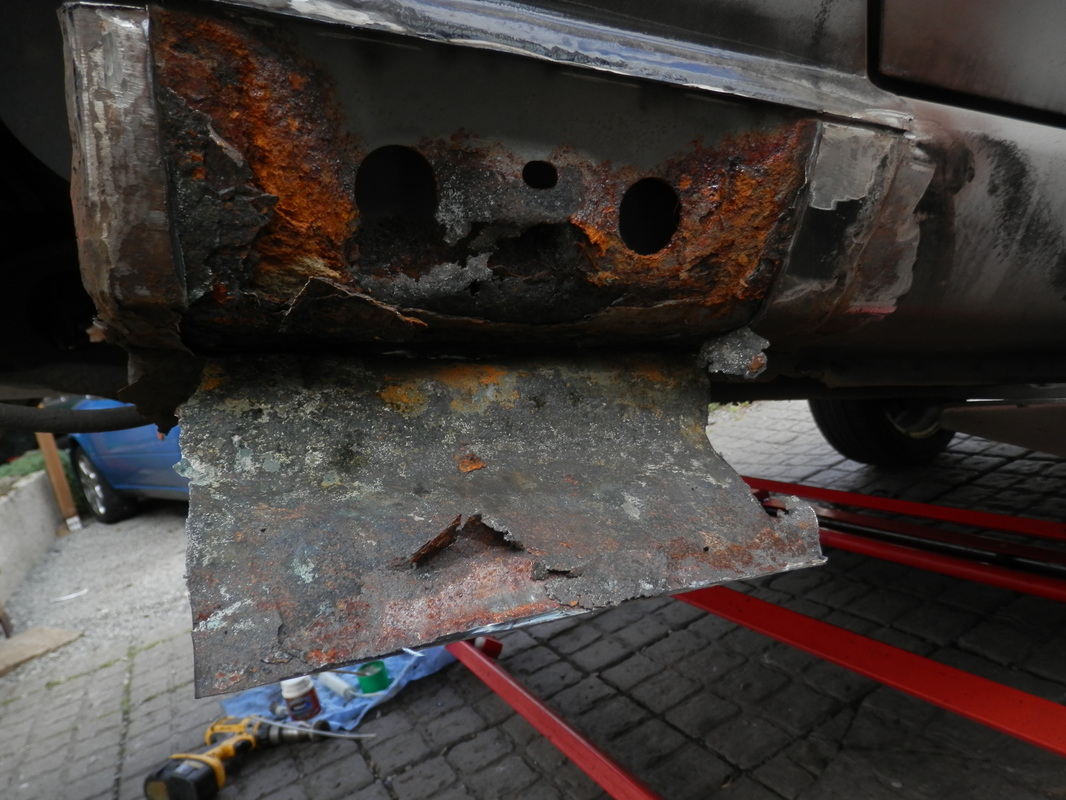
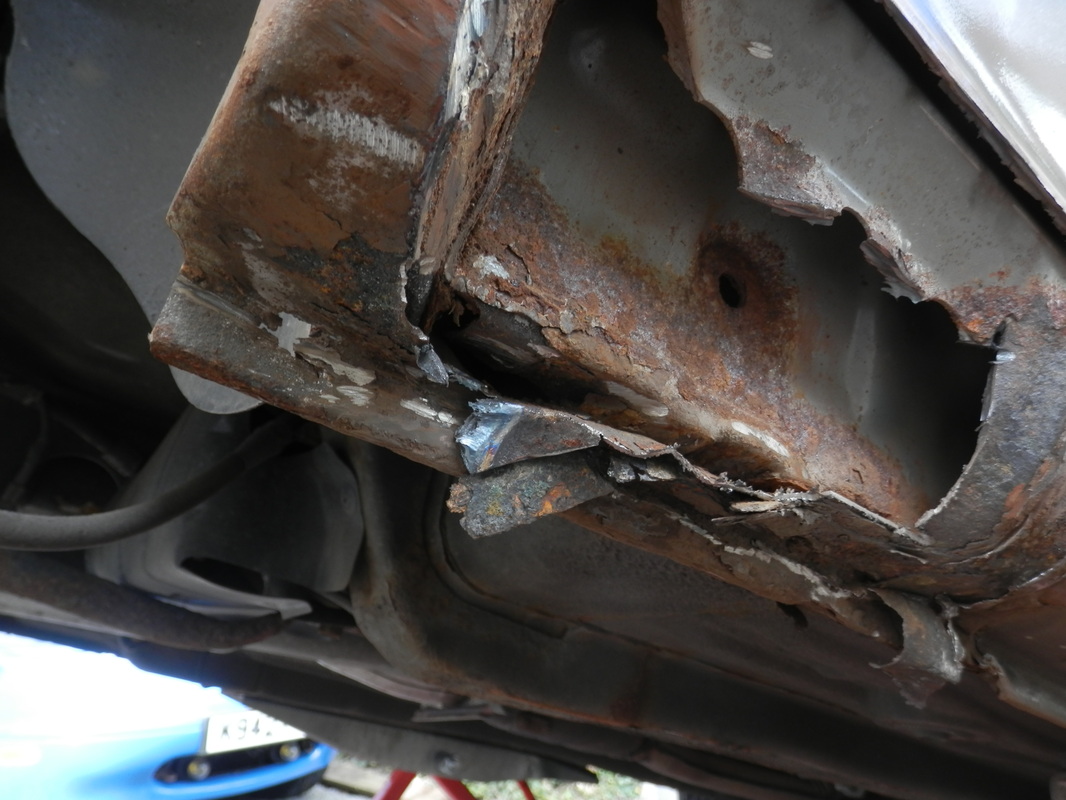
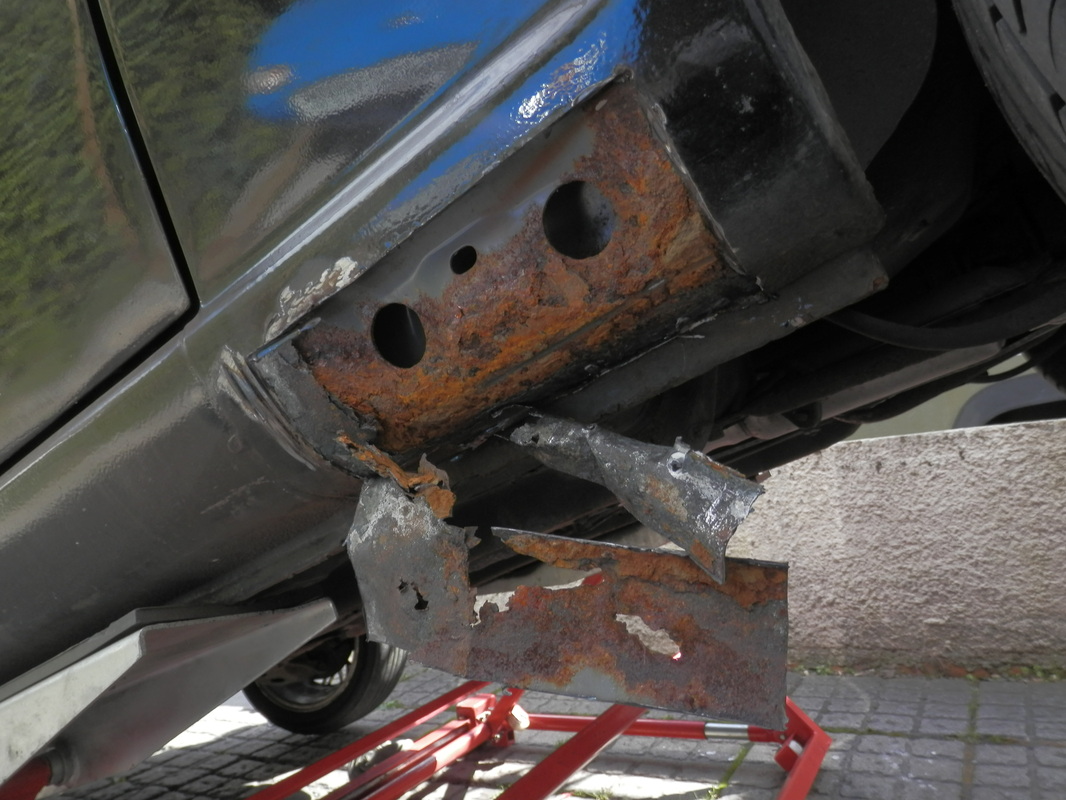
drivers side is bad real bad as you can see inner sill was rotten also
however i was still surprised as it was only resprayed last year
as you can see from the pics the sills had been patched before but it looks like no effort was given to rust prevention
1/08/2013
today is cut out the rusty sills day and oh my what a fun day it was to.
the passenger side which i thought was just a bit of bubbling is nasty and will need patching
drivers side is bad real bad as you can see inner sill was rotten also
however i was still surprised as it was only resprayed last year
as you can see from the pics the sills had been patched before but it looks like no effort was given to rust prevention


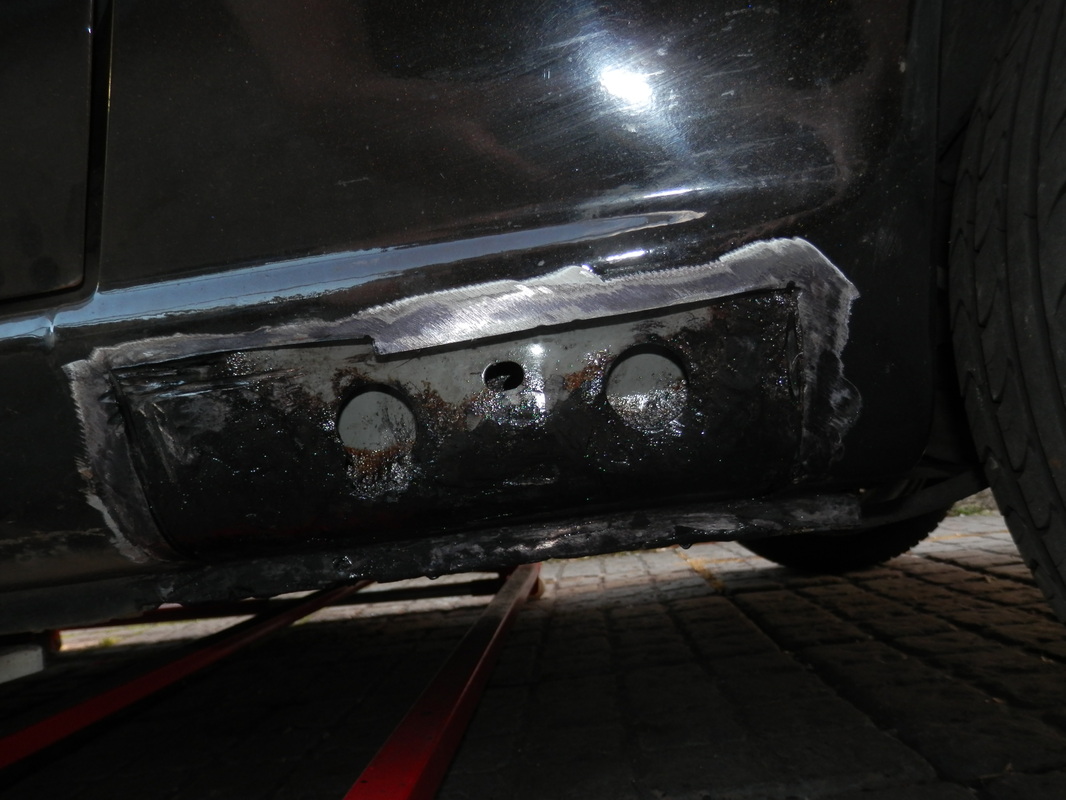
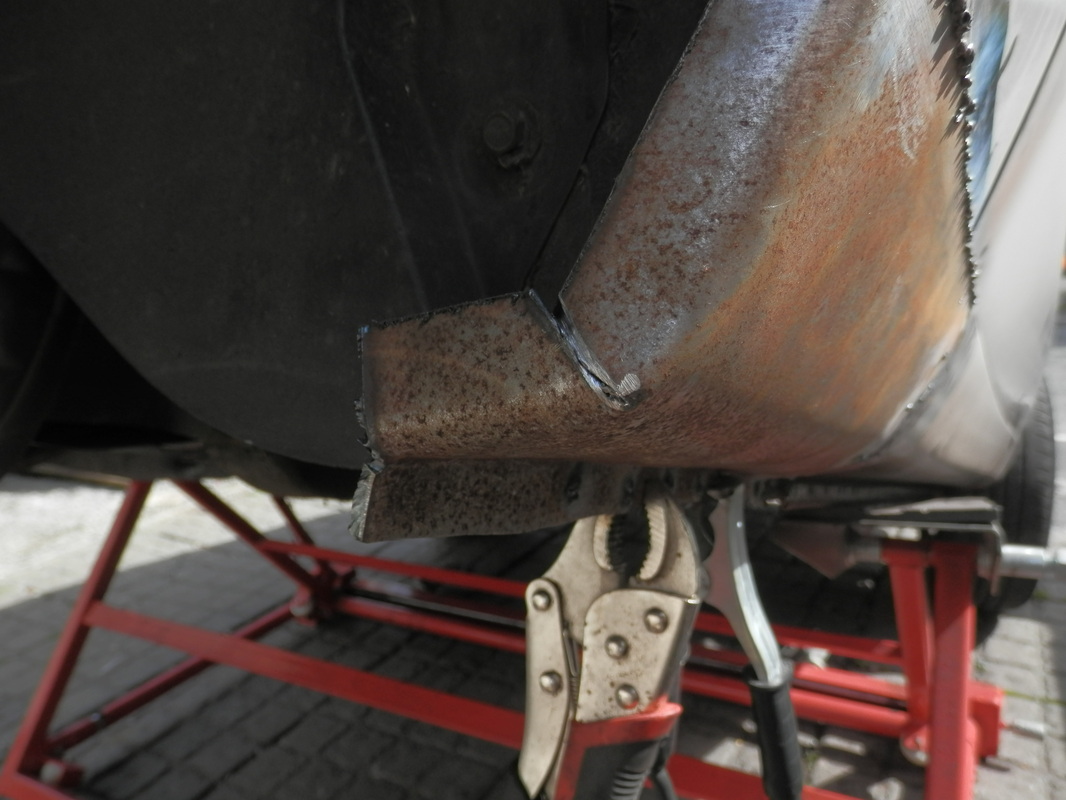
Its weldathon Sunday and so it begins.
I start with the hardest side which is the drivers
as this needs a patch of metal welding in to the inner sill first.
i use some thick steel and i just go to town with the welder. bit of a mess but i wanted some deep penetrating welds
not bothered about cleaning it up as its hidden
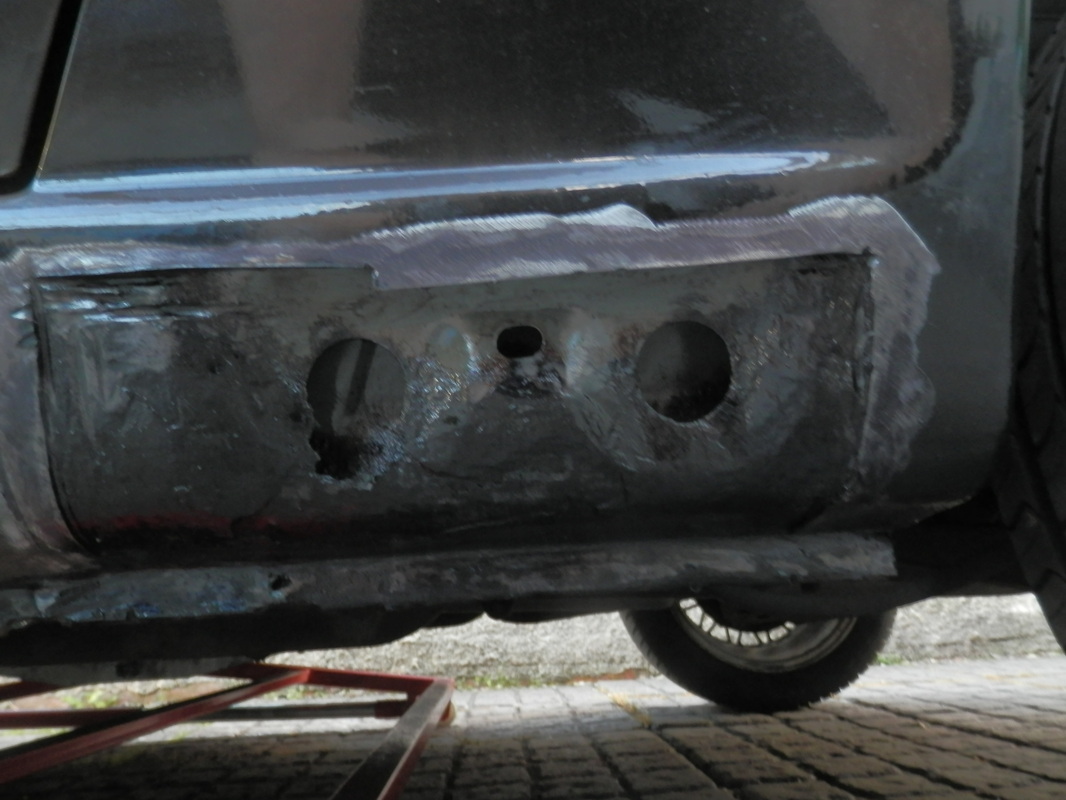
then on to shaping a sill piece to fit
I start with the hardest side which is the drivers
as this needs a patch of metal welding in to the inner sill first.
i use some thick steel and i just go to town with the welder. bit of a mess but i wanted some deep penetrating welds
not bothered about cleaning it up as its hidden
then on to shaping a sill piece to fit


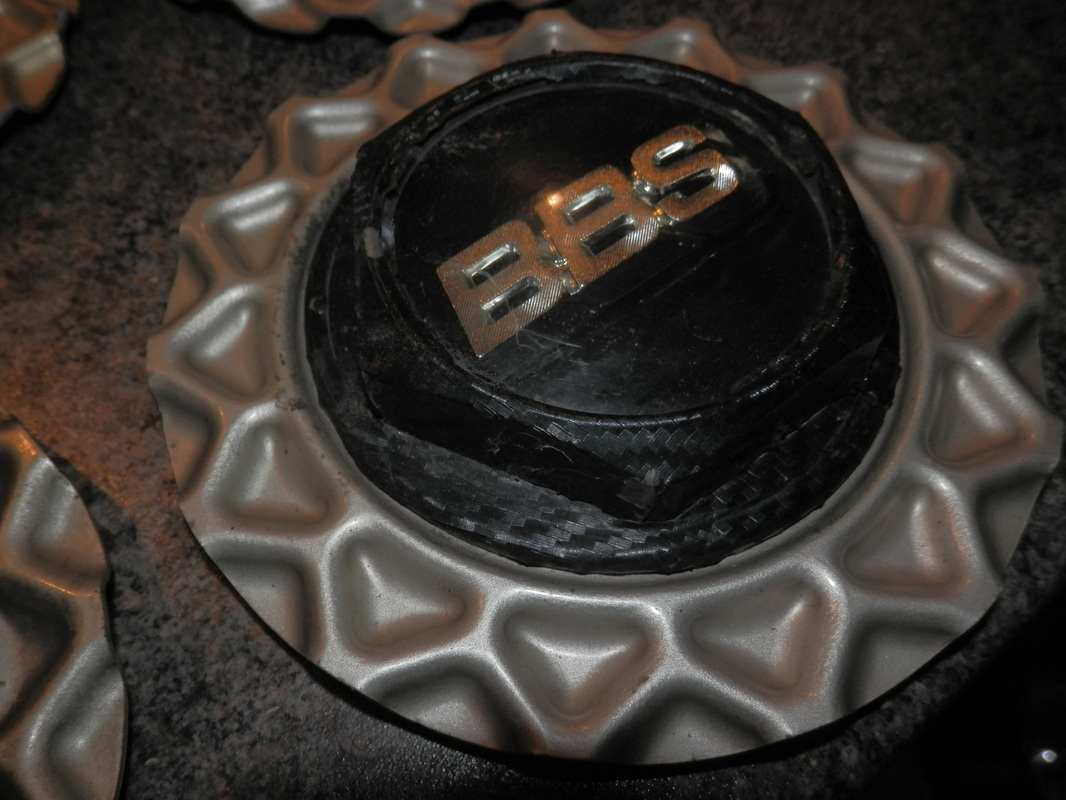
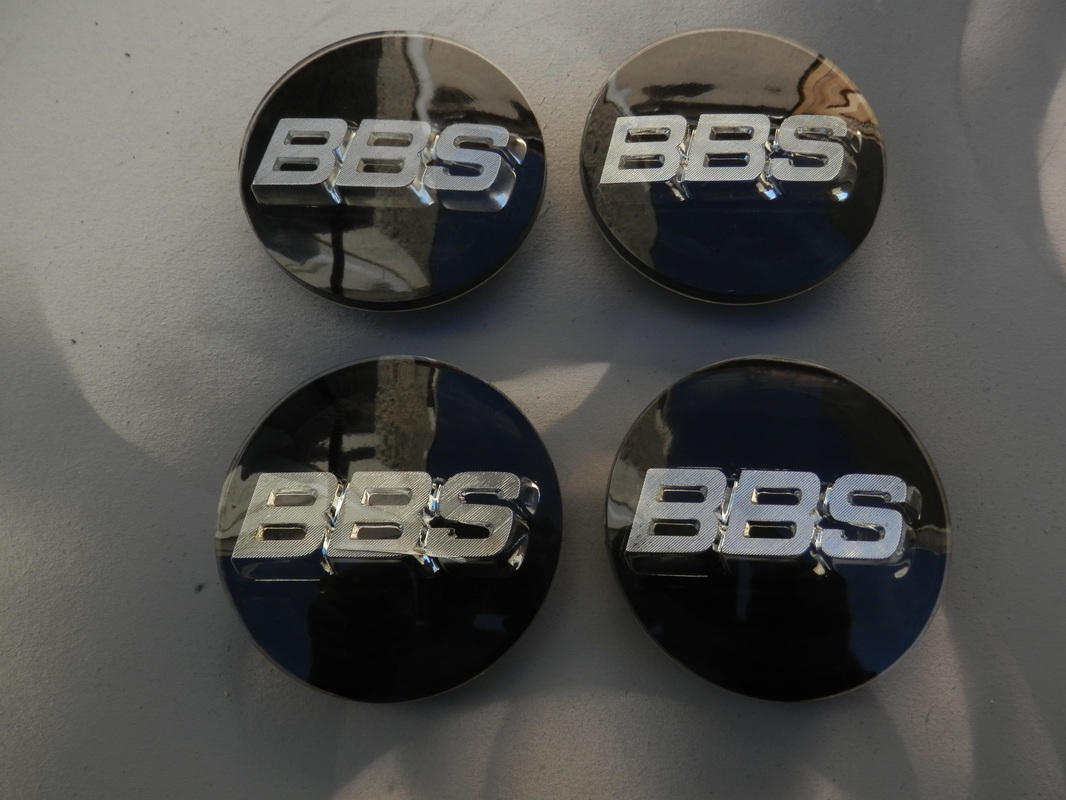
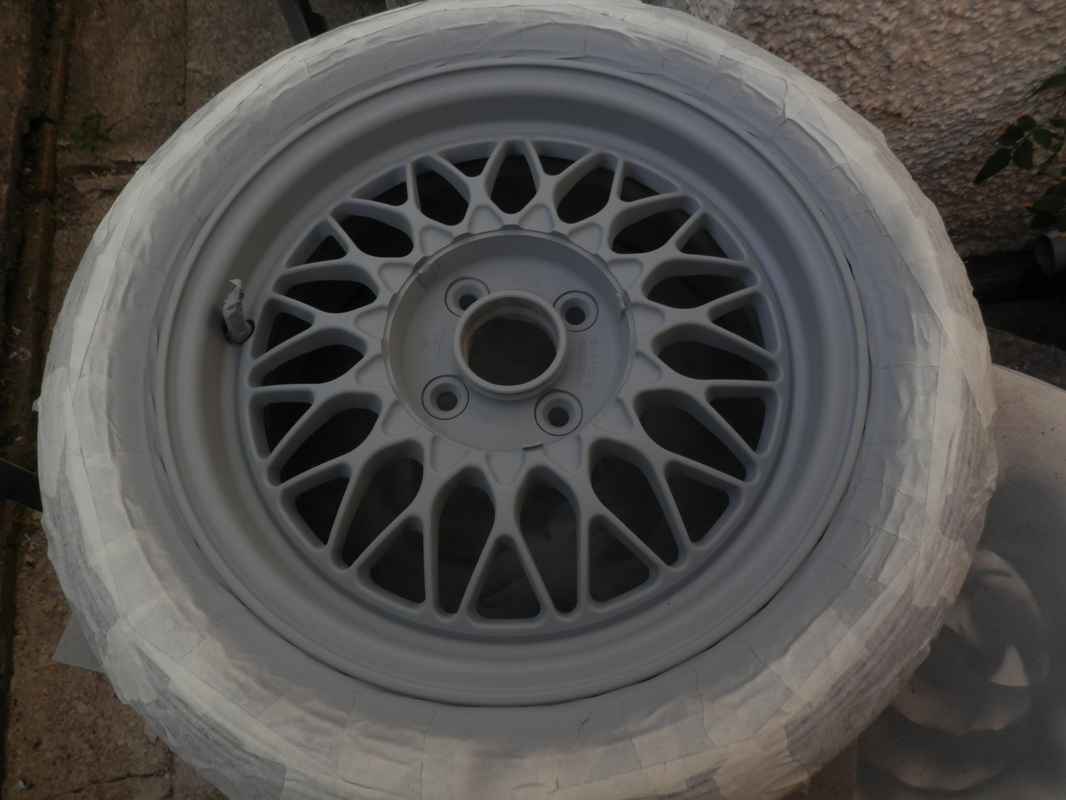
Wheel refurb has started
as Andyk from the nutz forum had sent me a nice replacement centre i thought it rude not to
first job strip the centres down and soak them in soapy cleaner stuff to remove the crud.
as Andyk from the nutz forum had sent me a nice replacement centre i thought it rude not to
first job strip the centres down and soak them in soapy cleaner stuff to remove the crud.


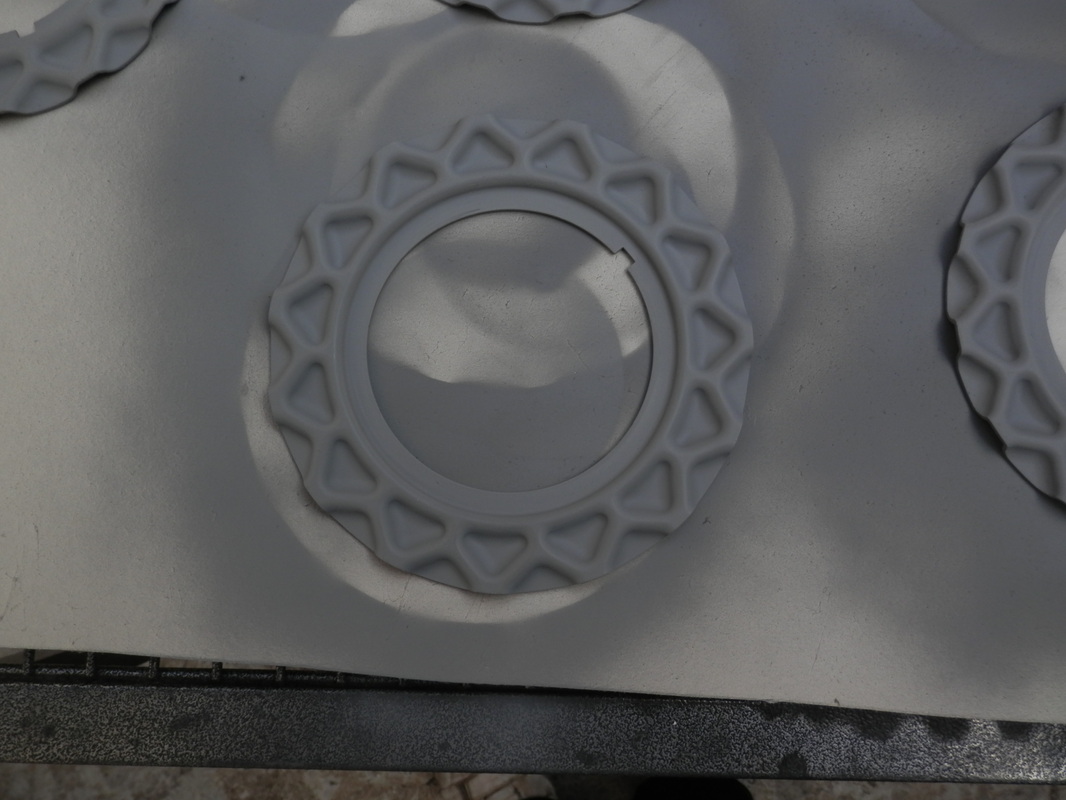
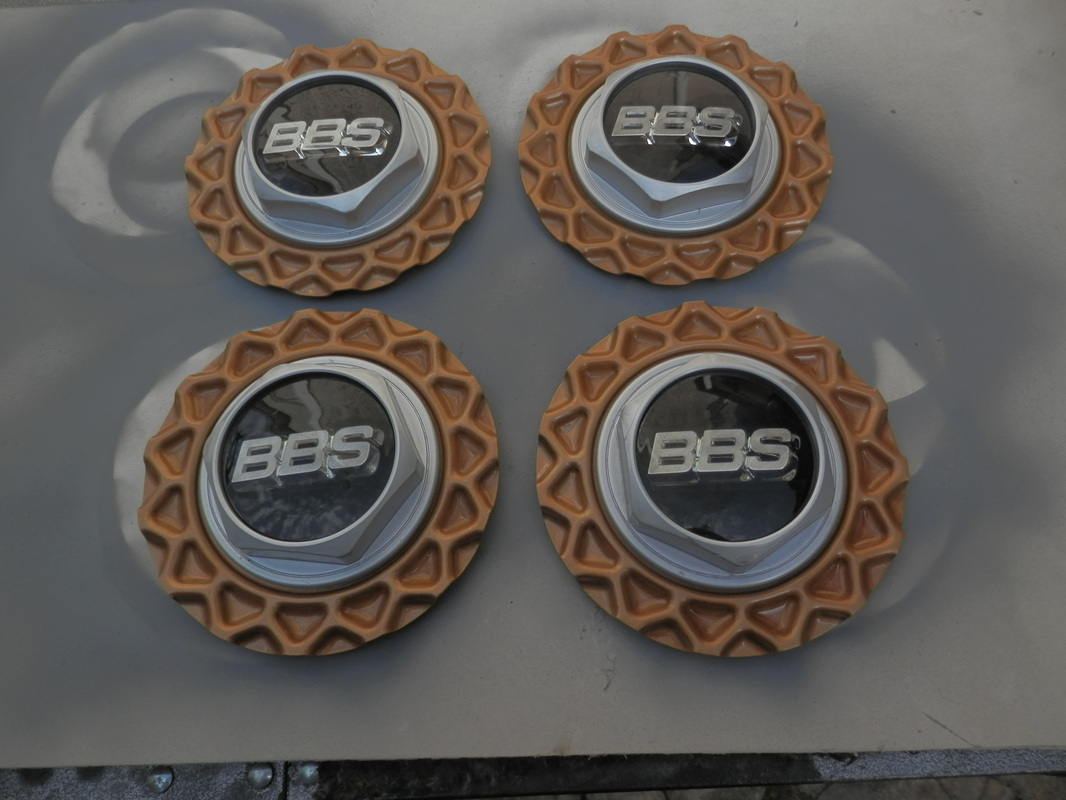
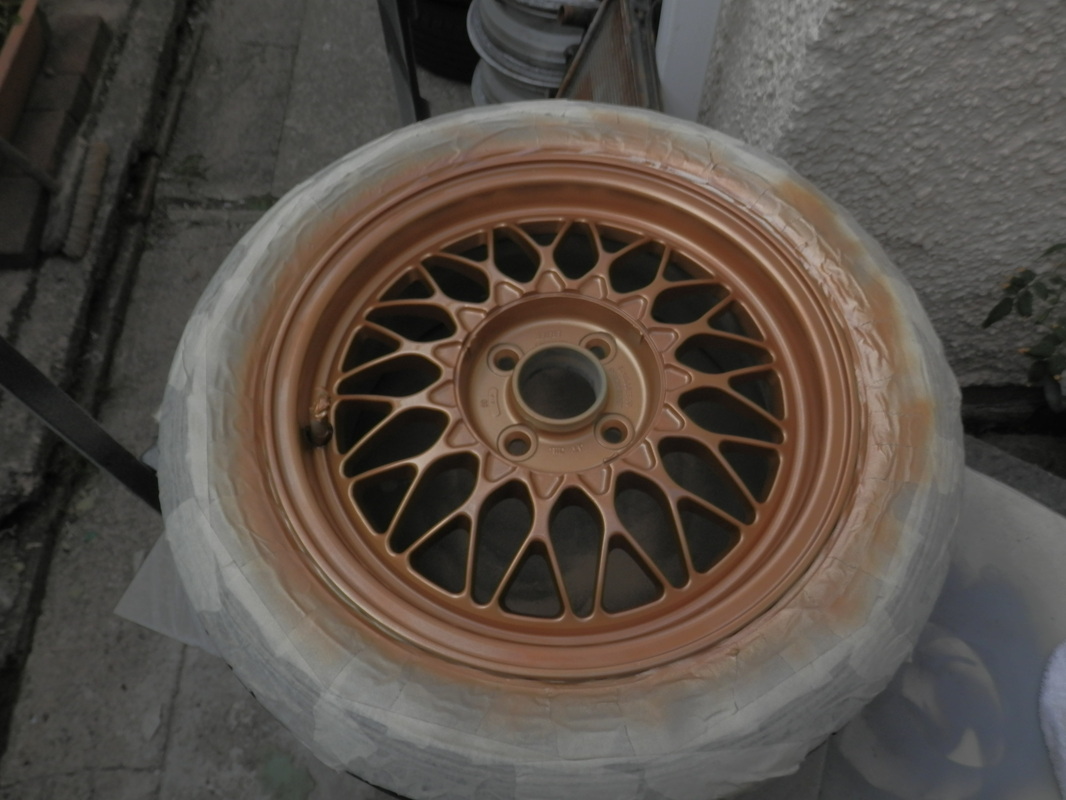
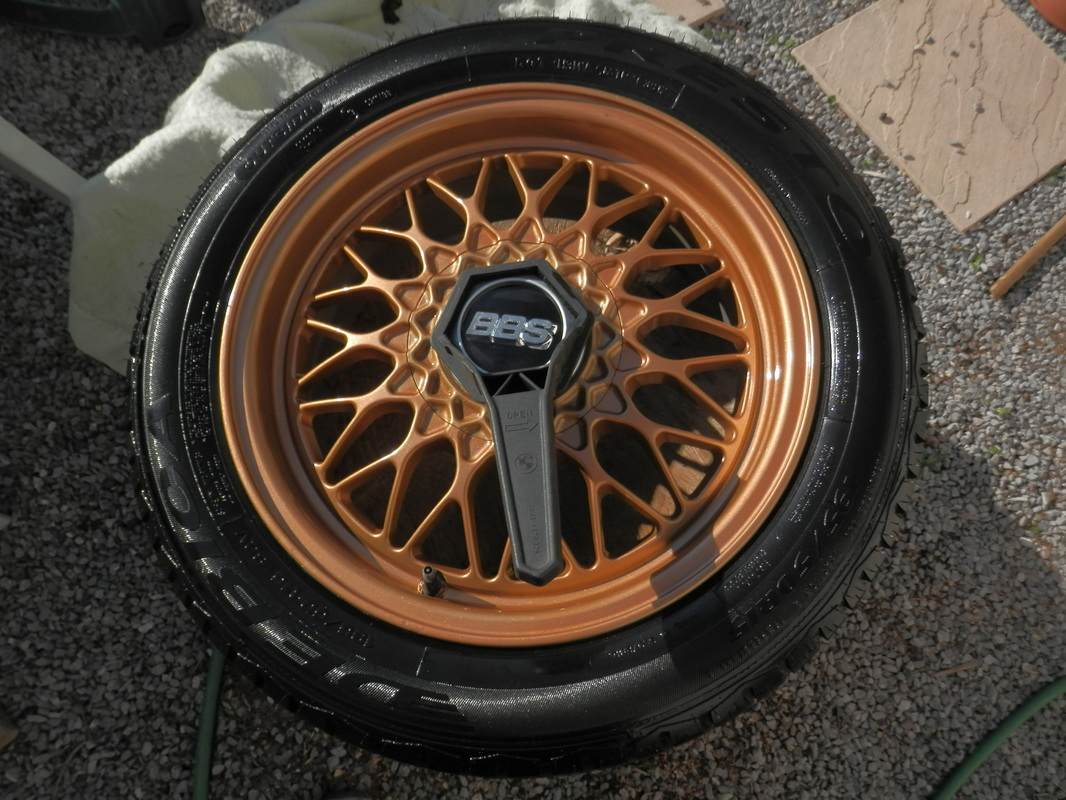
paint time centres first just to see how they turn out
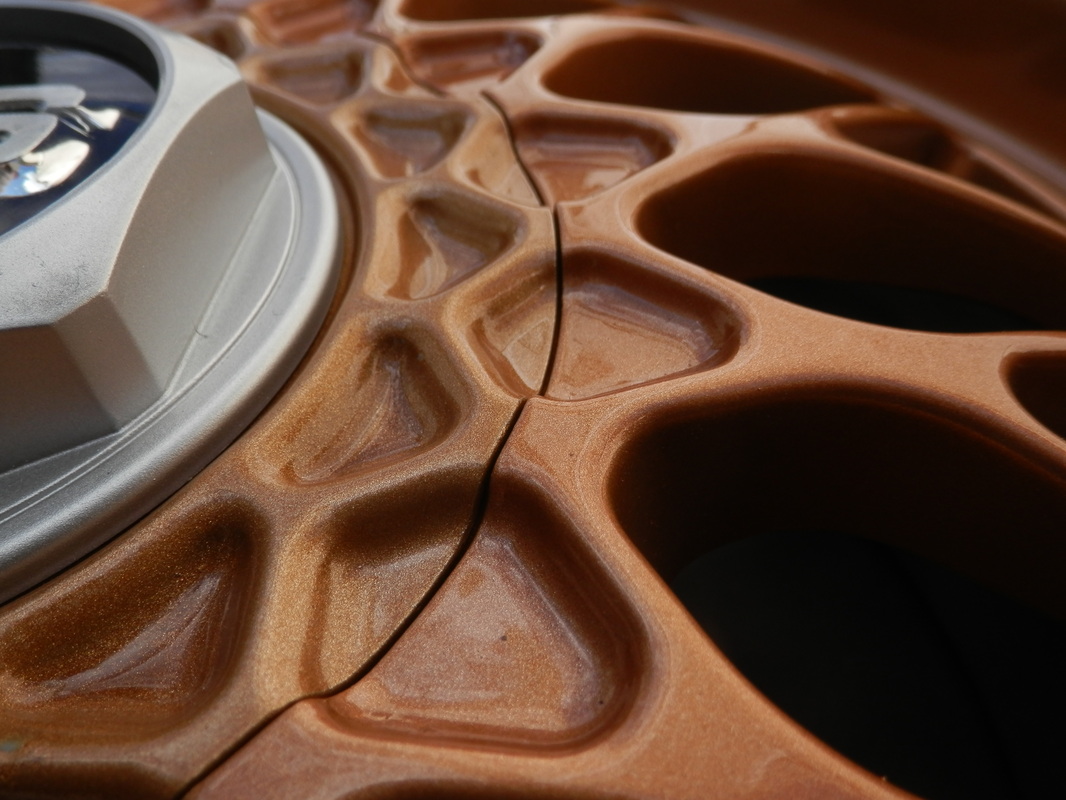
i have gone for a deep gold a lot deeper then BBS intended to be fair but the mx5 they live on has loads of gold fleck in the paint and i am hoping they work.
as i cant find chrome paint im going for a nice silver (grey) for the nuts and possibly the rim of the wheel


On to the rims
after the first coat i ran out off paint so will need to get some more tomorrow.


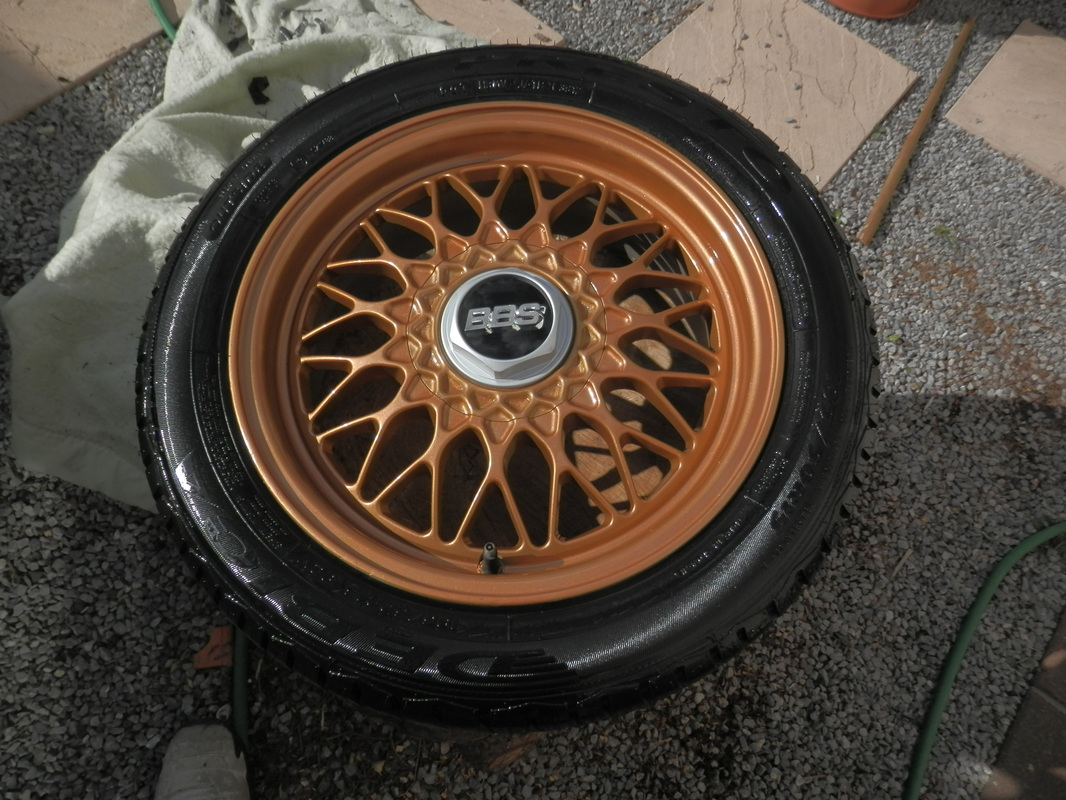
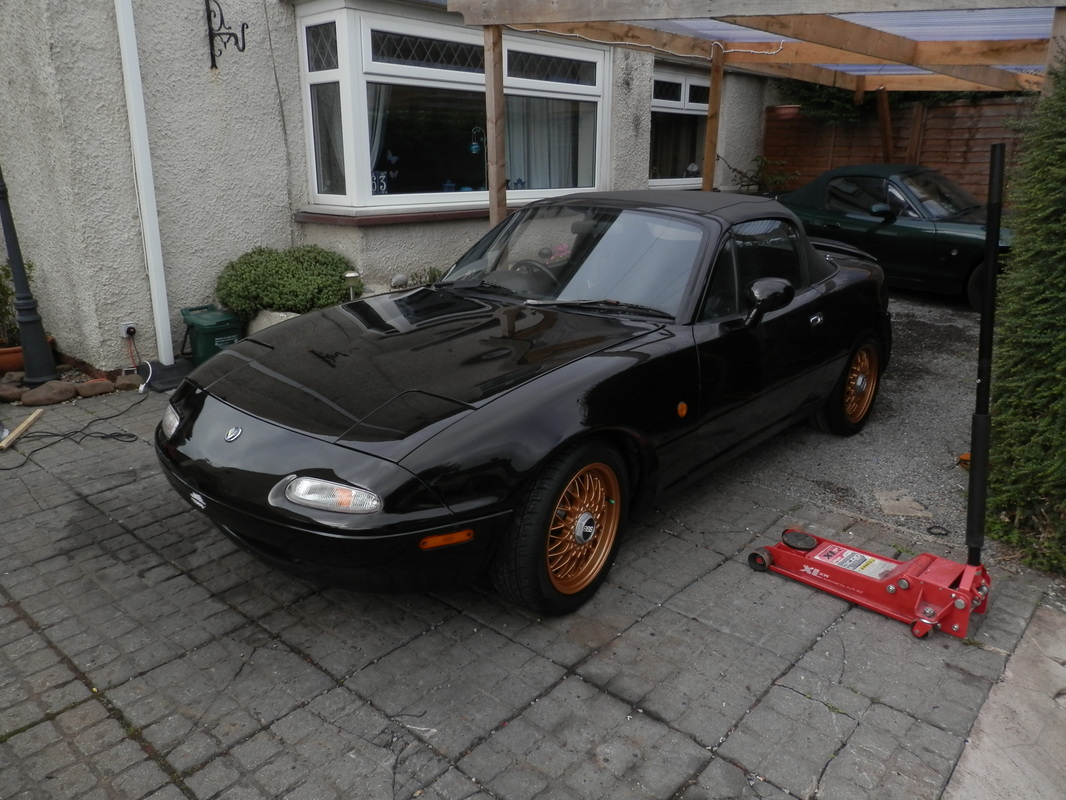
finished the wheels today also gave the tyres a coat of sealer.
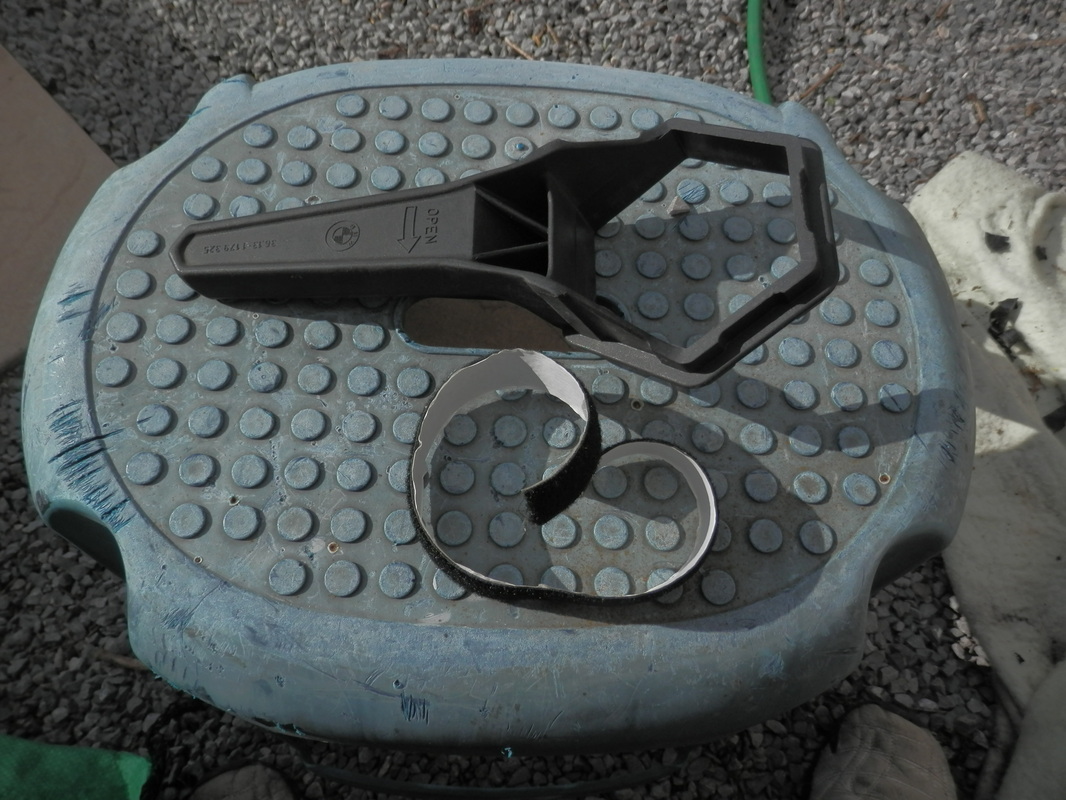
and my nut remover arrived so i modded it so as not to scratch my new paint
and my nut remover arrived so i modded it so as not to scratch my new paint


13/09/2013
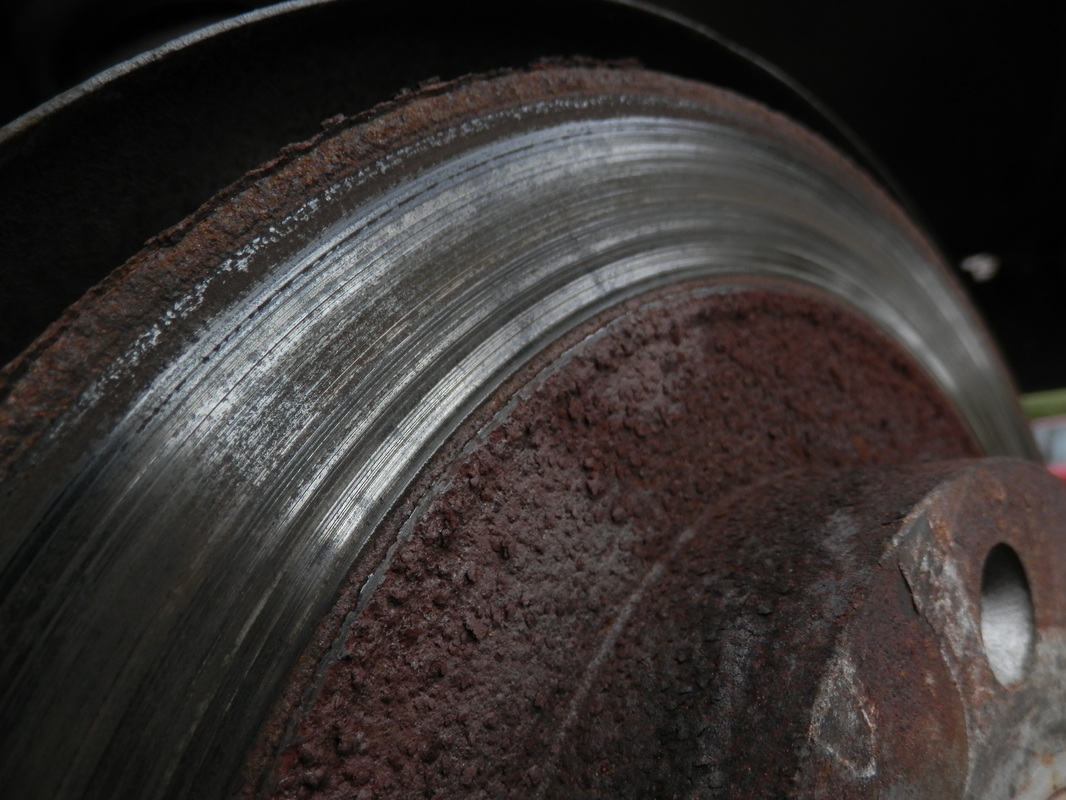
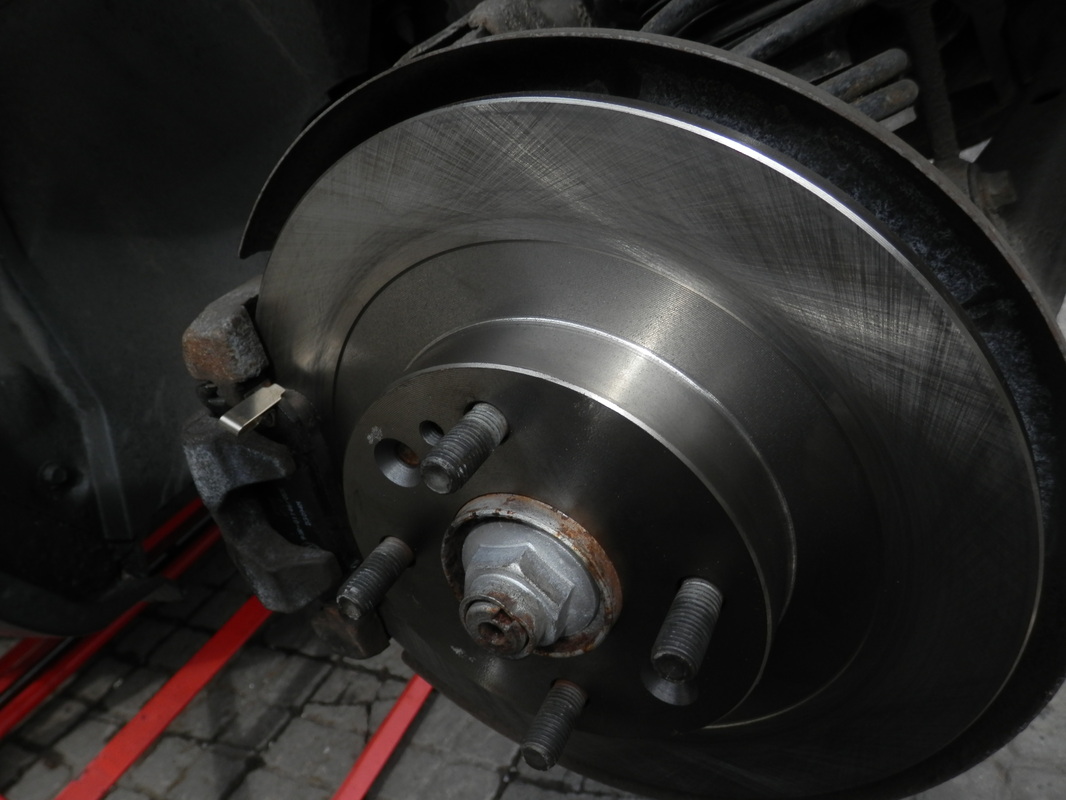
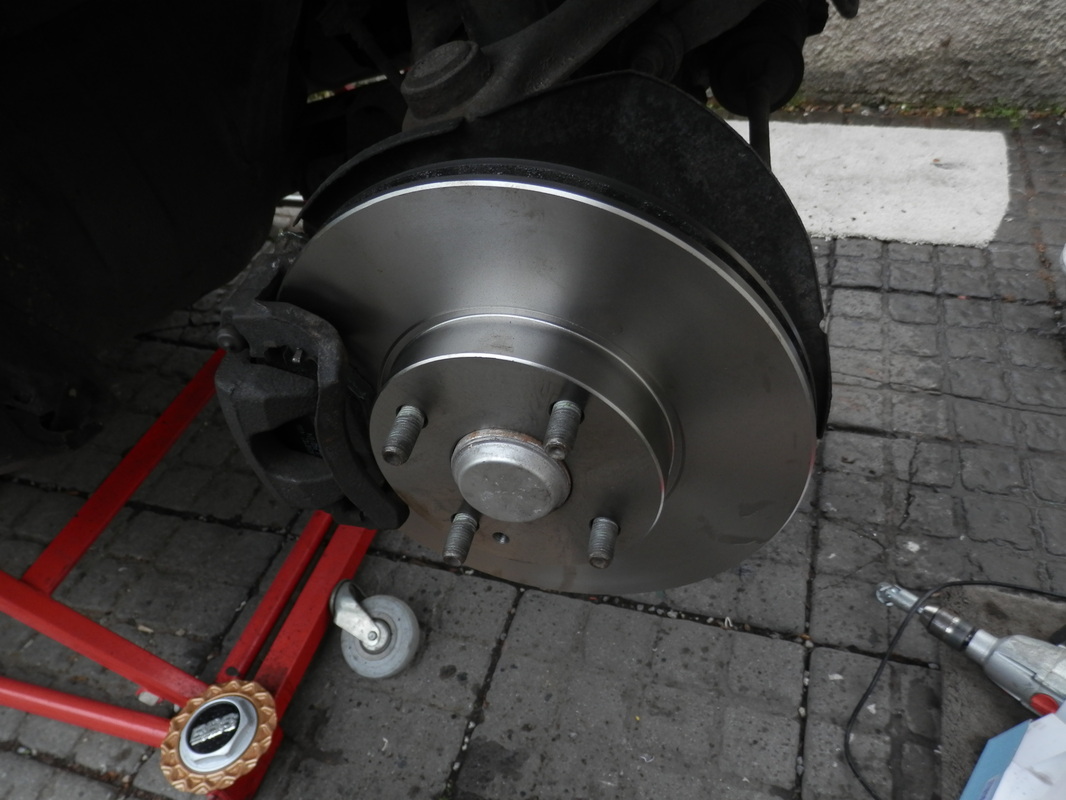
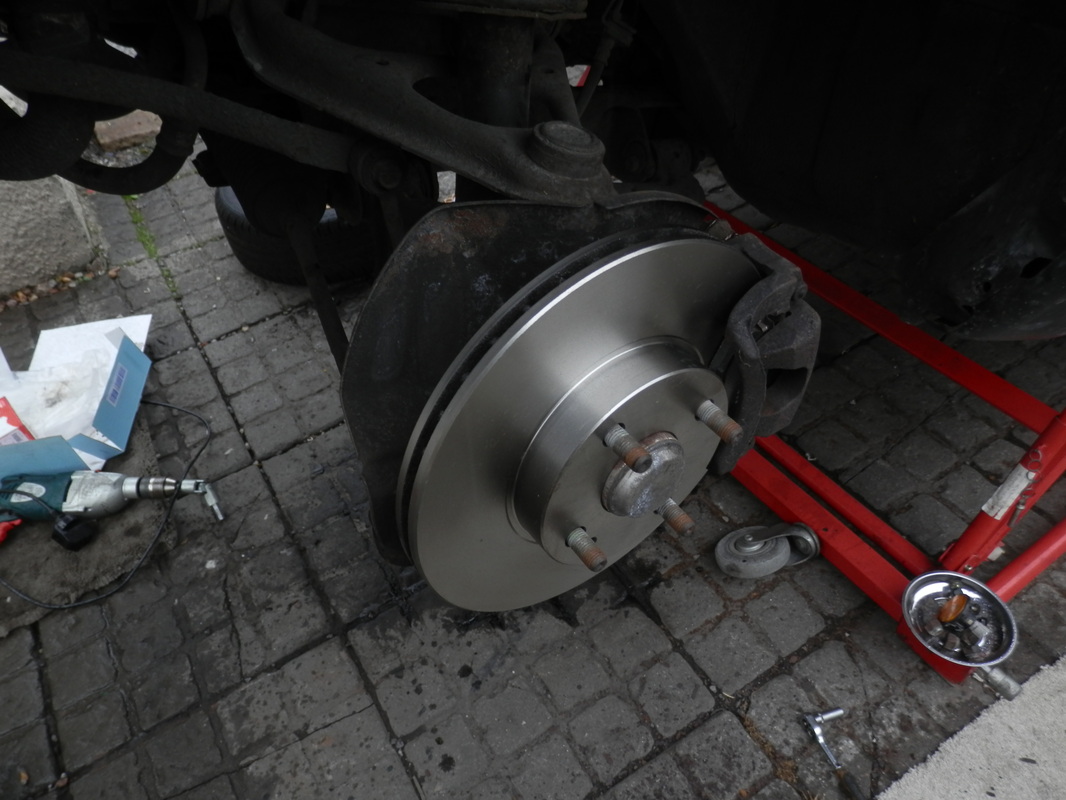
FITTED NEW DISCS AND PADS ALL ROUND TODAY
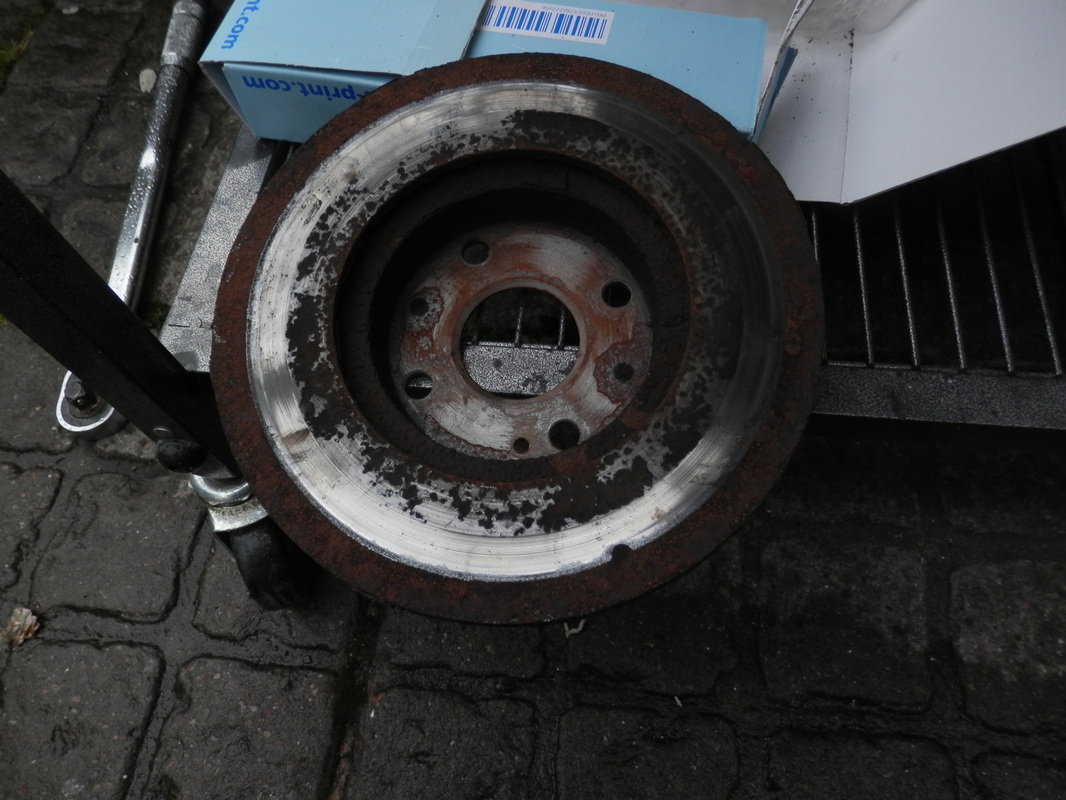
THE OLD REAR DISCS WERE ABOUT 3 MM THIN AND THE PADS WERE DOWN TO METAL
THE FRONT DISCS HAD A 5MM TAPER IN THEM WHICH LOOKS LIKE SOME ONE RAN THE PADS ON METAL FOR A WHILE AND THEN CHANGED THE PADS
THEN RAN THE PADS TO THE METAL AGAIN ALSO BOTH FRONT CALLIPERS WERE JAMMED SOLID.
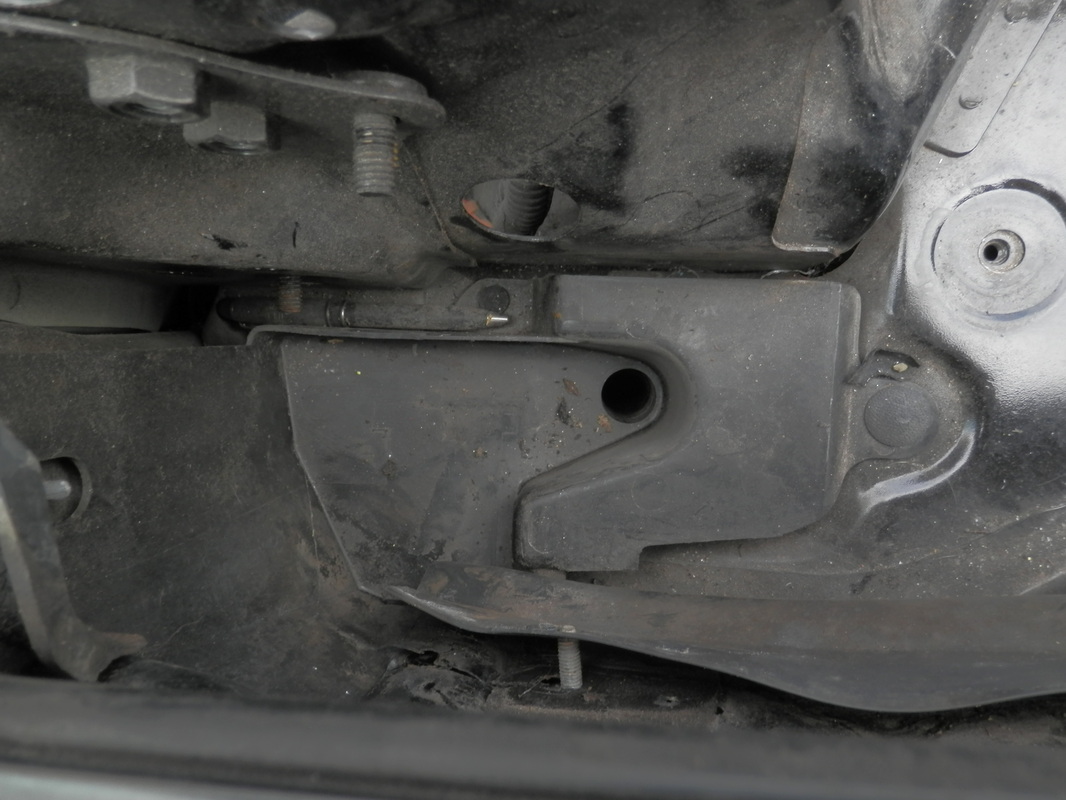
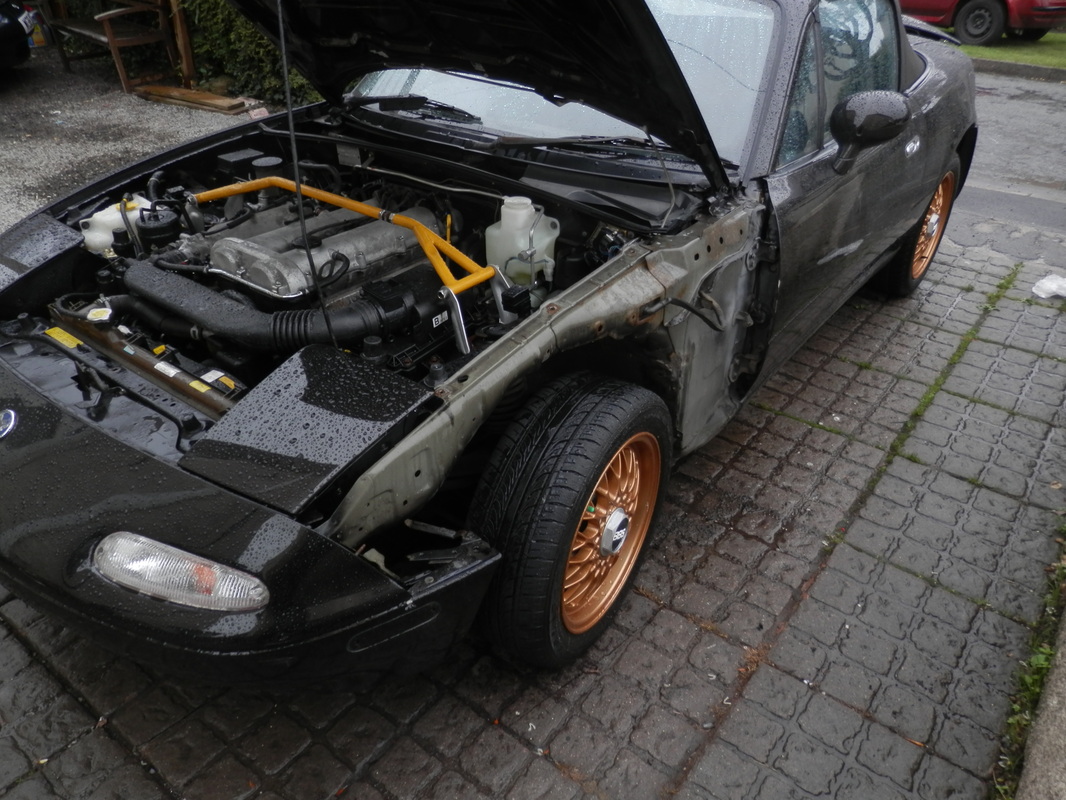
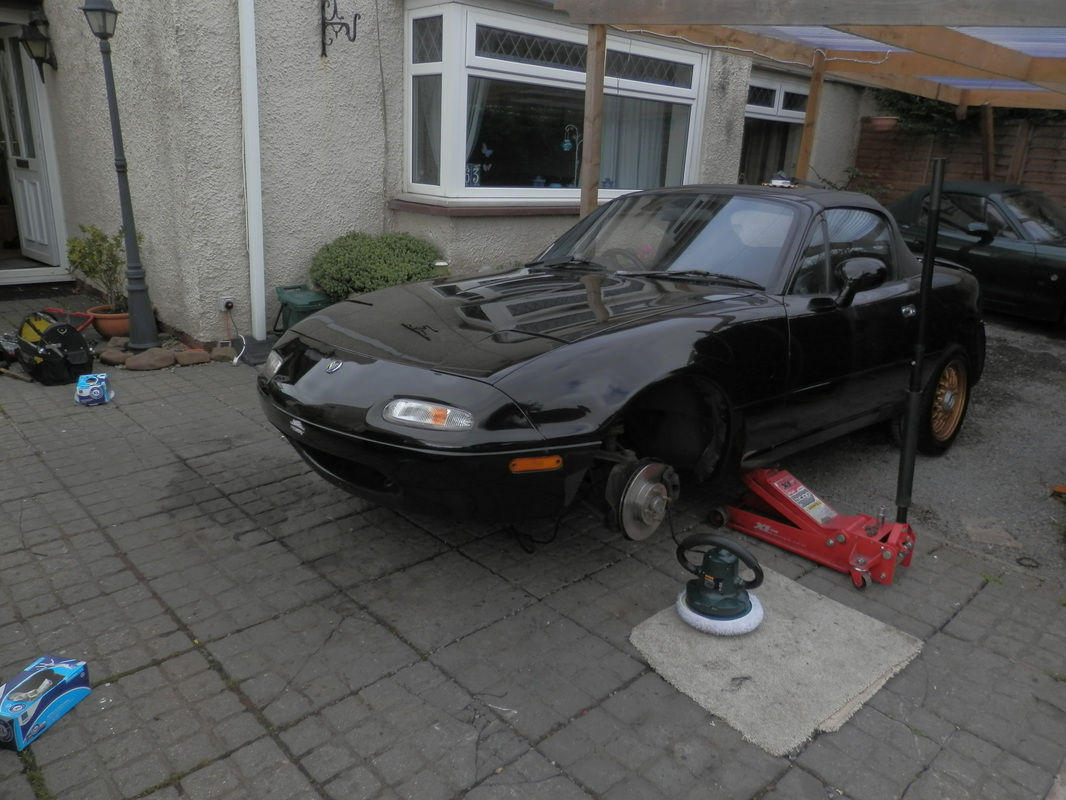
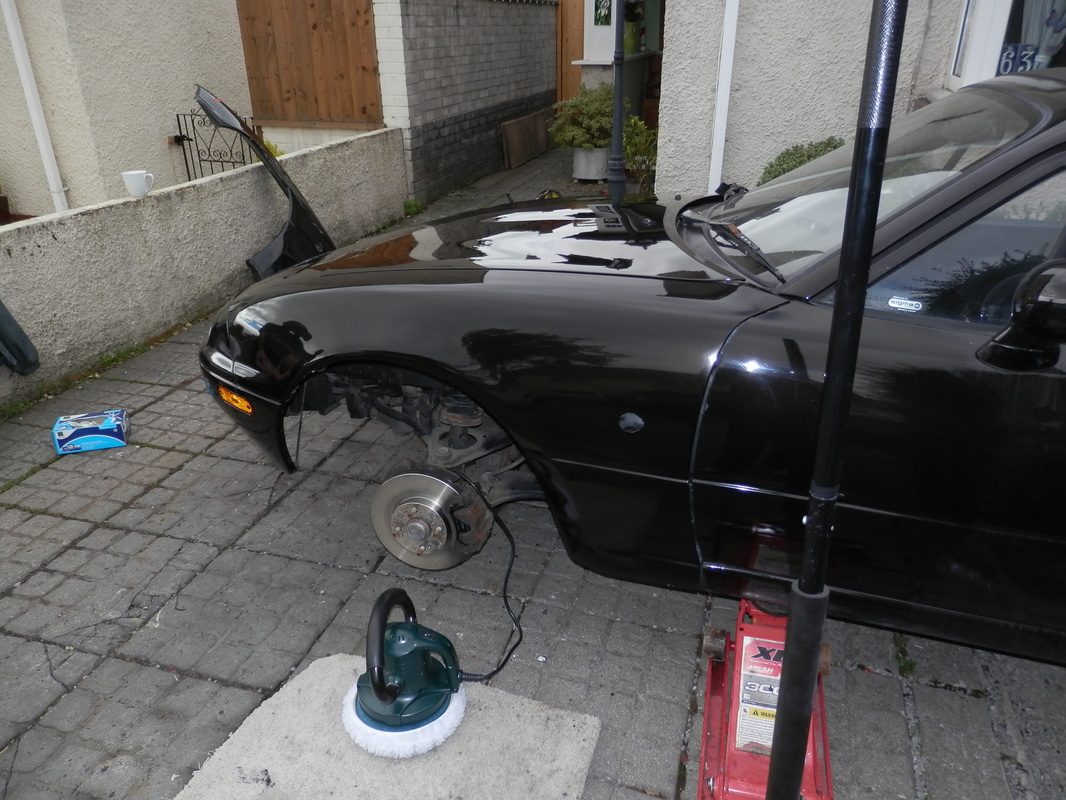
PASSENGER WING HAS ALSO BEEN REMOVED TODAY
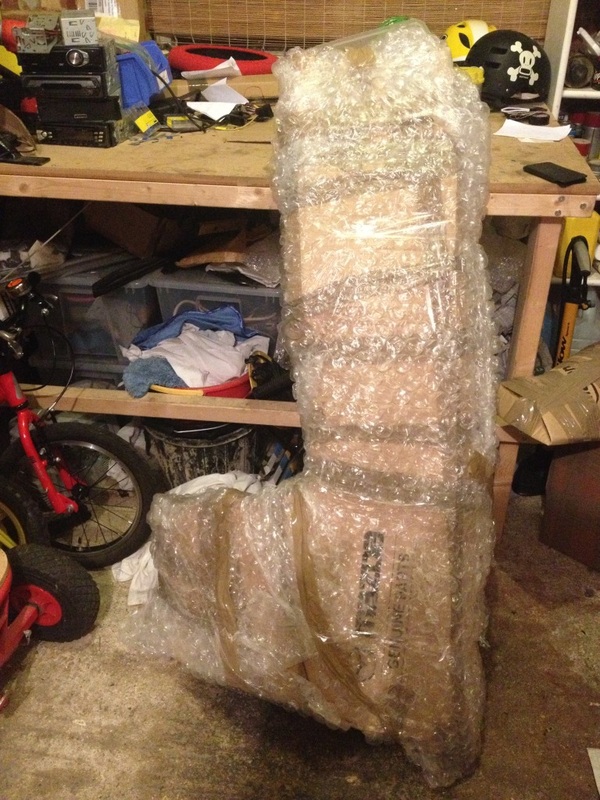
READY FOR THE REPLACEMENT ONE
WHICH IS ON ITS WAY (CANT WAIT)
READY FOR THE REPLACEMENT ONE
WHICH IS ON ITS WAY (CANT WAIT)
ALSO TODAY SHE WAS TREATED TO A FULL SERVICE
----------------
----------------
SAT
14/09/2013
i have been very Busy today with other peoples cars but did manage a few minuets on sexy Suzy.
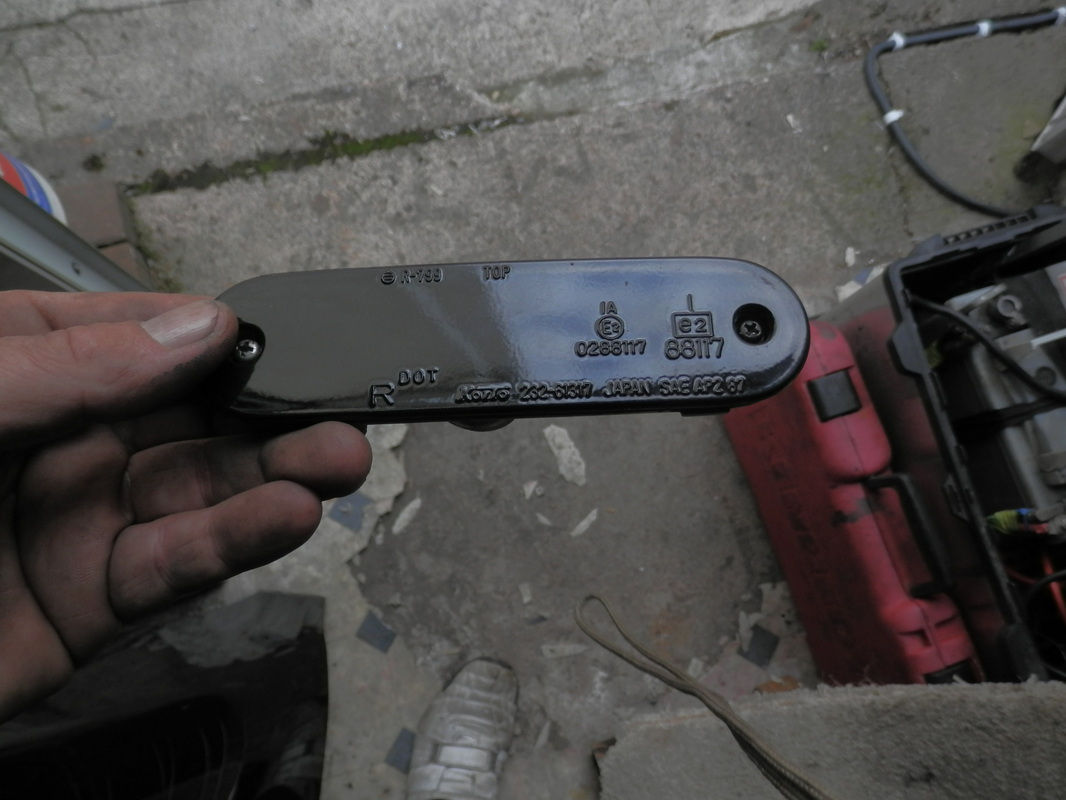
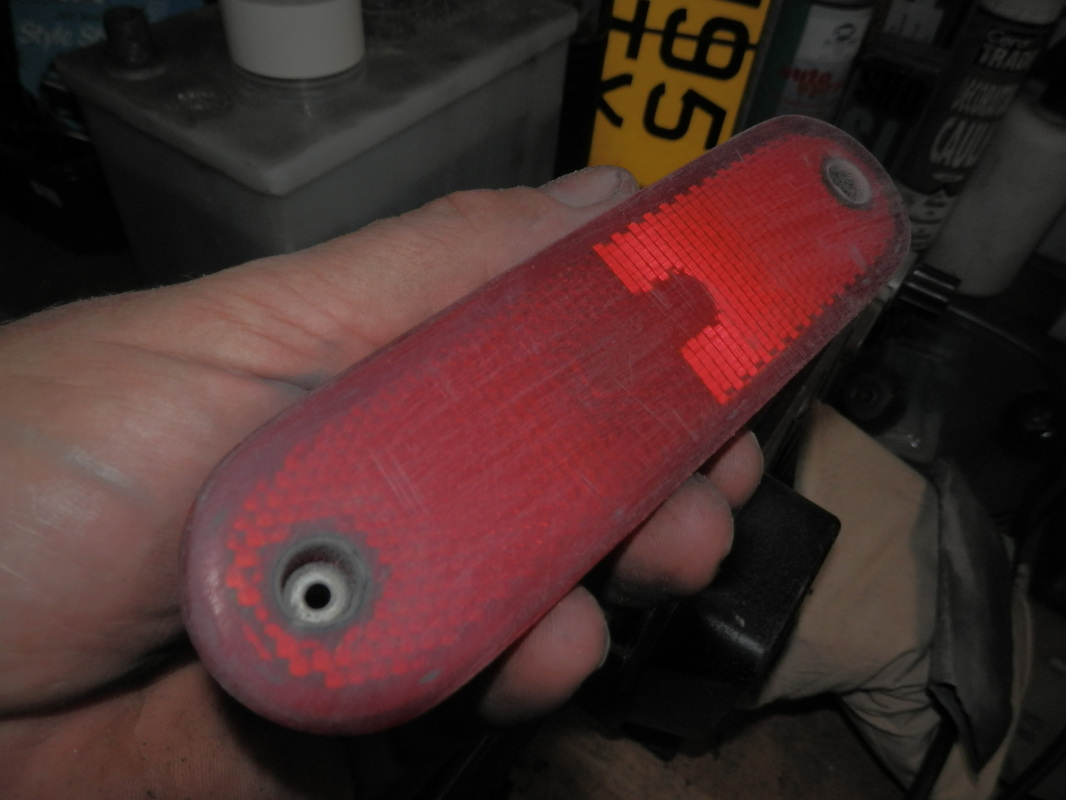
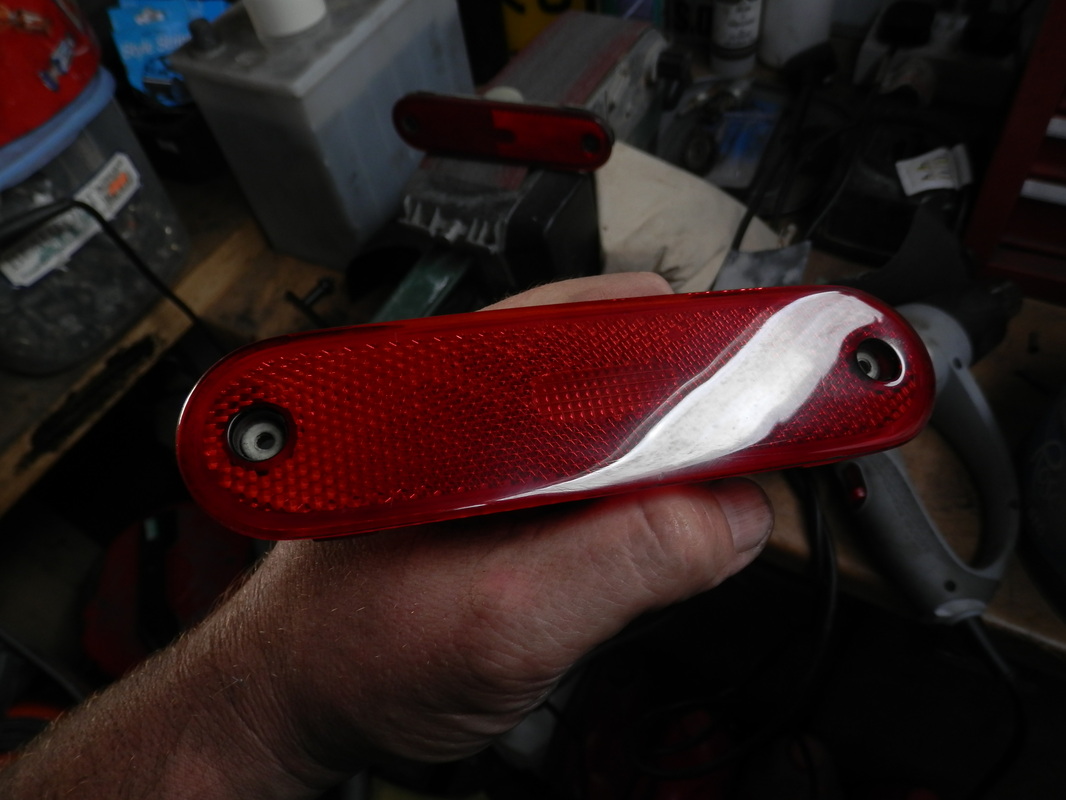
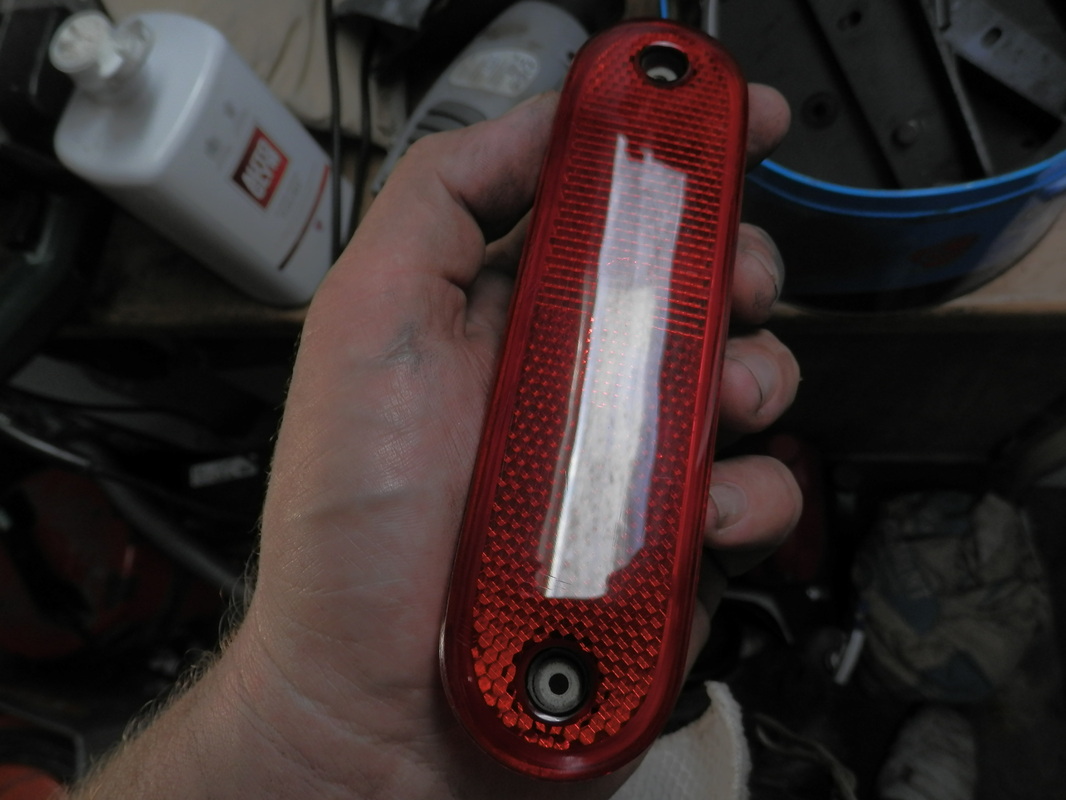
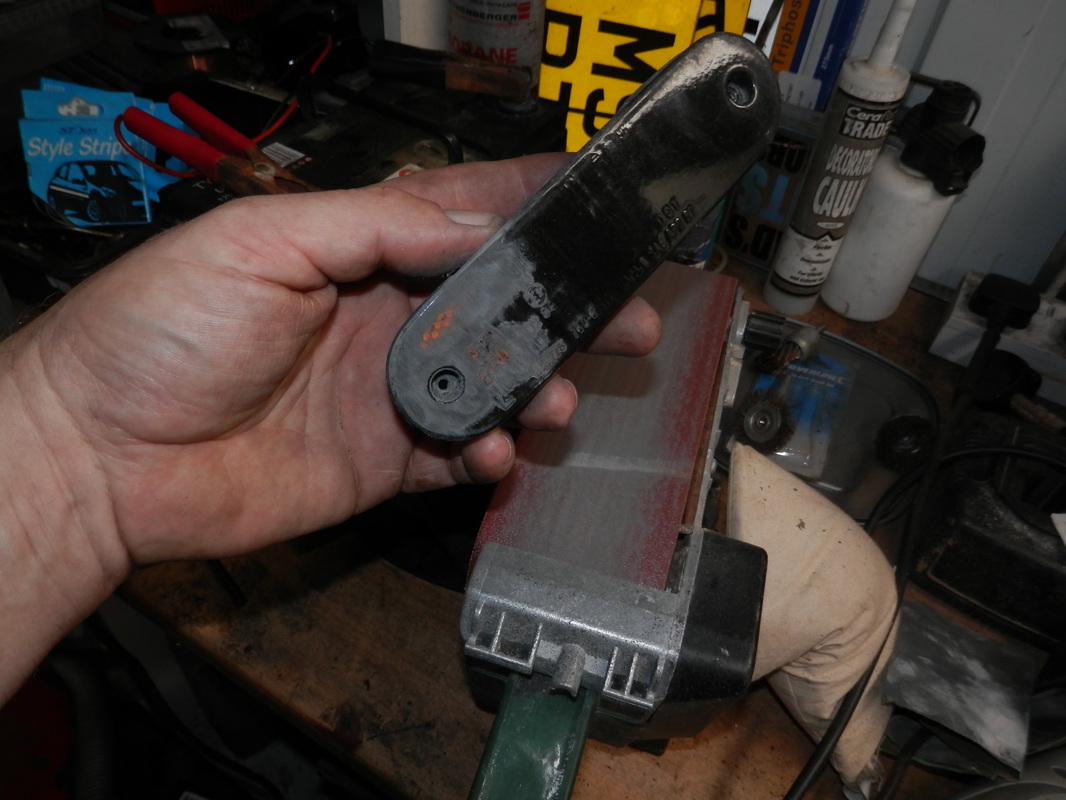
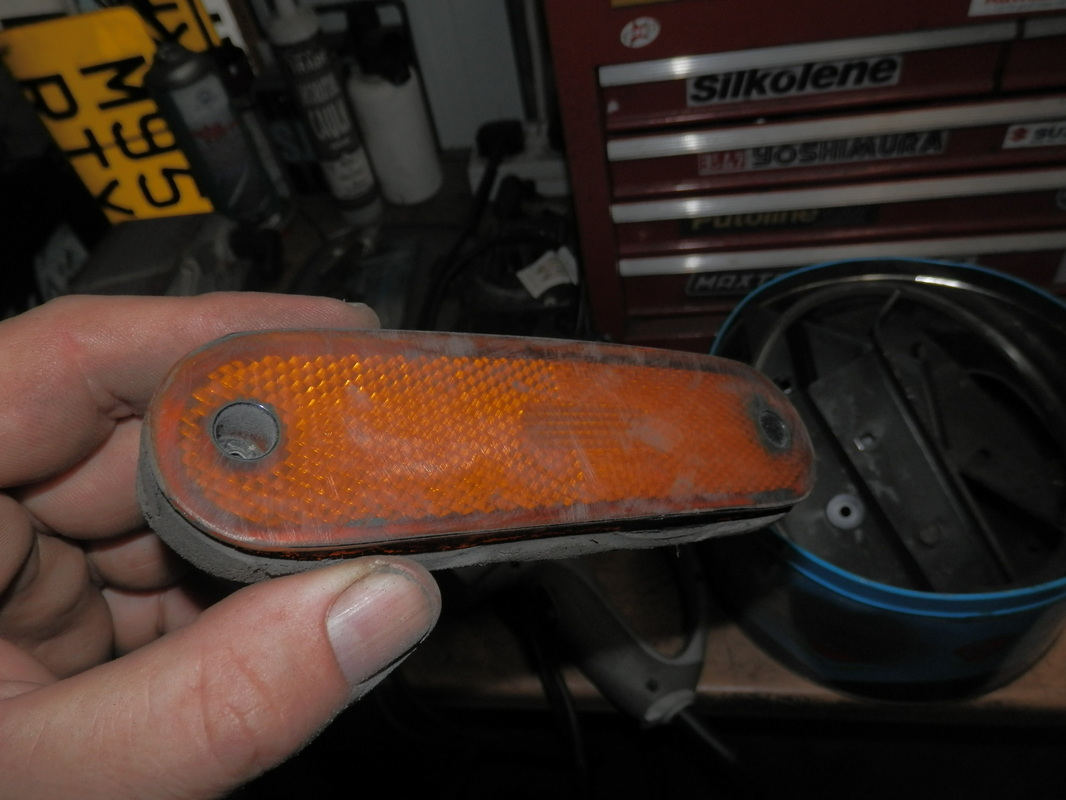
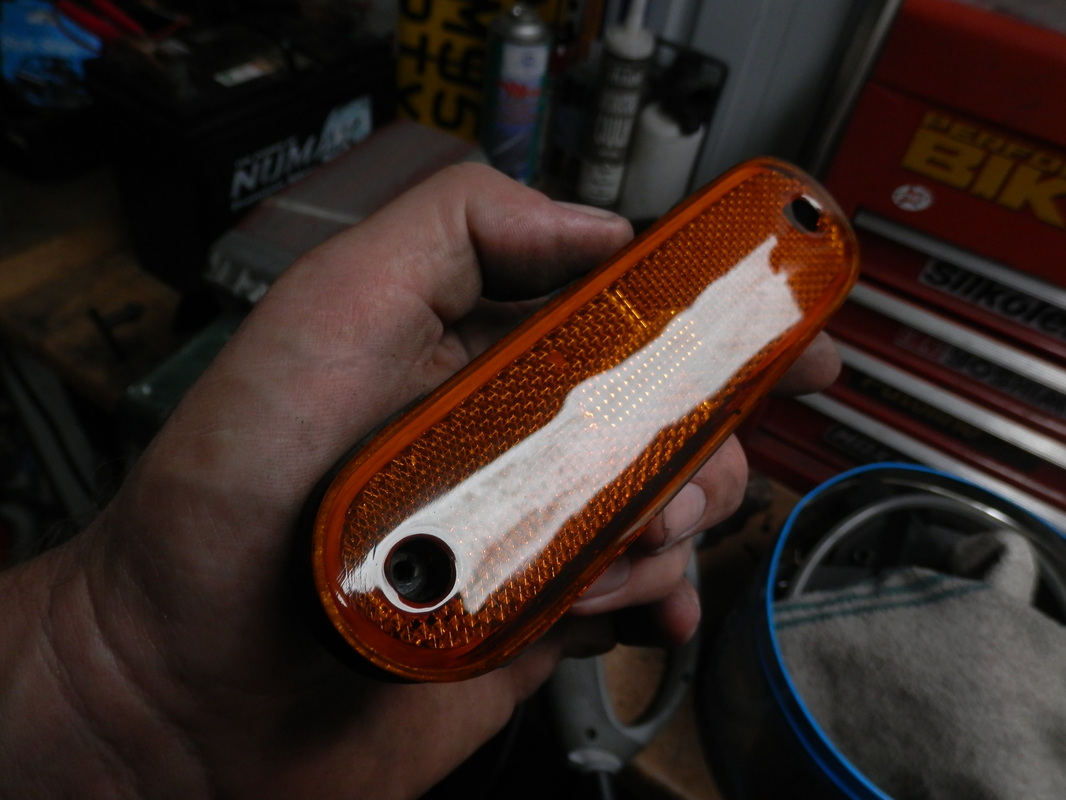
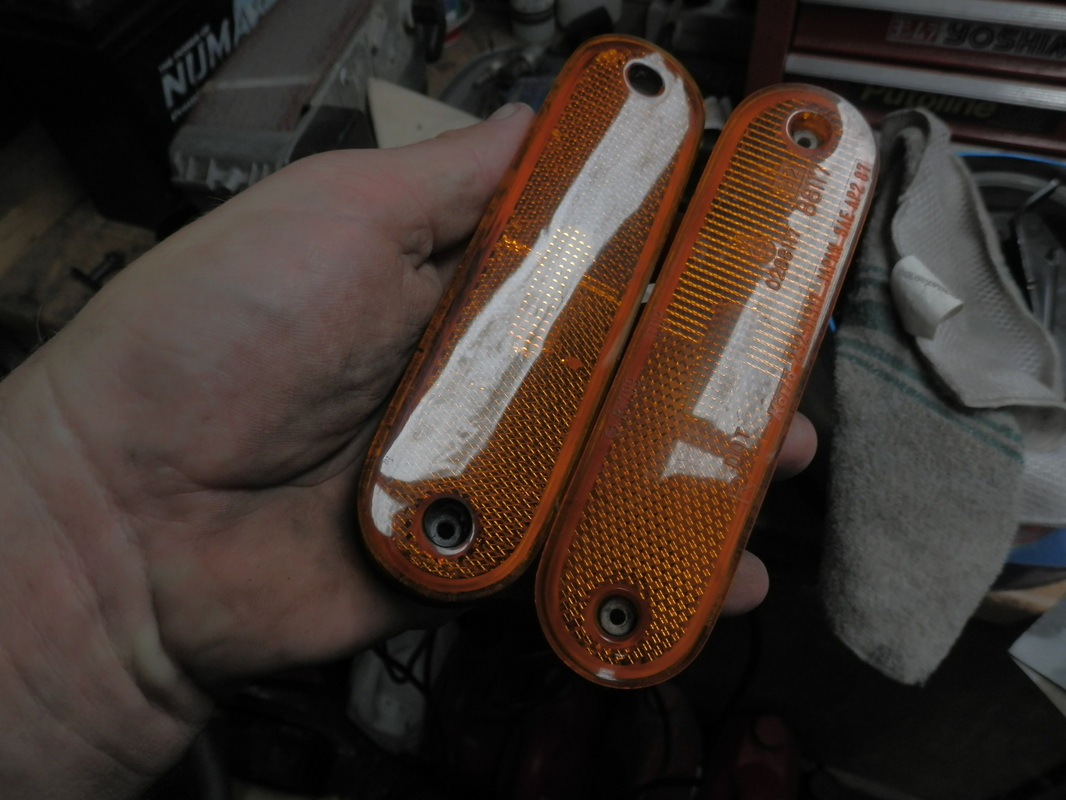
I wanted to change the horrid (painted) blacked out
front and rear side reflectors but I did not have any good spare ones.
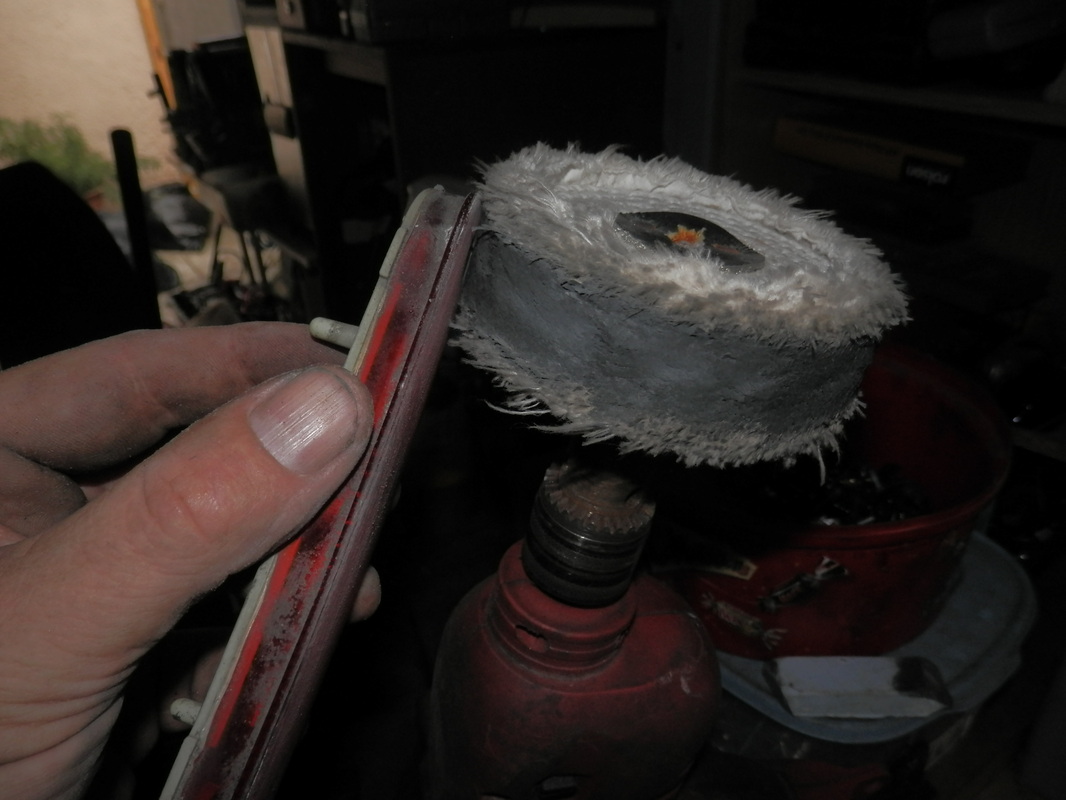
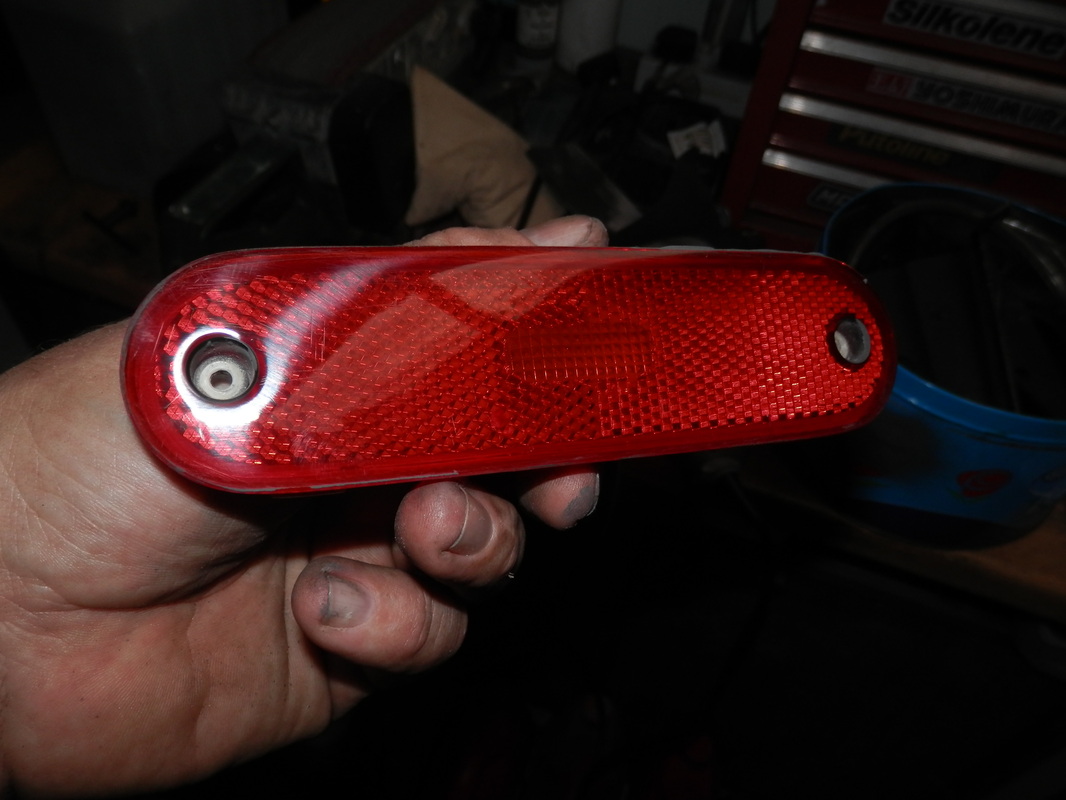
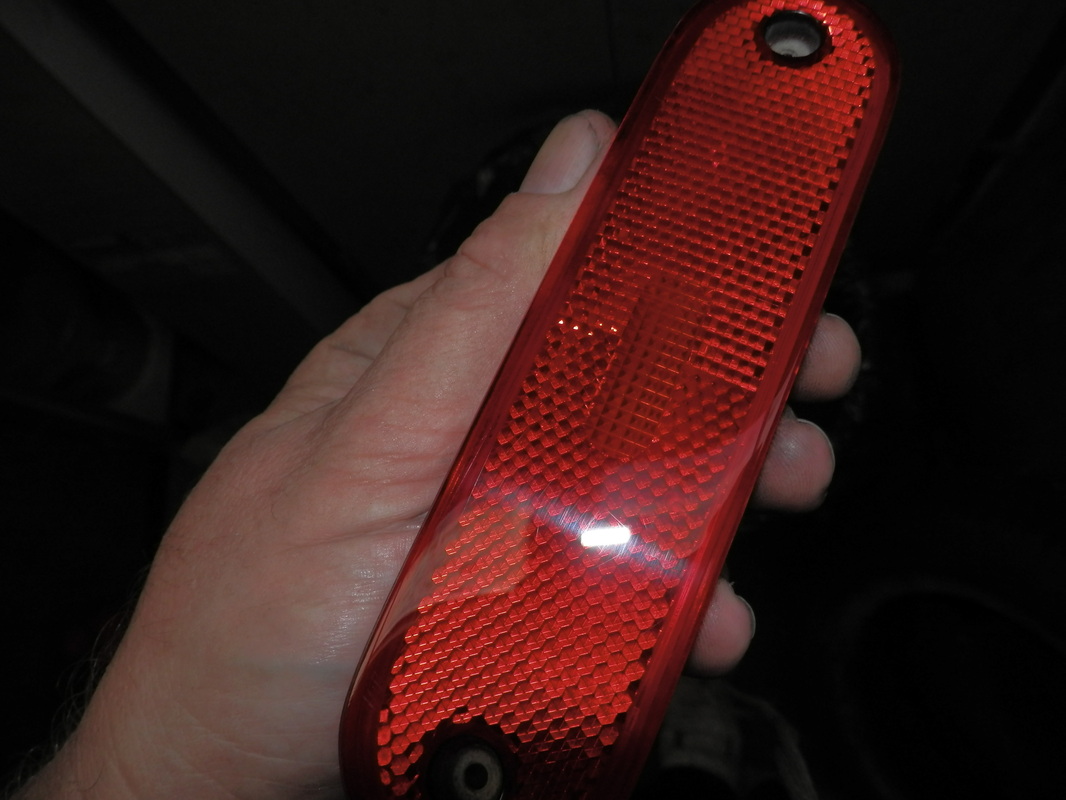
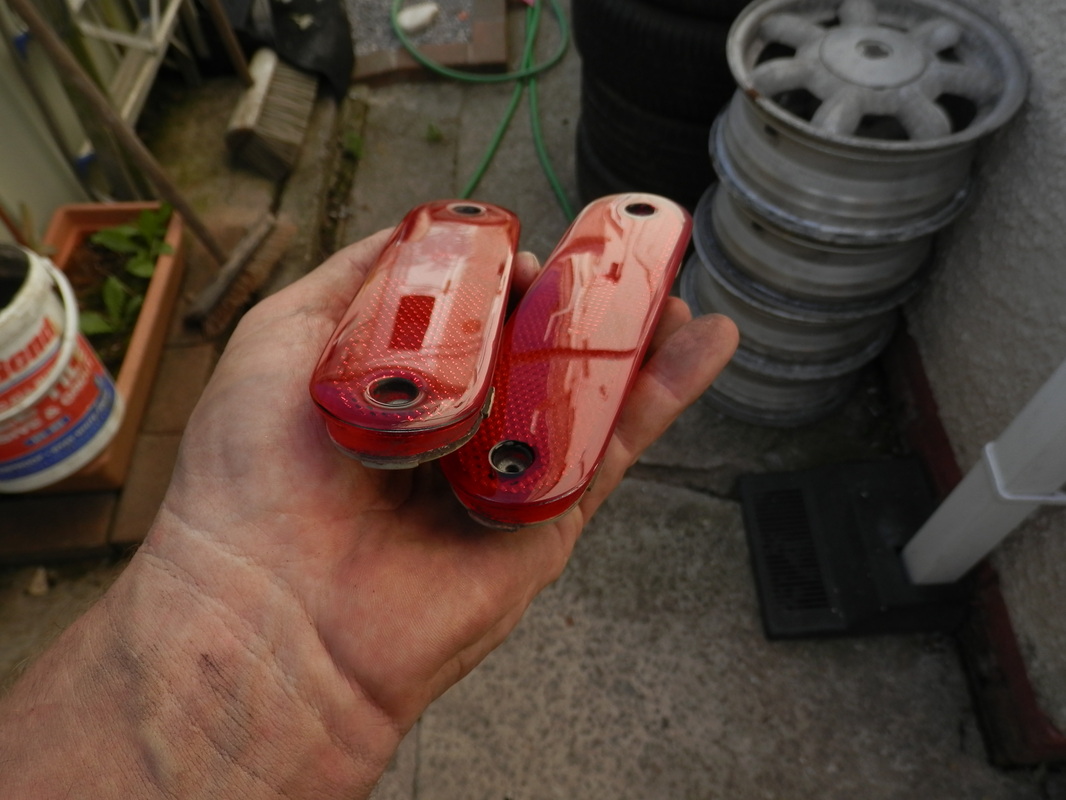
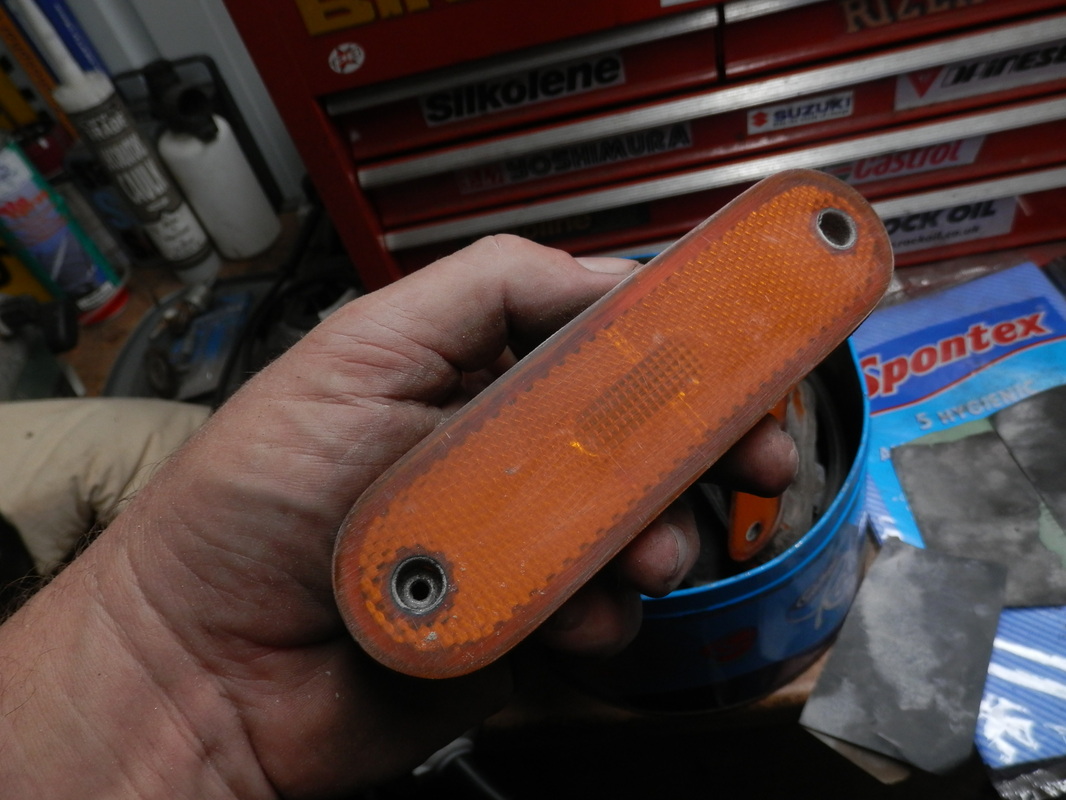
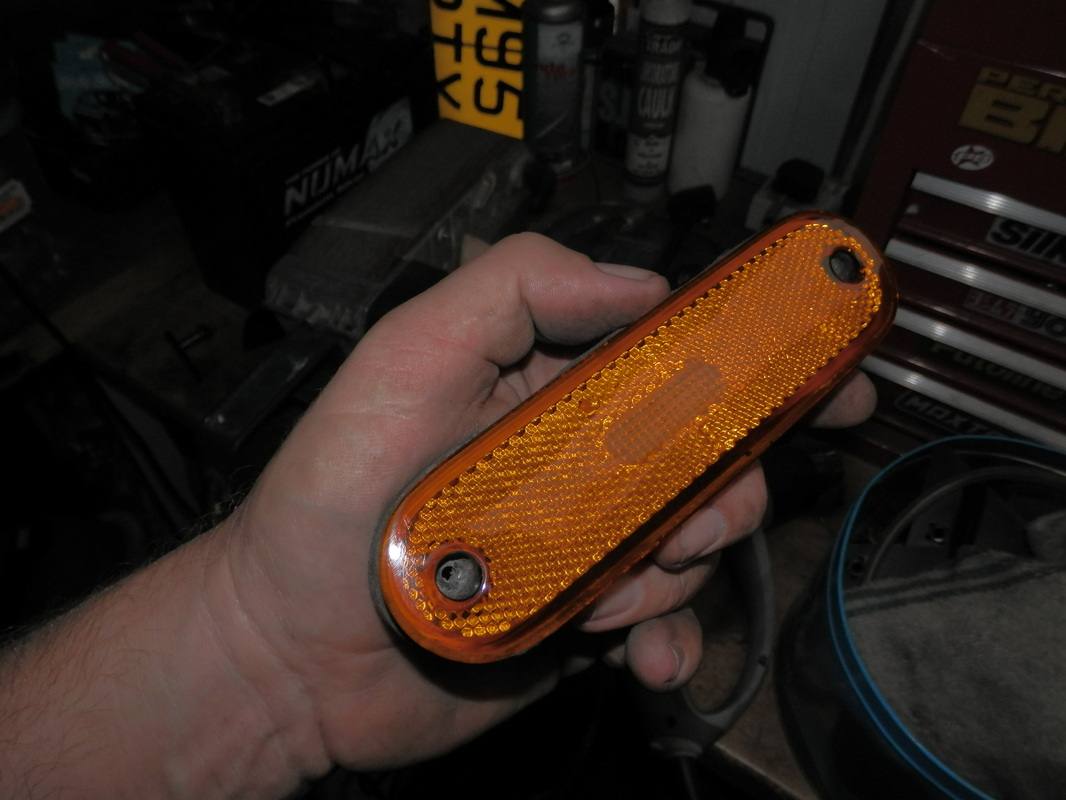
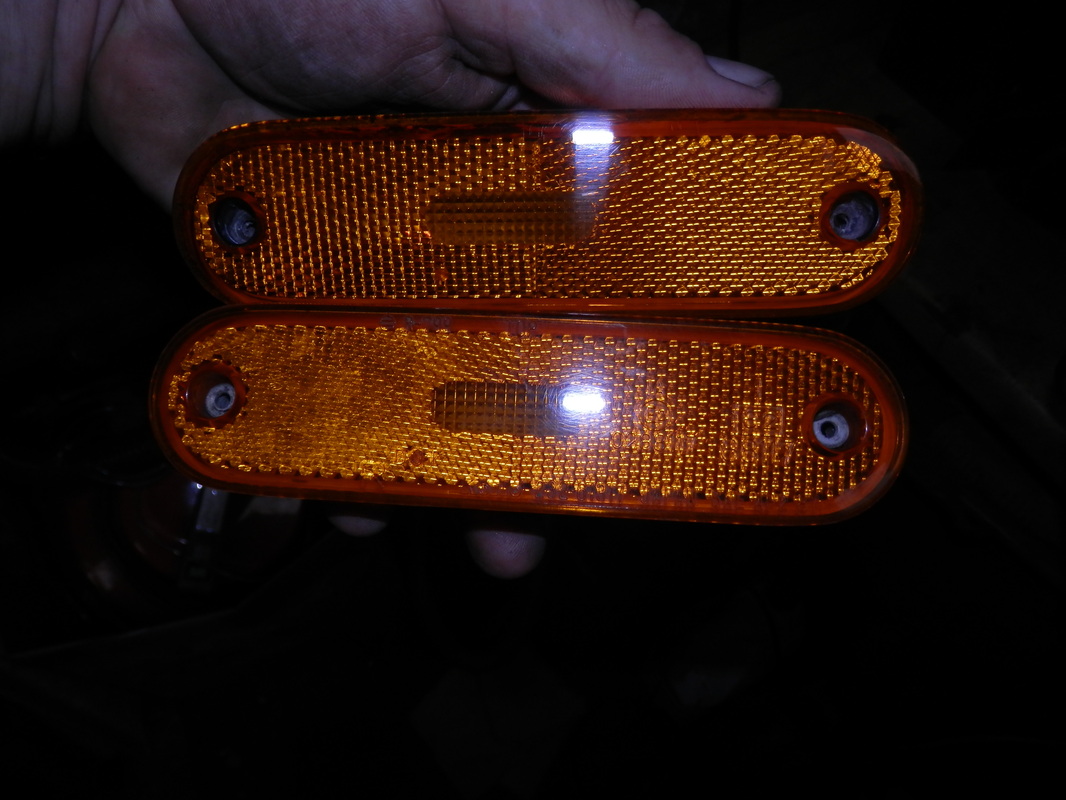
so i sanded the paint off and polished them up now they are smooth as well as shiny
Reds first..

And then the amber fronts
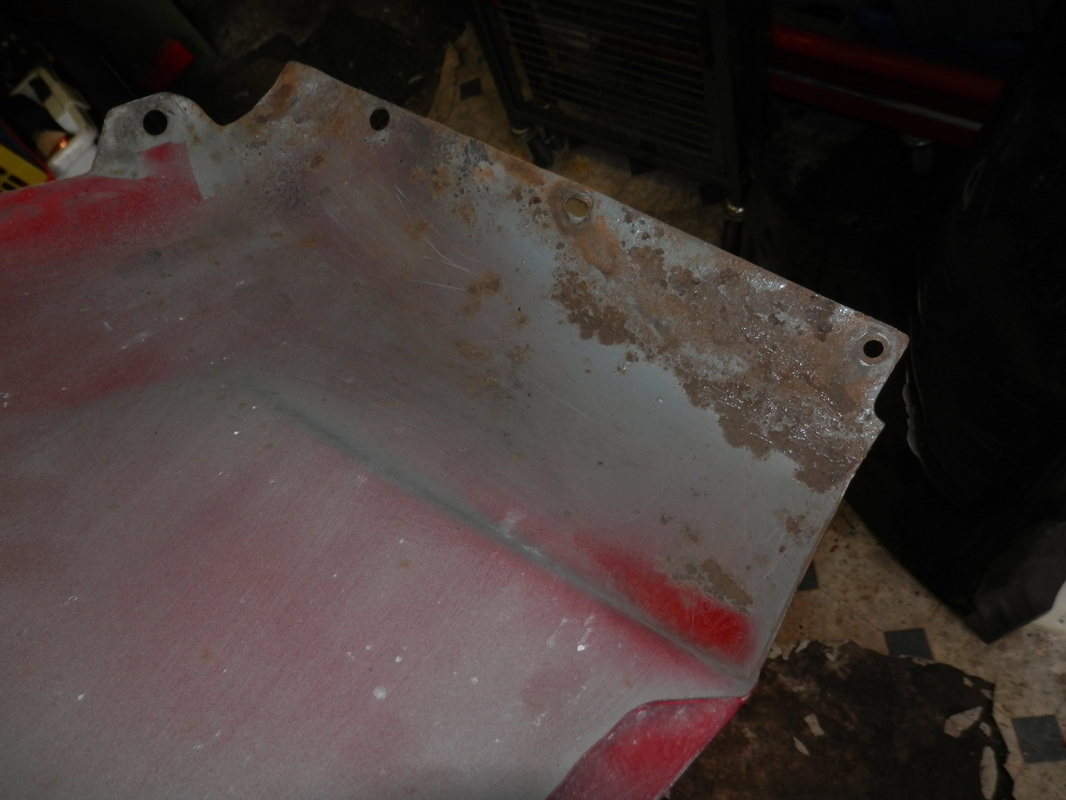
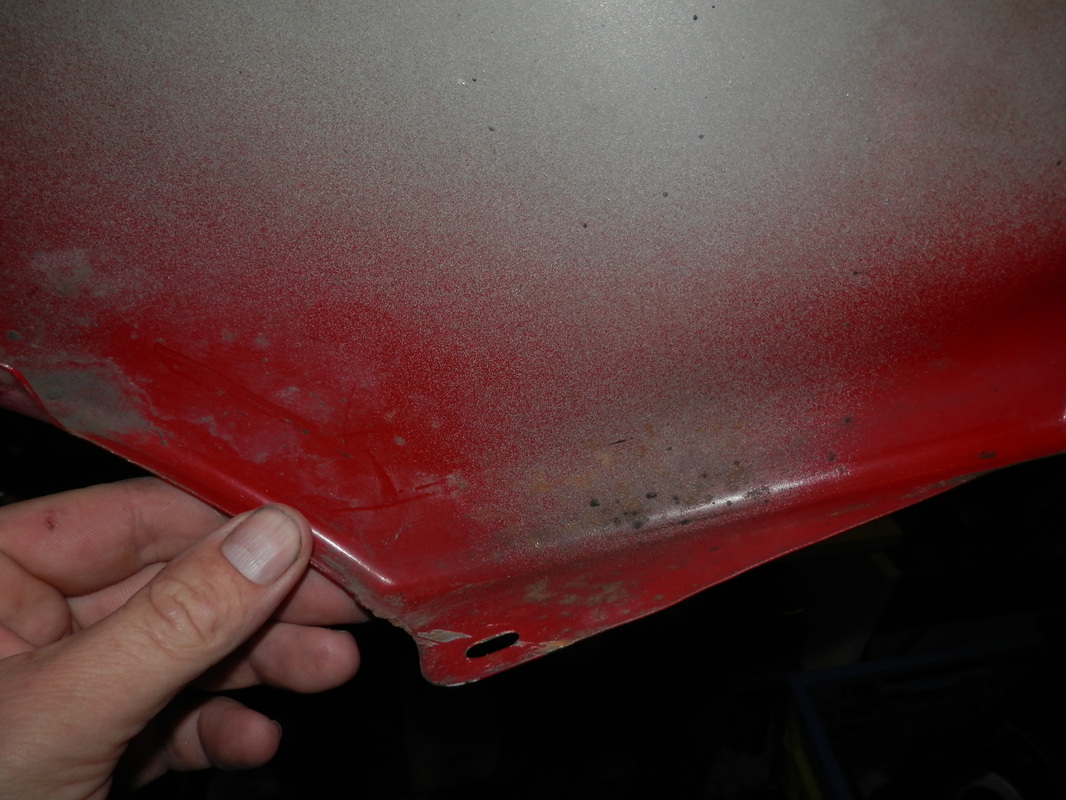
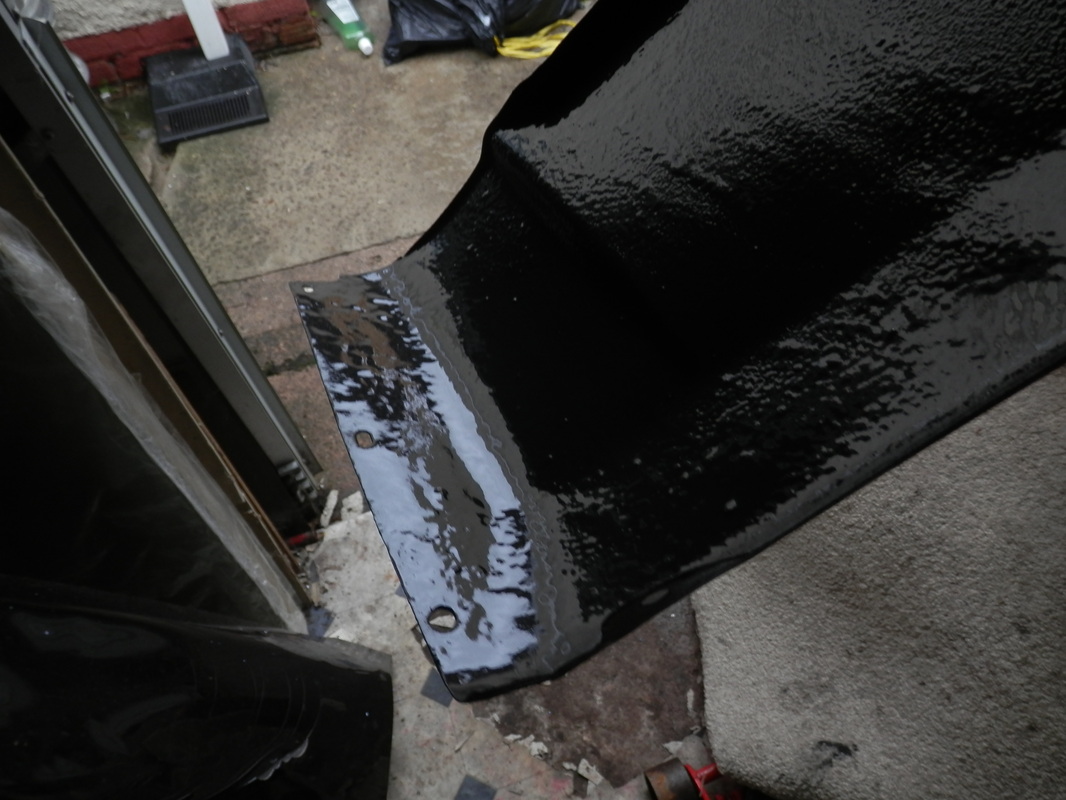
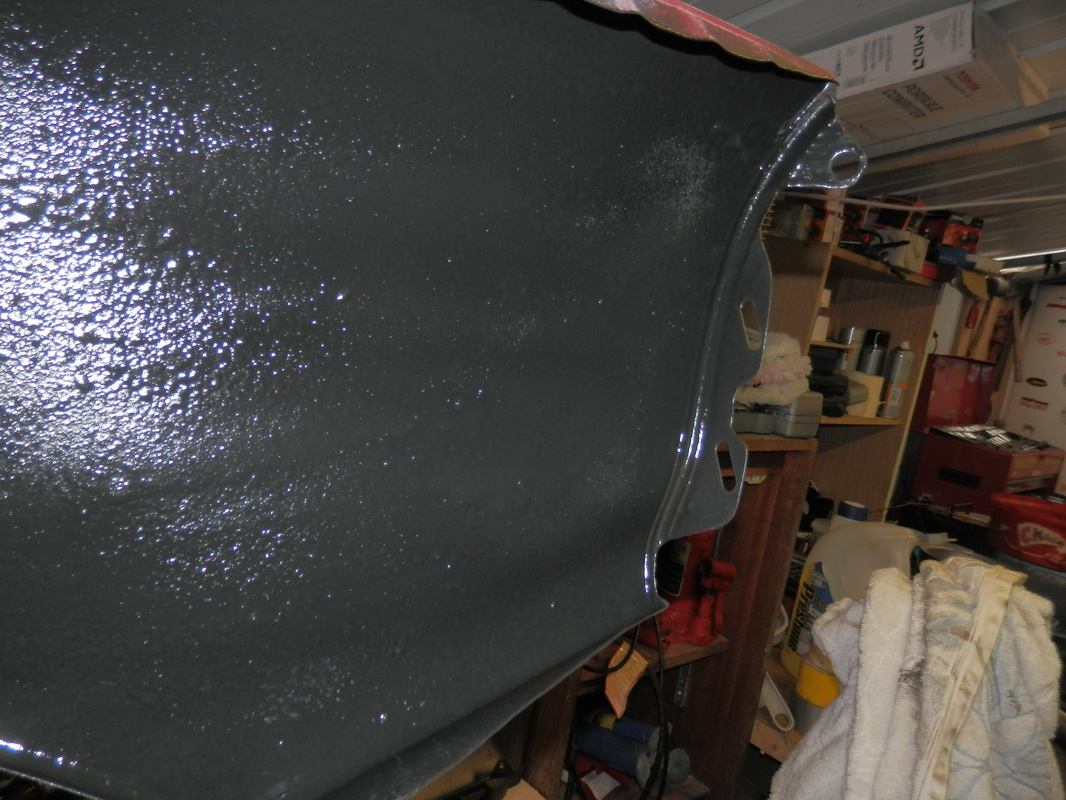
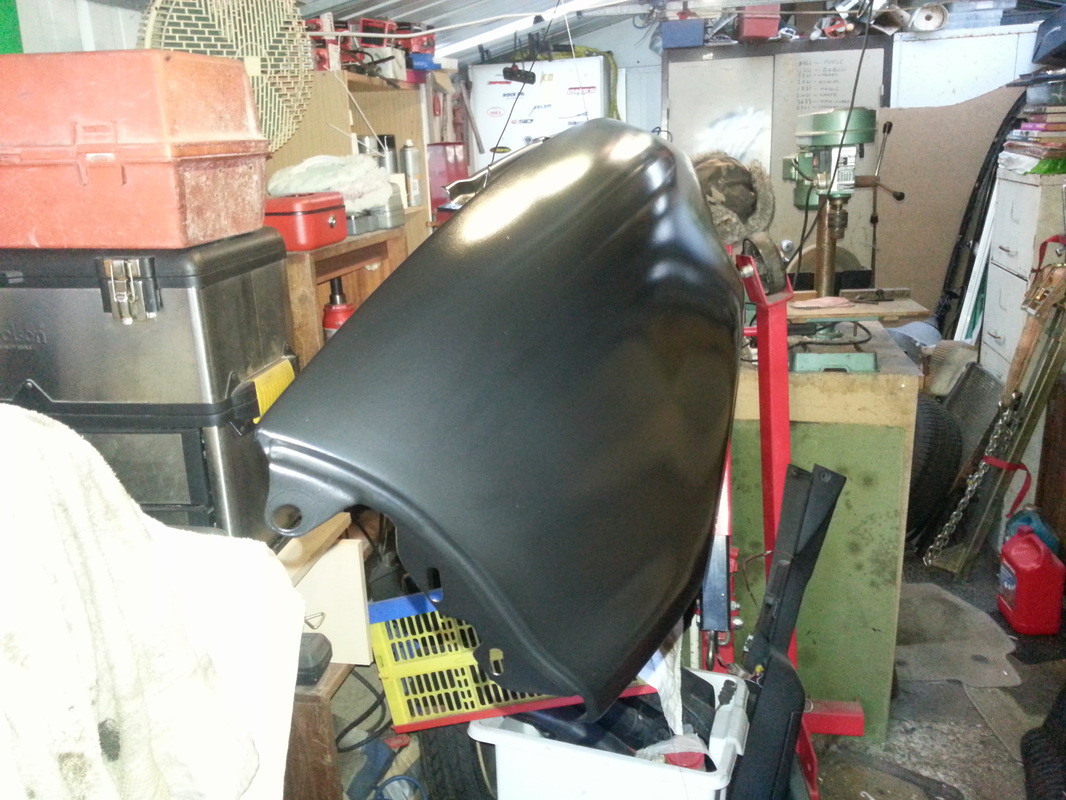
New wing has arrived so on with cleaning off the small bit of rust in the lower area and then giving the rear a few coats of sealer..
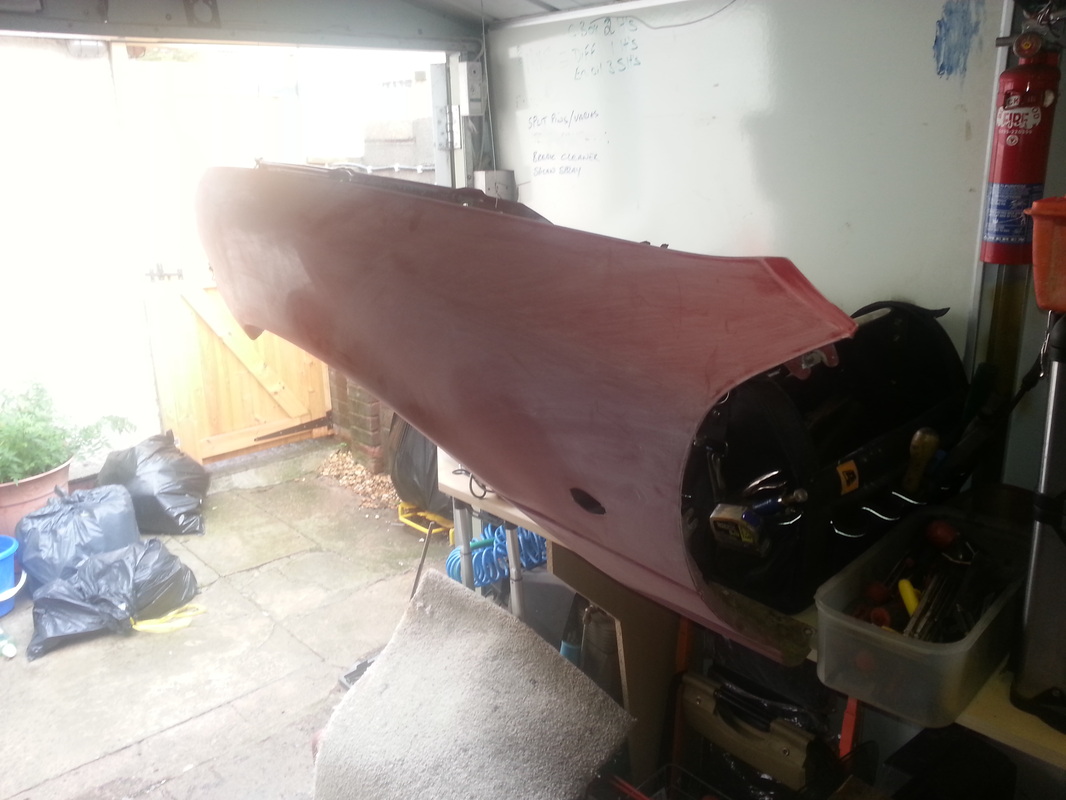
next i started to rub down the front ready for new paint
still has a long way to go yet
next i started to rub down the front ready for new paint
still has a long way to go yet
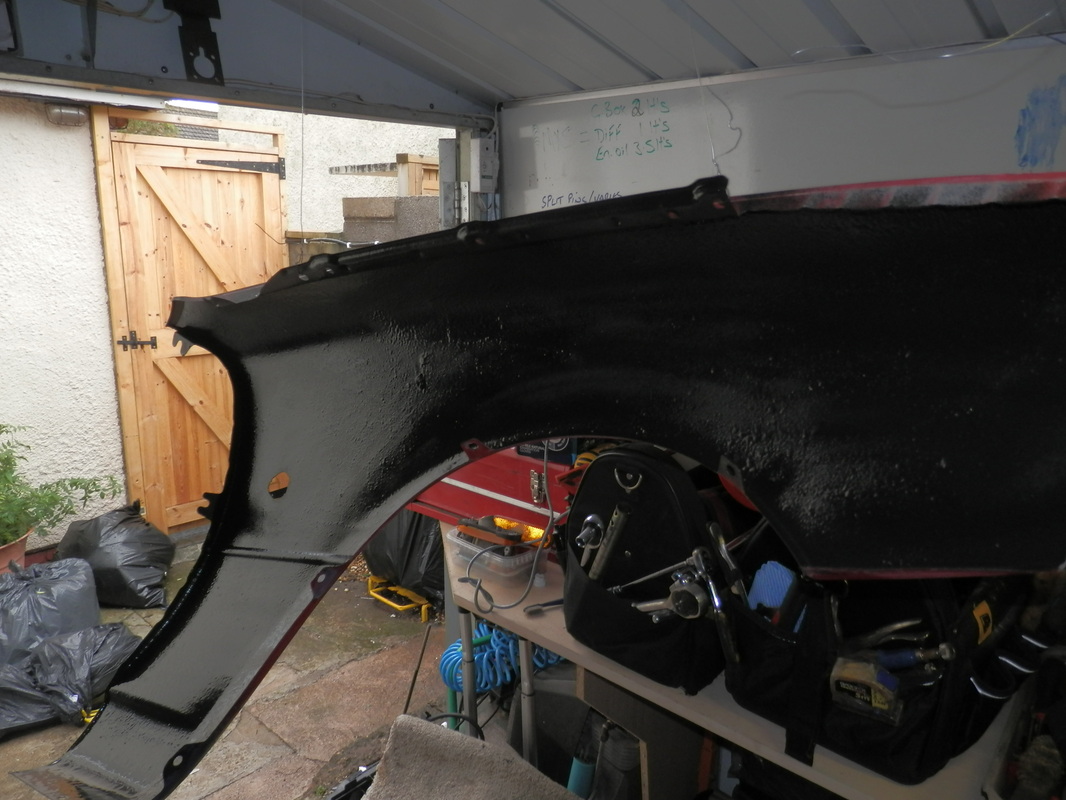

few coats of primer sanded back trying to get a good clean wing
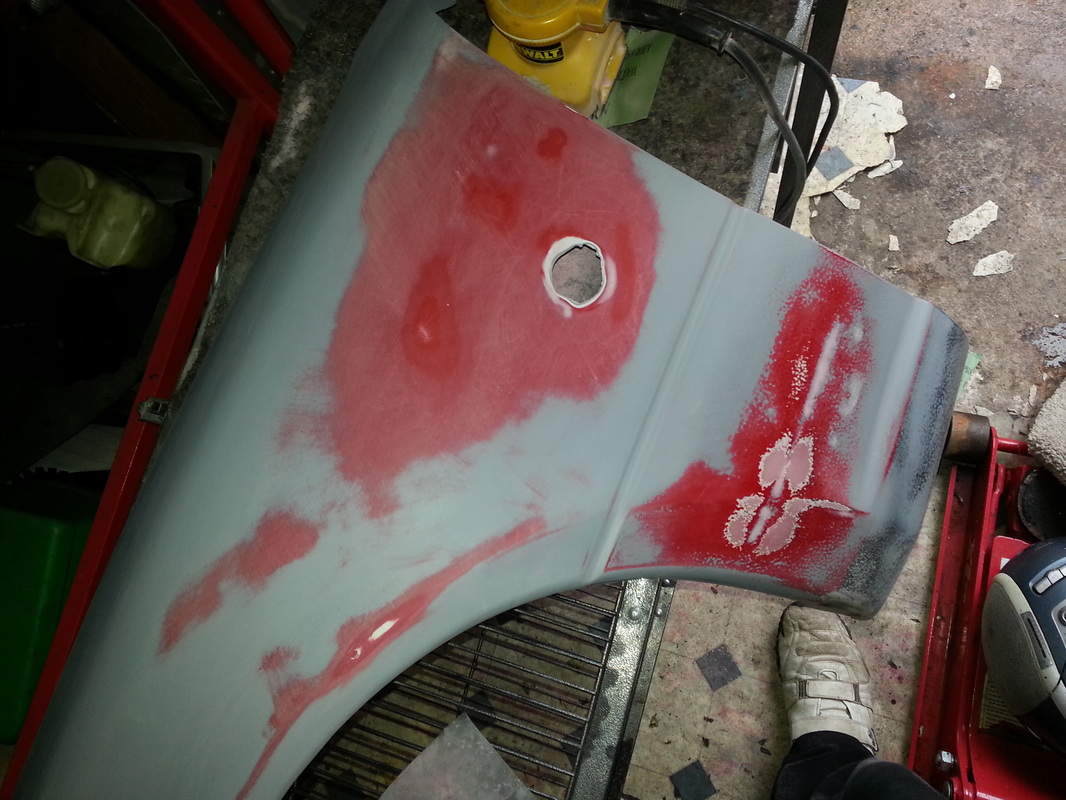

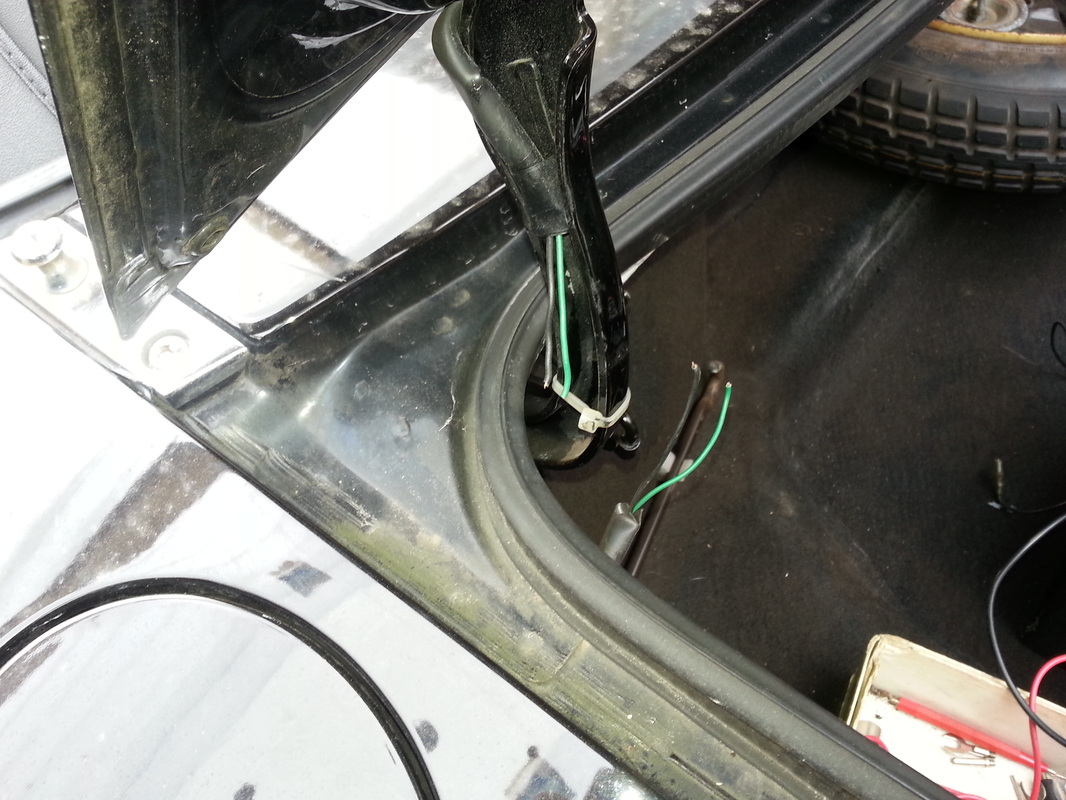
while waiting for the primer to dry i had a look to see why the 3rd brake light was not working
and found the wires had been stretched in the sleeve and had snapped
so after a longer piece of wire was fitted it now works.

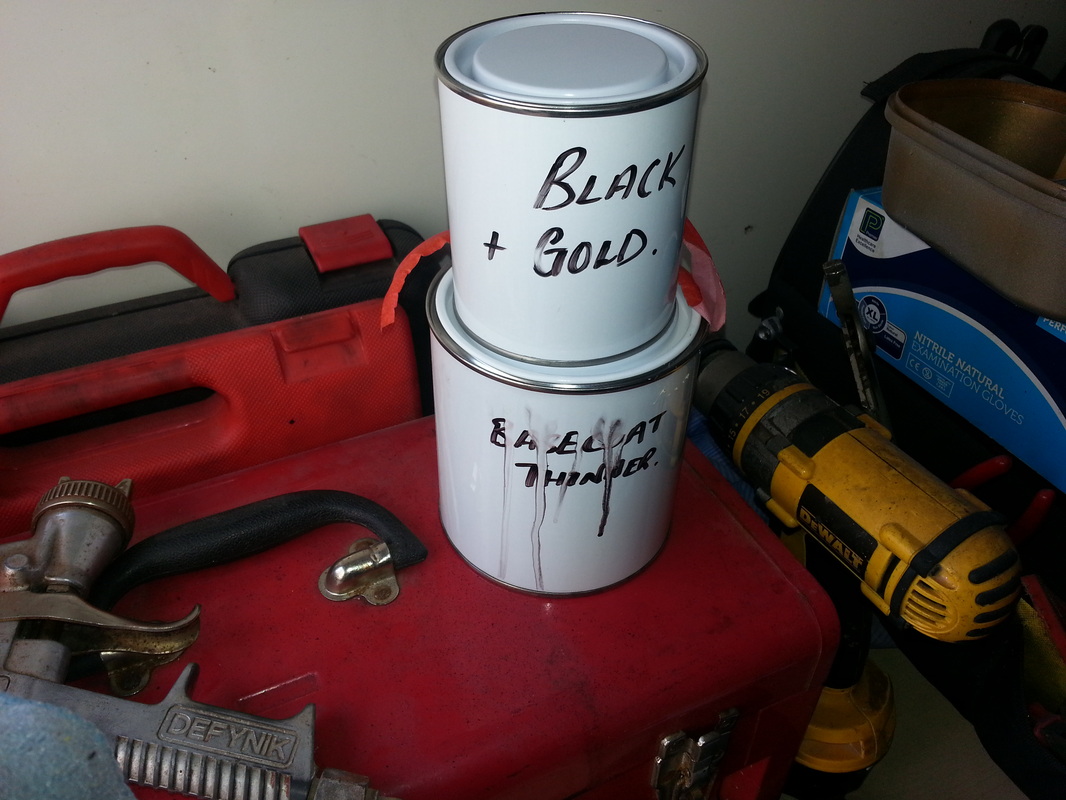
Look what i just collected
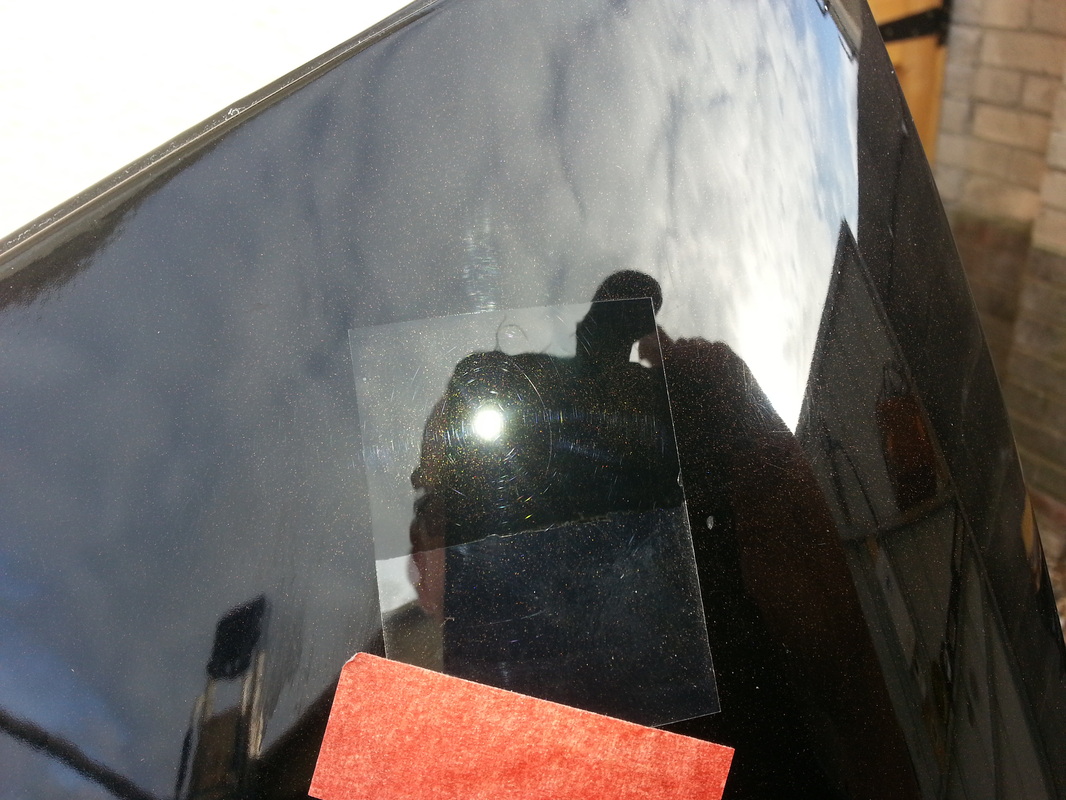
Test patch looks close enough to me
well i warmed the garage up and gave it a miss coat and a full on coat it will need rubbing down and give it a few more coats tomorrow
ok i finished the lacqure last night and this morning i gave it a rub down and a polish .
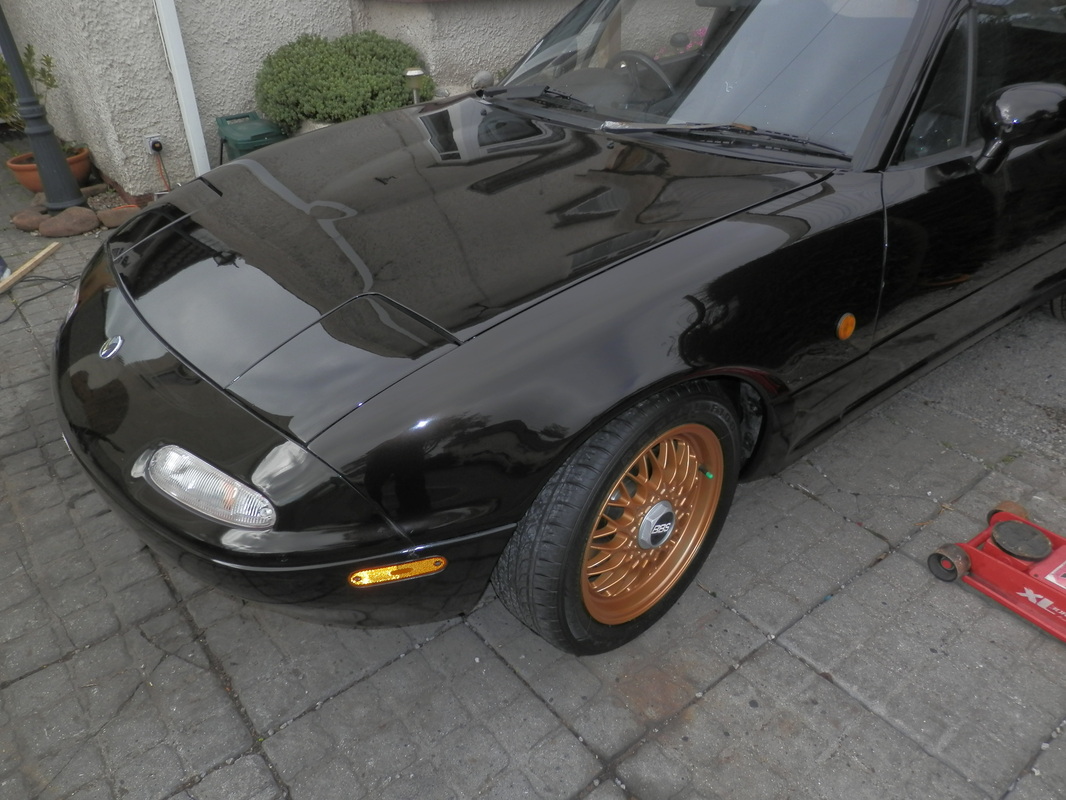
then fitted it to the car and gave it some more polish including the front end i dident wash and polish the complete car as i have more paint to do.
im going to stone gaurd the bottom half of the car and then spray over in body colour..
im over the moon with the finish colour is good but it lacks some gold fleck in the paint but you need to get close to see that ..


BEFORE AND AFTER

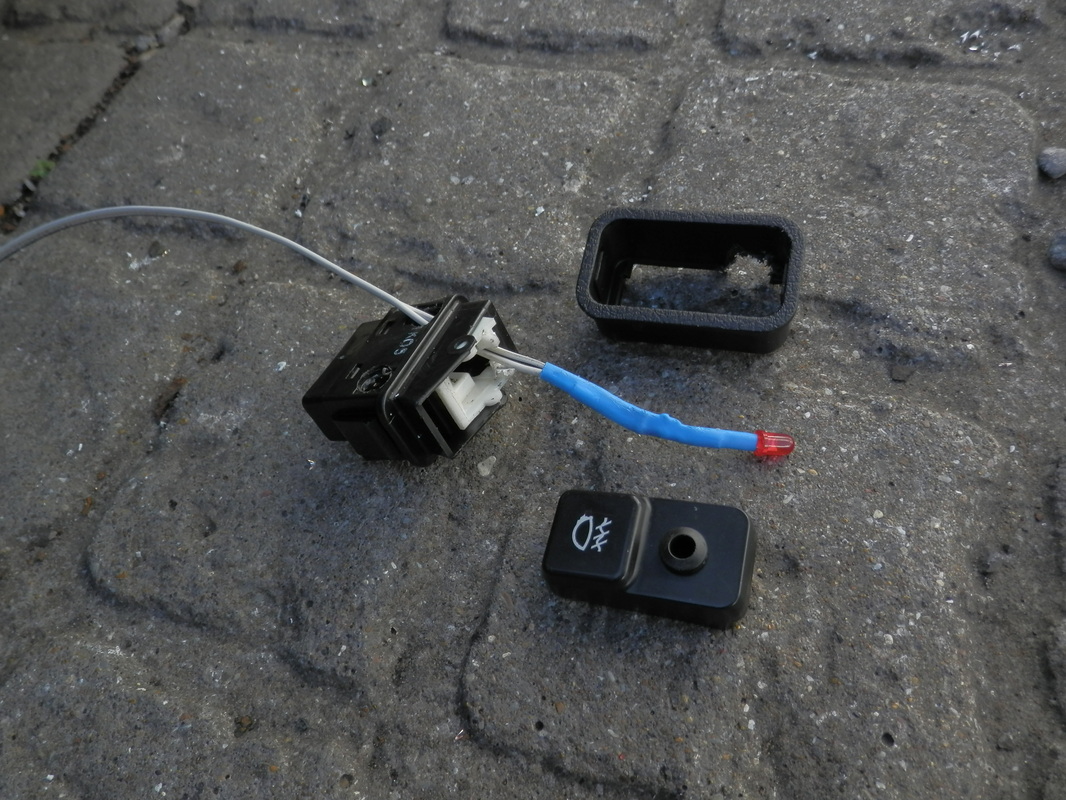
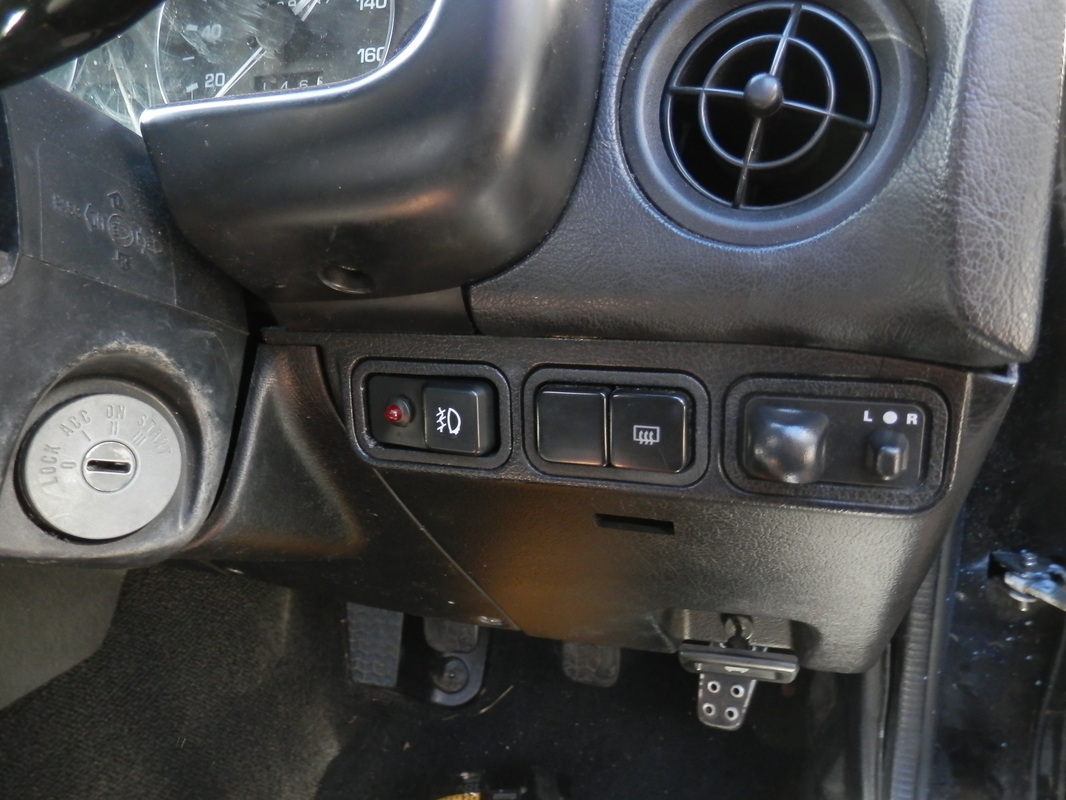
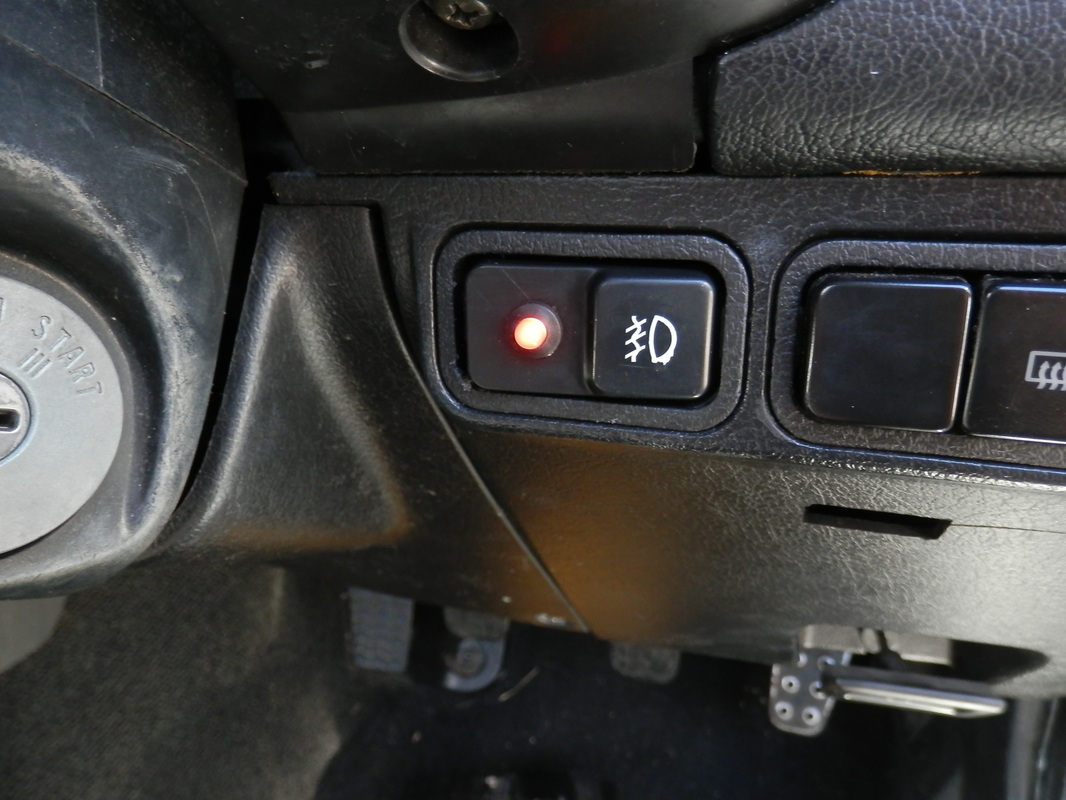
THE REAR FOG WAS MISSING THE TELL TAIL LIGHT SO AS I AM GETTING HER READY FOR A NEW MOT AND ONE IS REQUIRED I DECIDED TO FIT IT IN THE FOG SWITCH (MAKES SENSE)
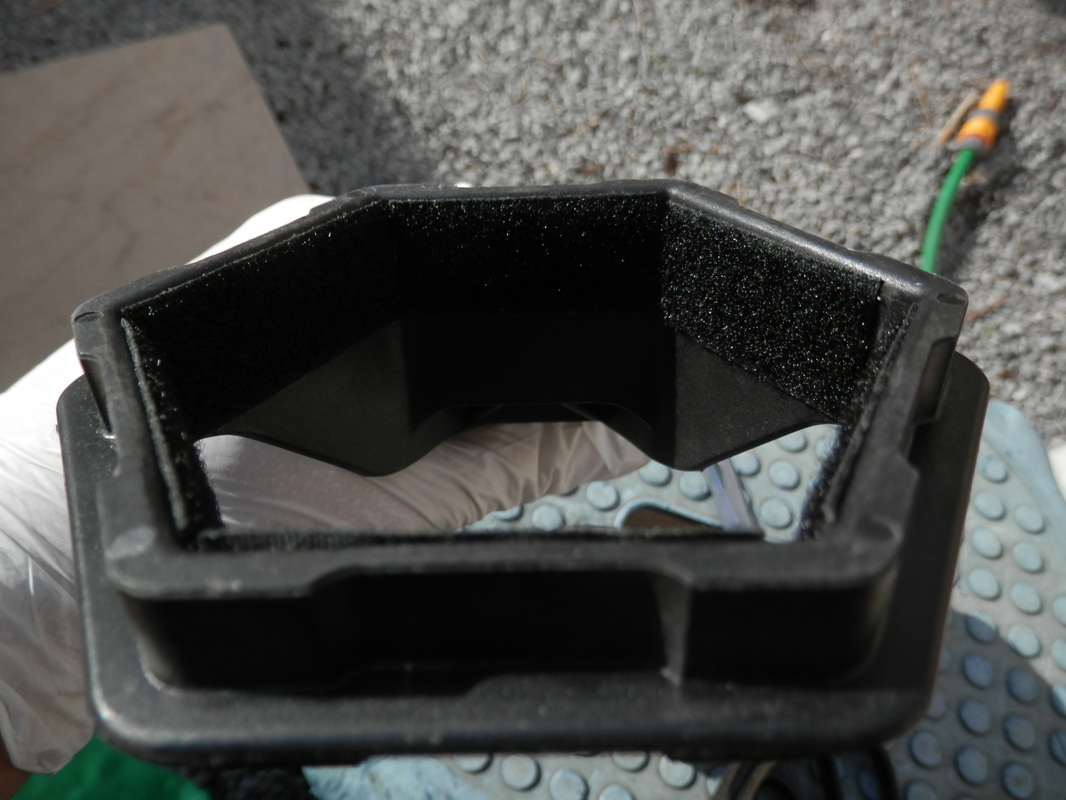
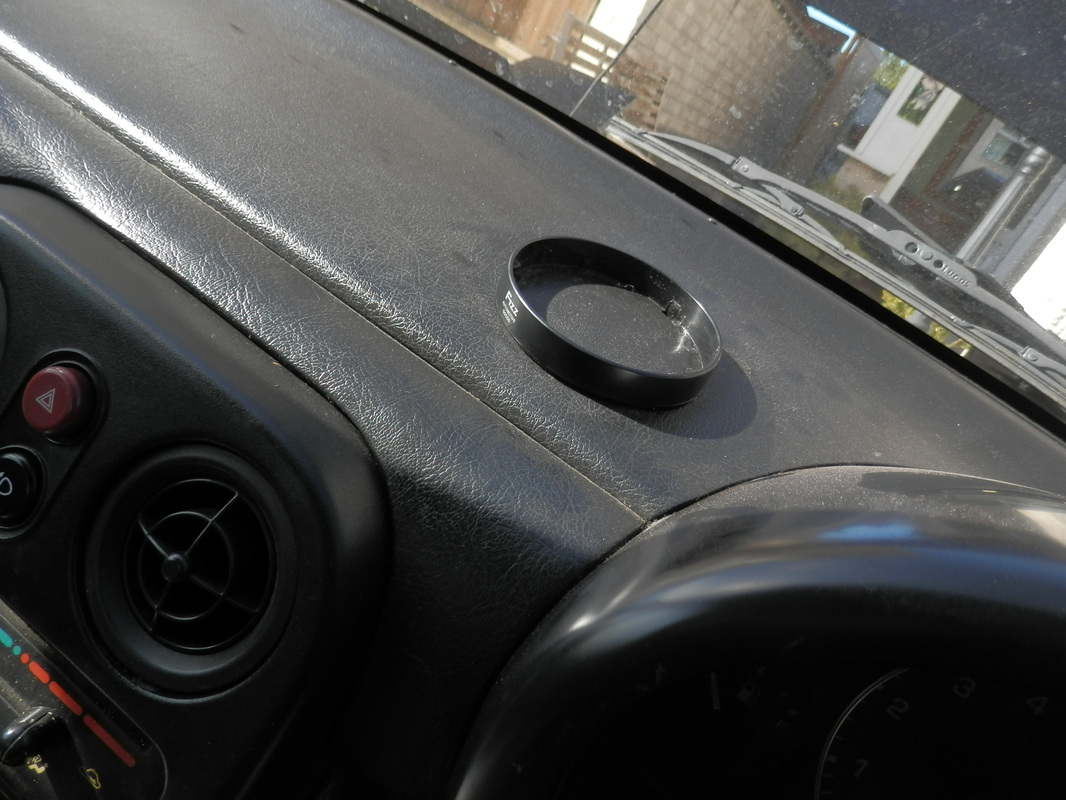
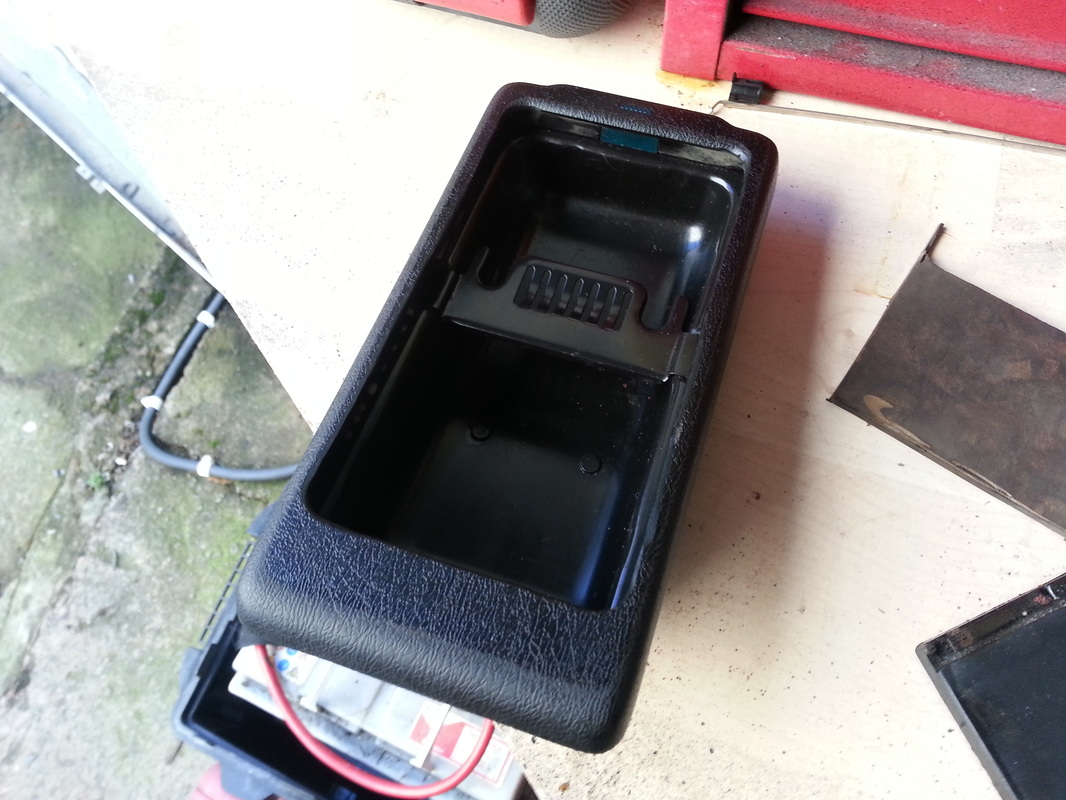
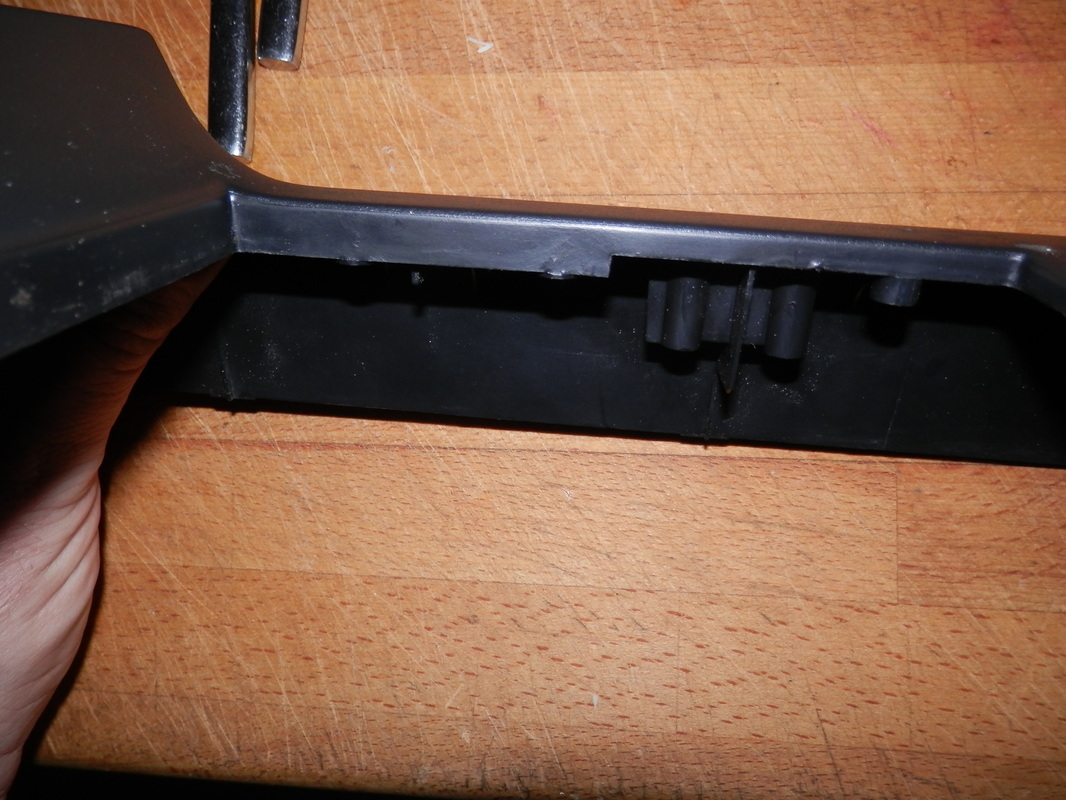
THEN REMOVED THE HORRID CUP HOLDER SOMEONE HAD STUCK TO THE DASH
THEN REMOVED THE HORRID CUP HOLDER SOMEONE HAD STUCK TO THE DASH
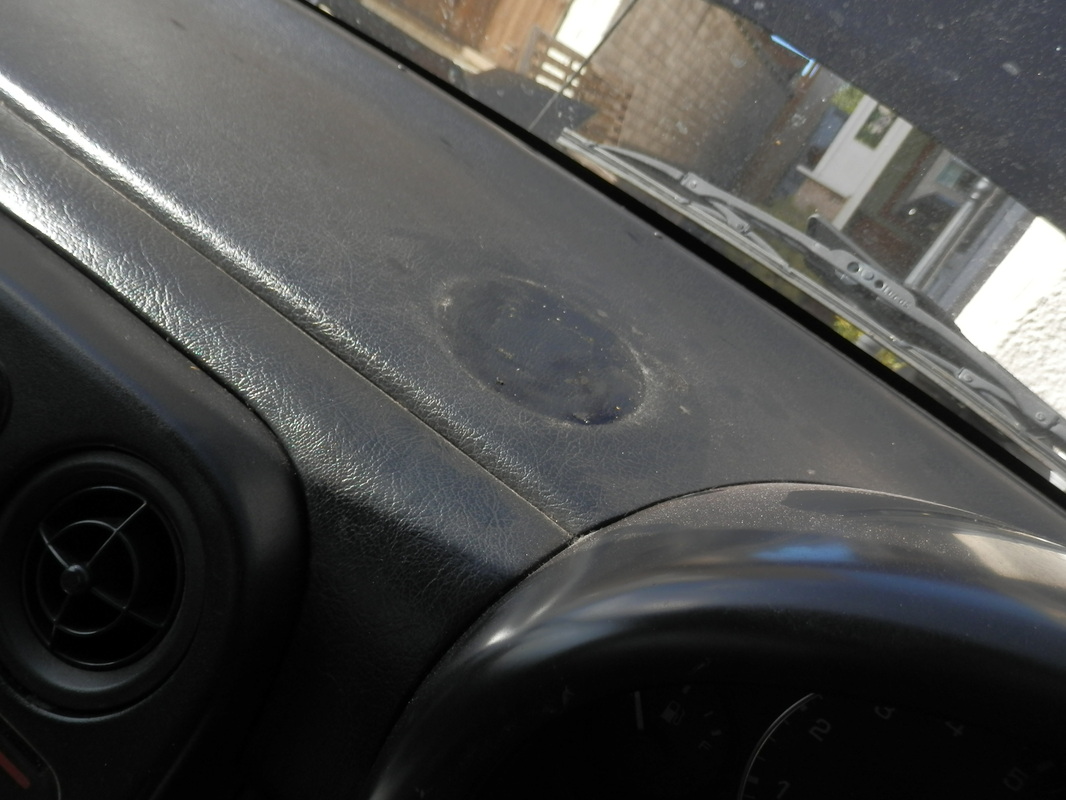
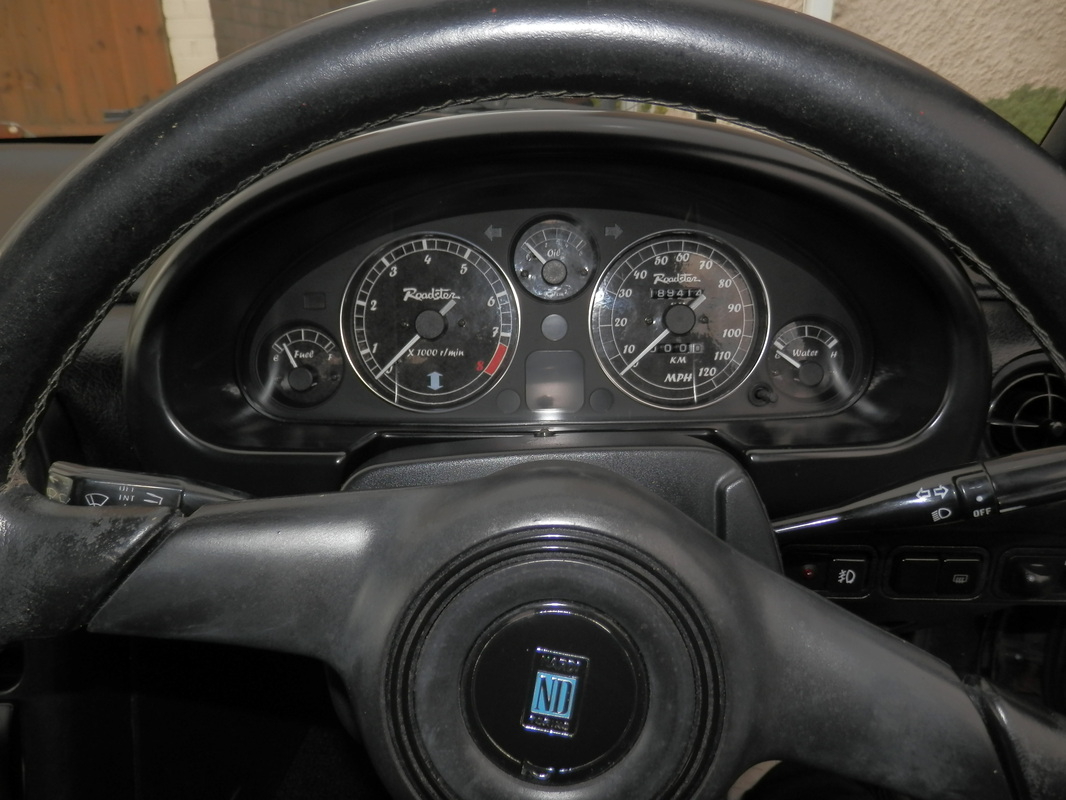
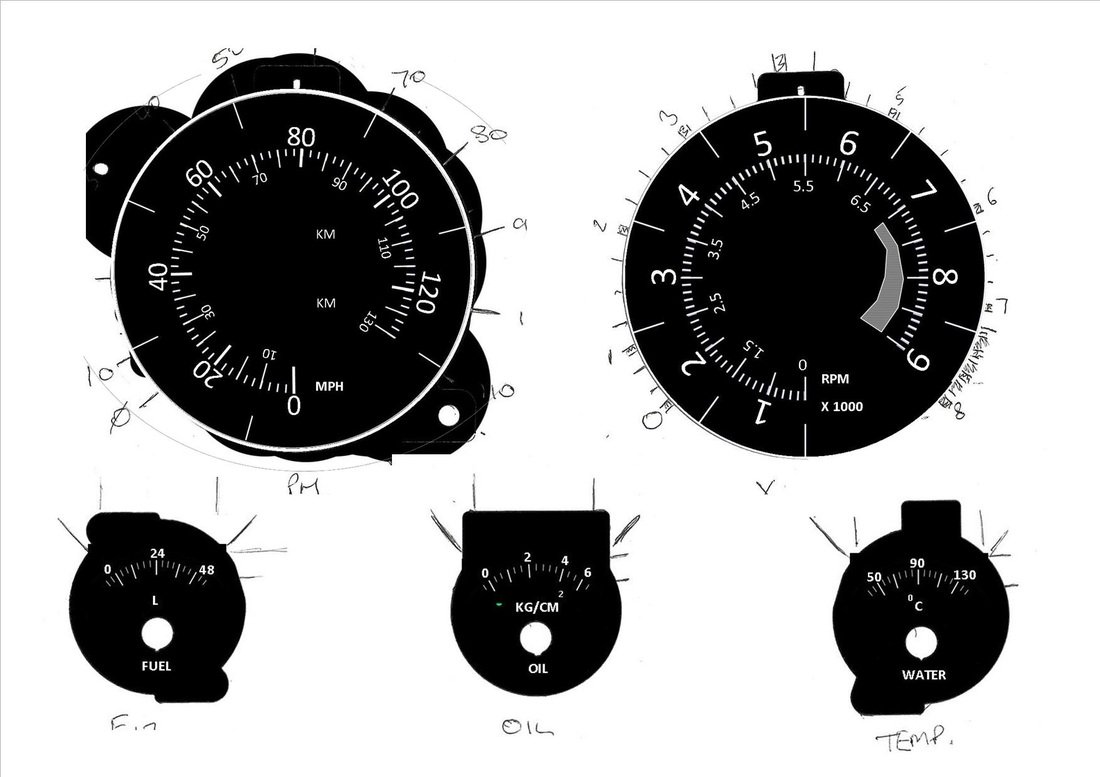
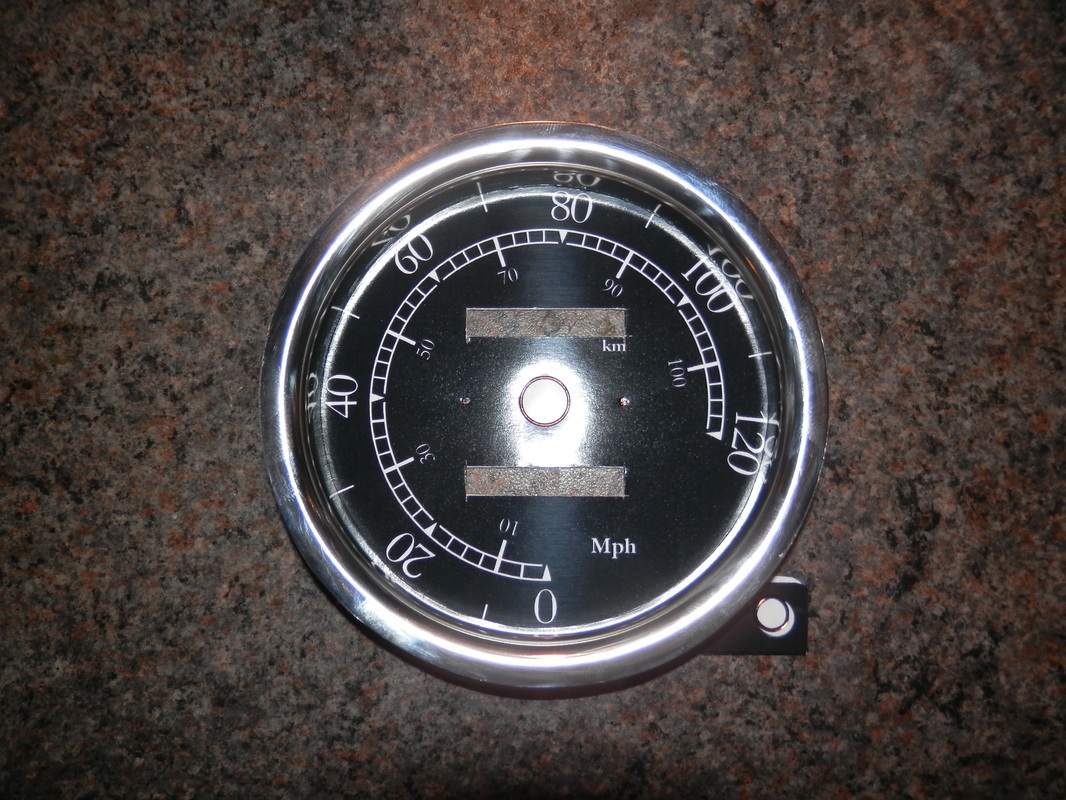
just noticed the speedo is still reading km and kph
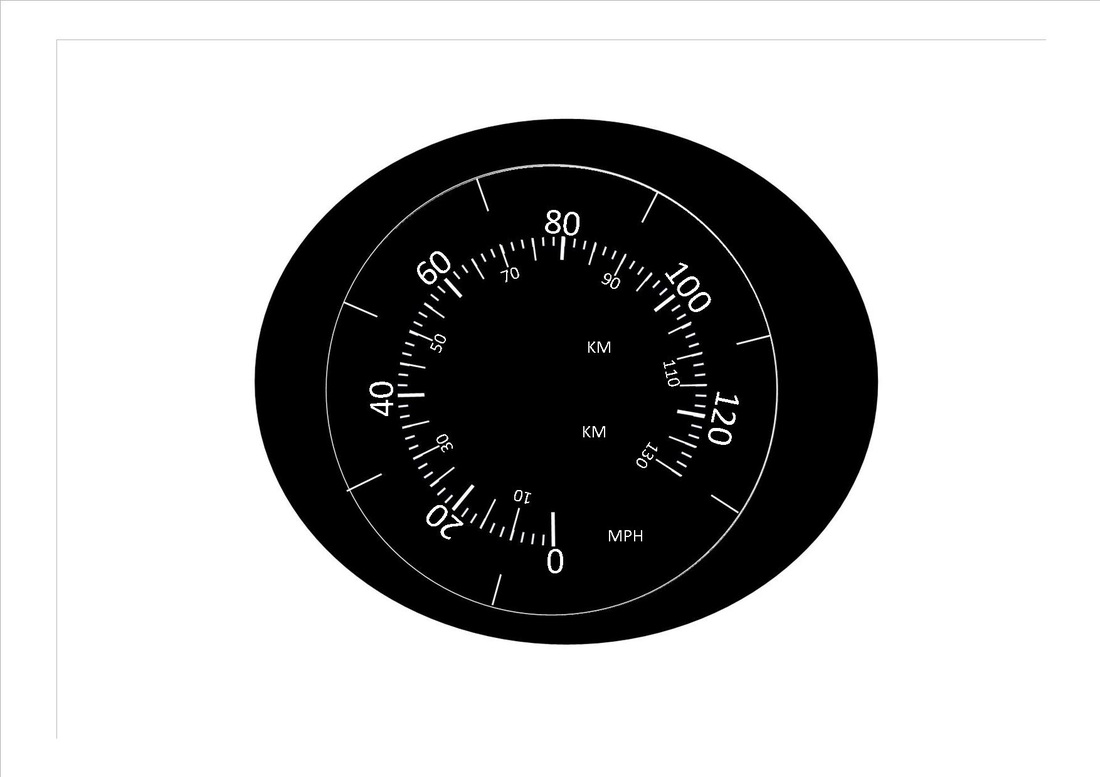
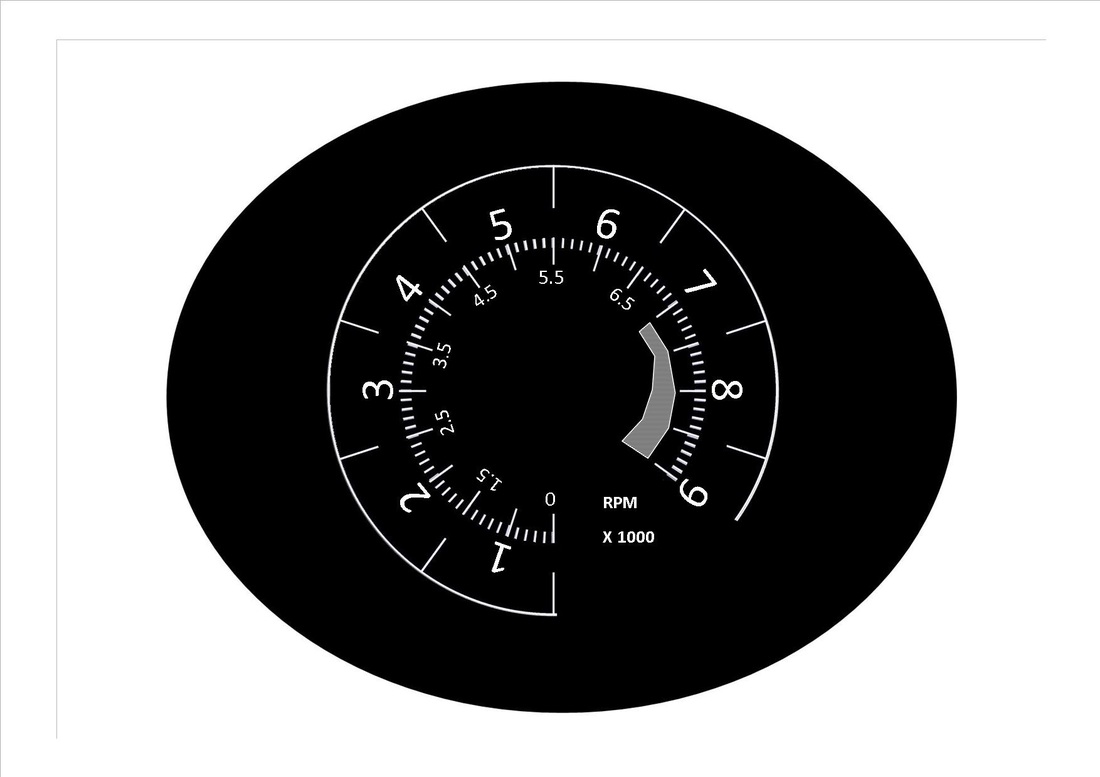
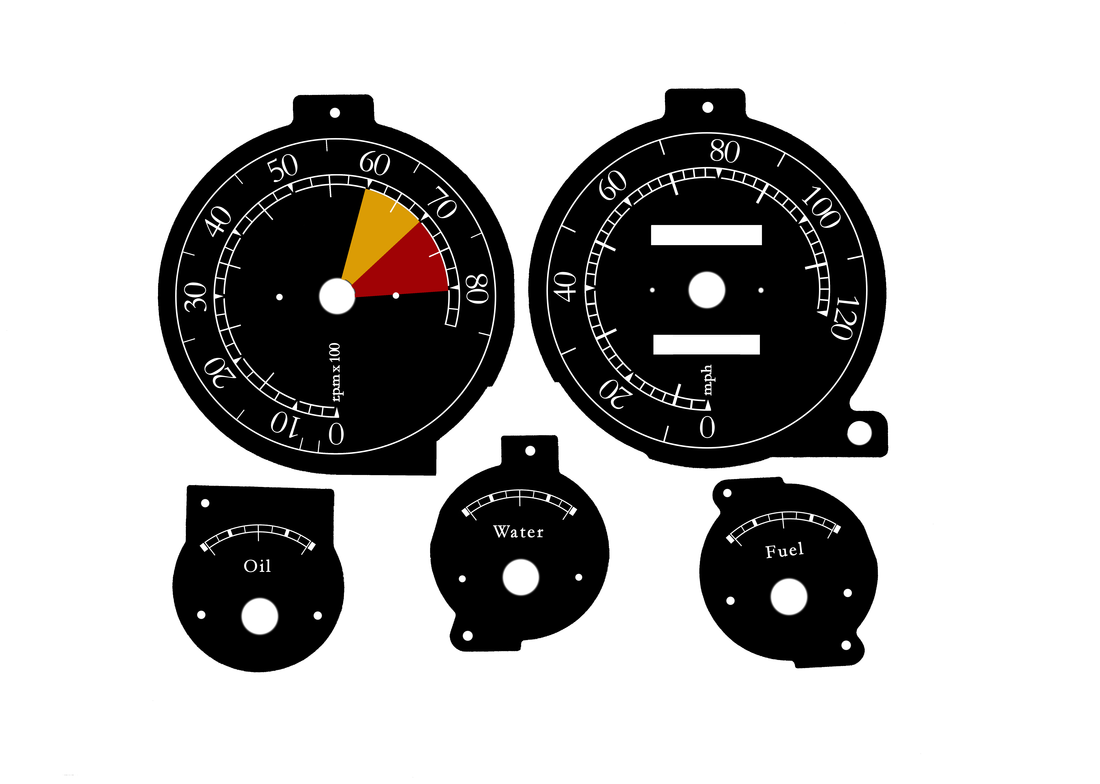
it needs to read mph to be uk legal so time to make some dials
it needs to read mph to be uk legal so time to make some dials
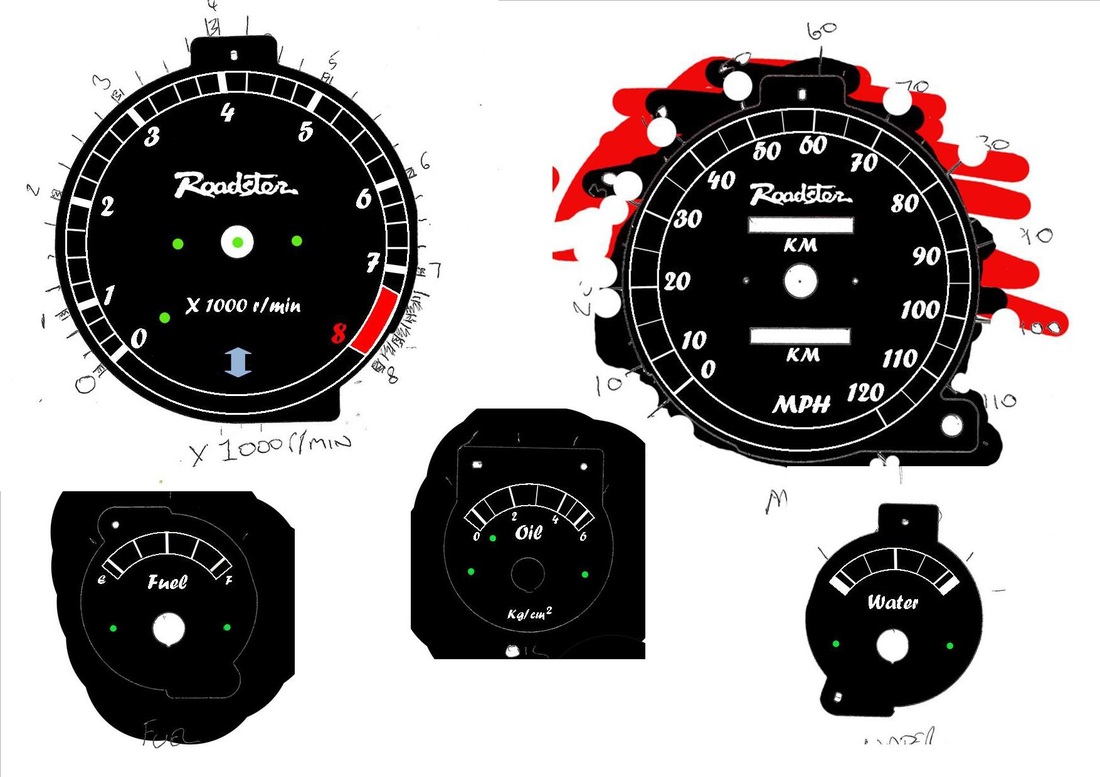
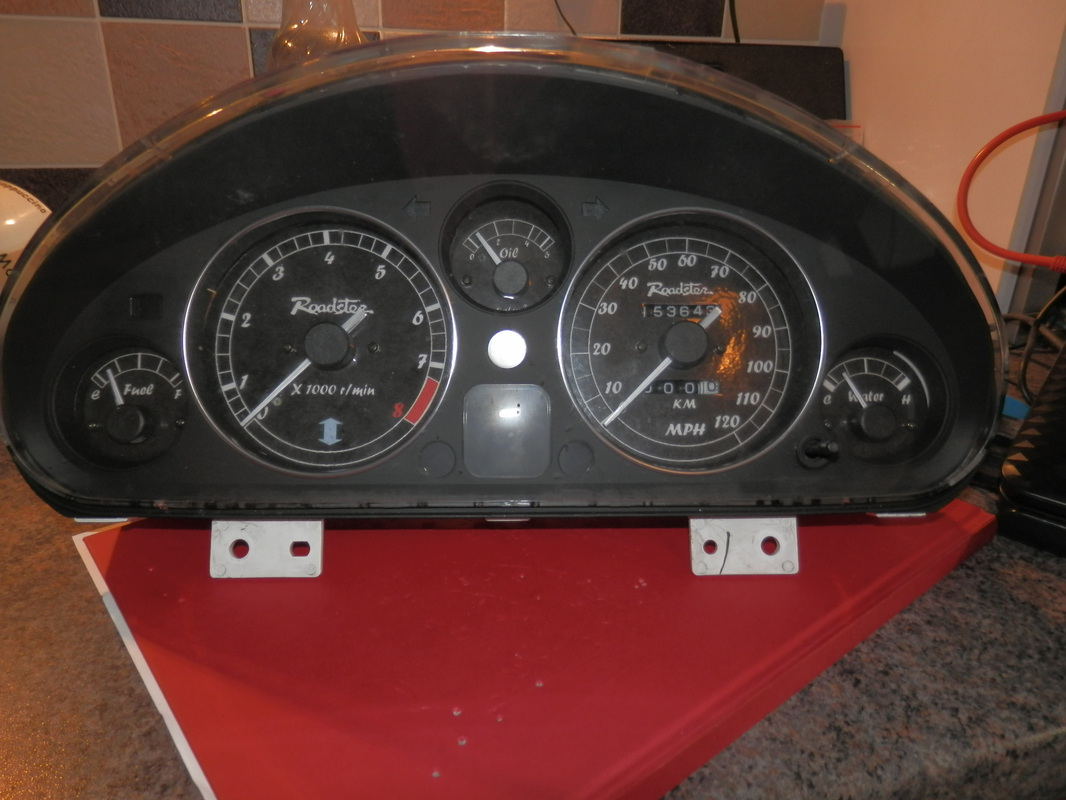
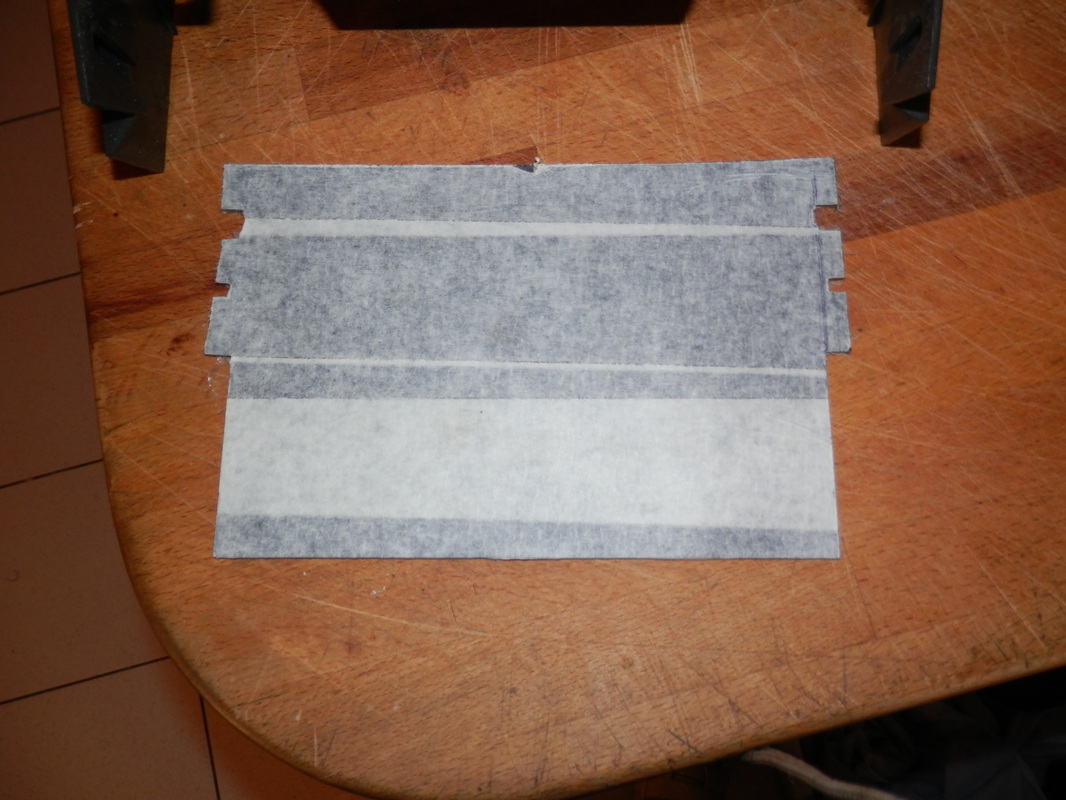
ok printed and ready for the knife
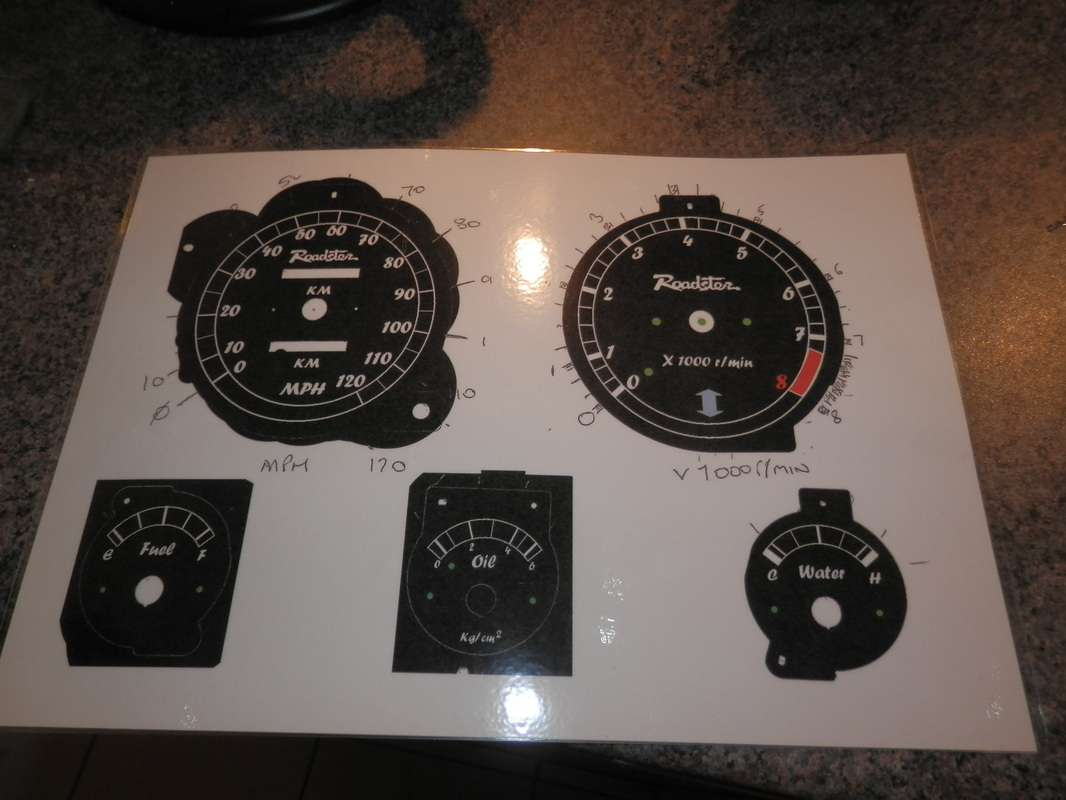
cut out and fitted
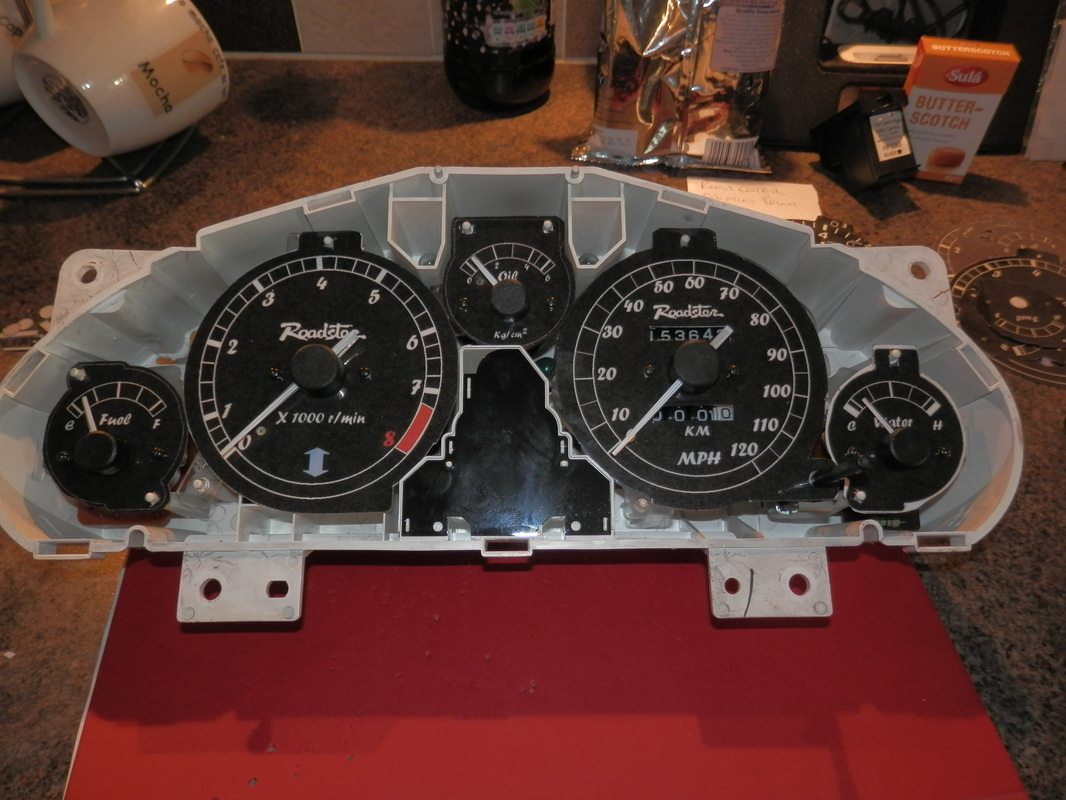
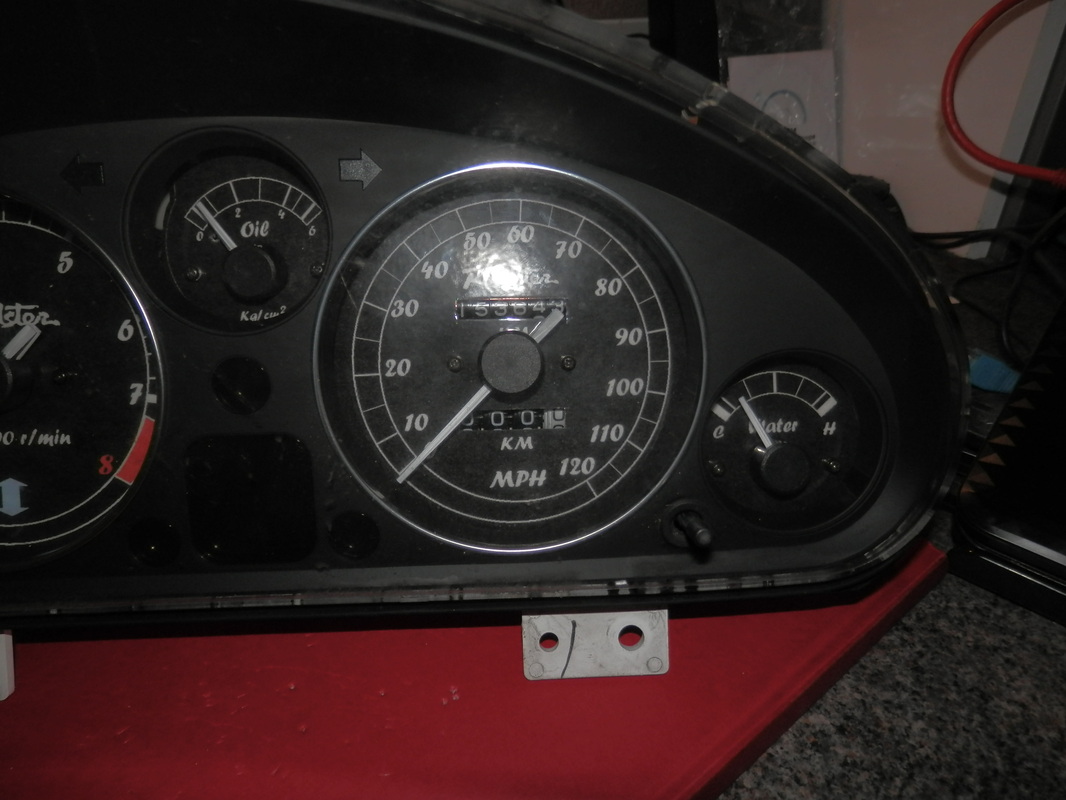
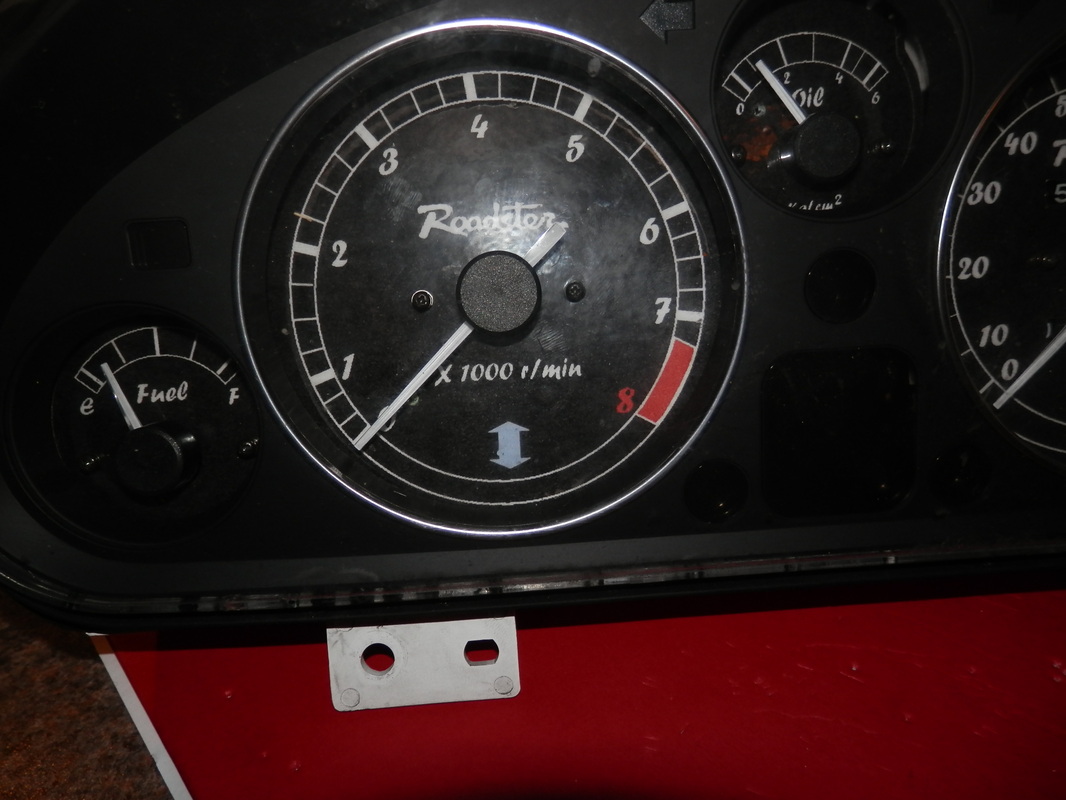
the old ones out of the car, as you can see kmh speedo
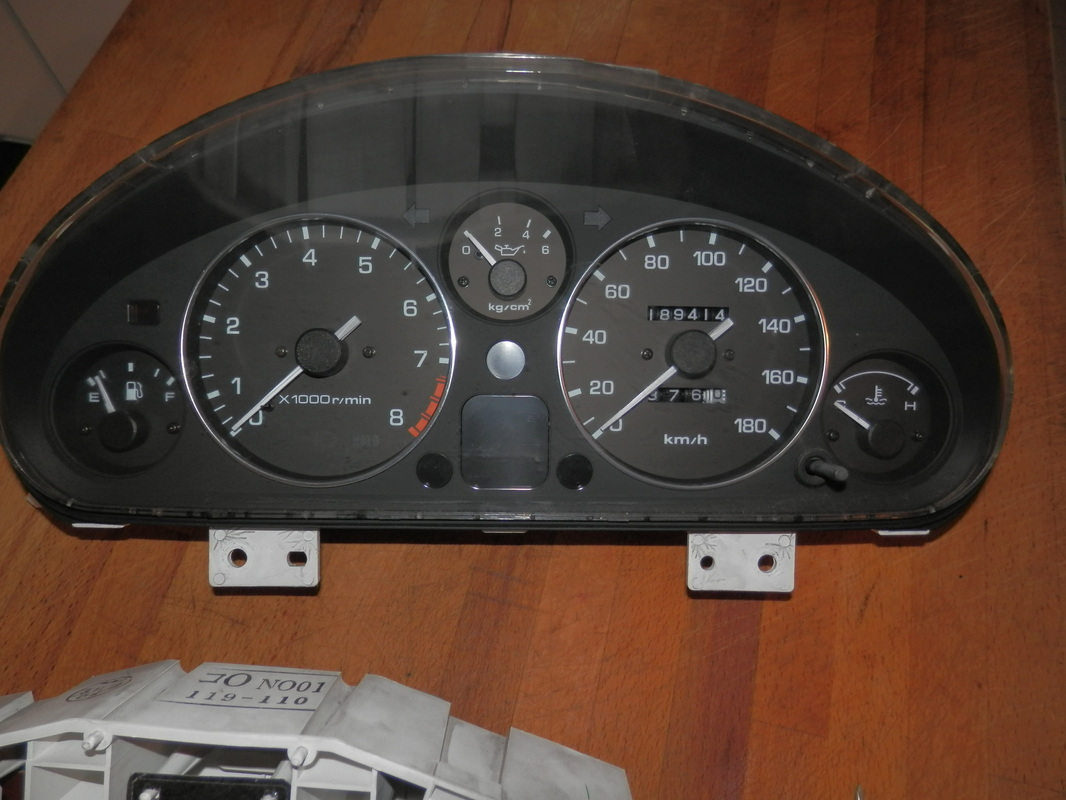
OK I AM NOW ON TO MAKING A NEW SET
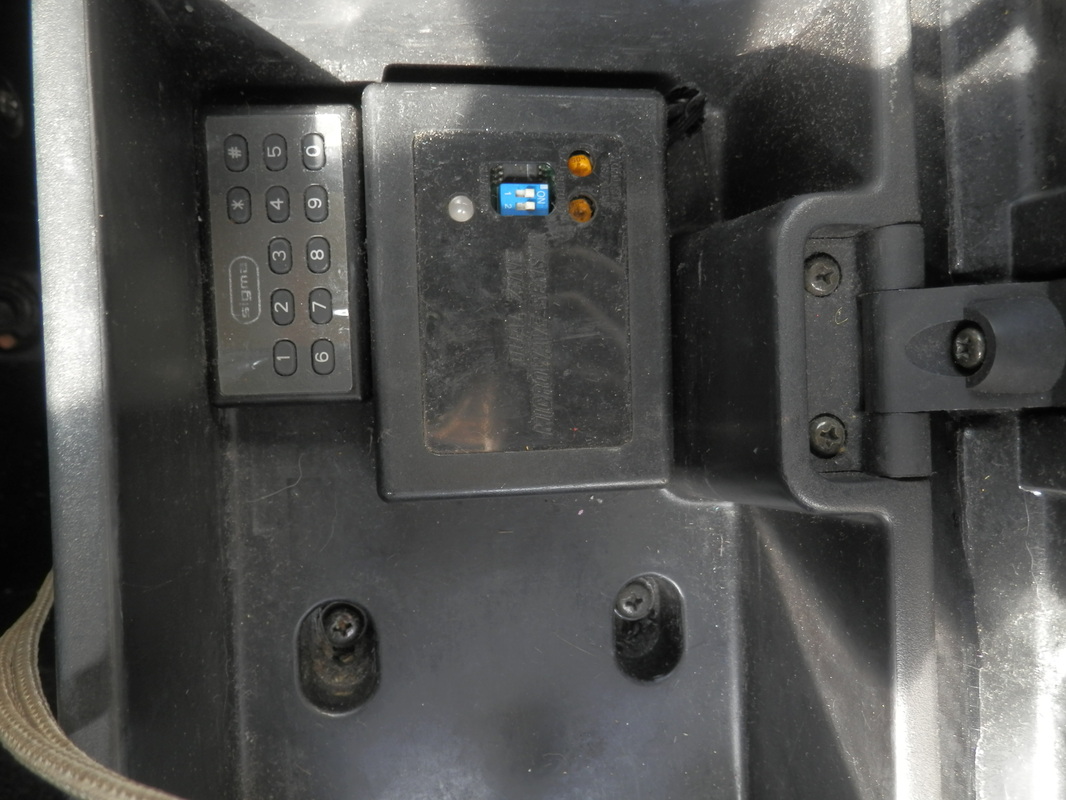
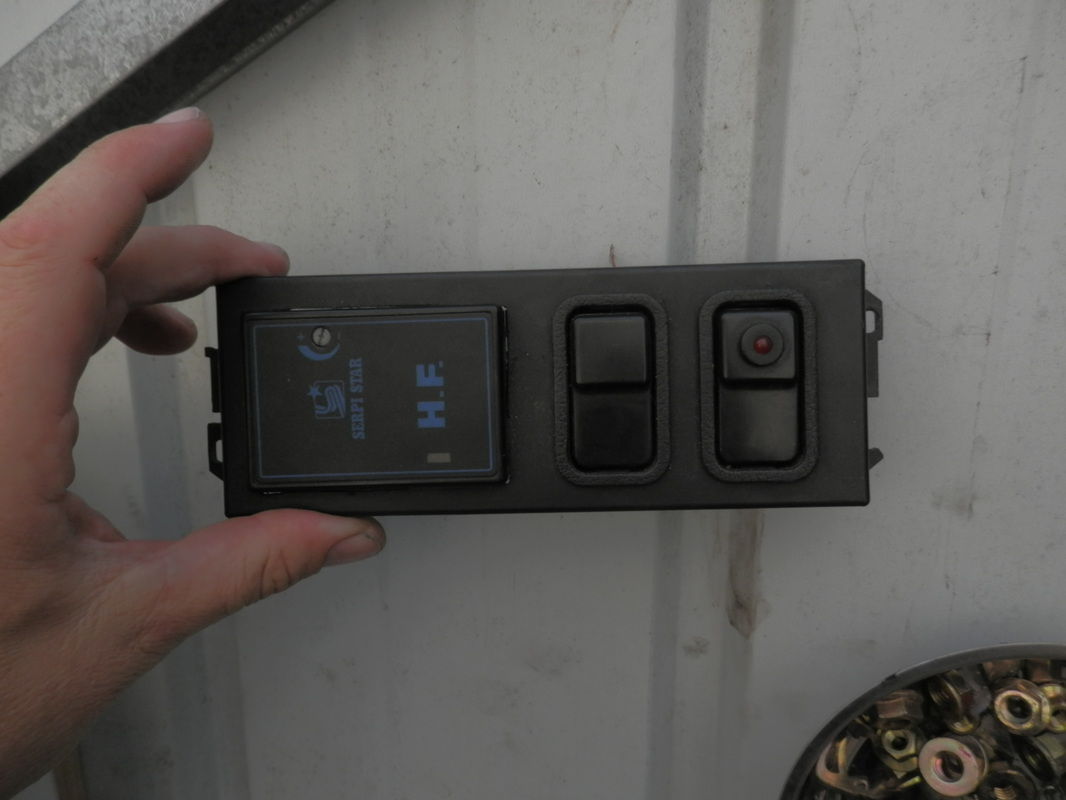
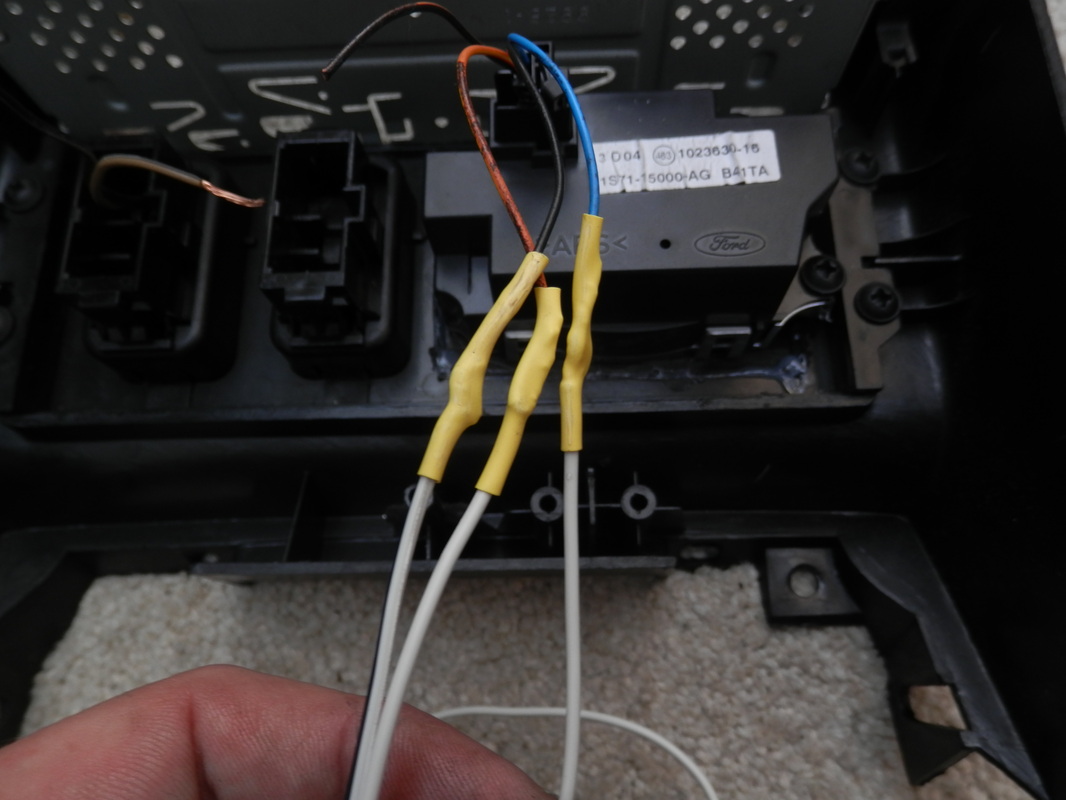
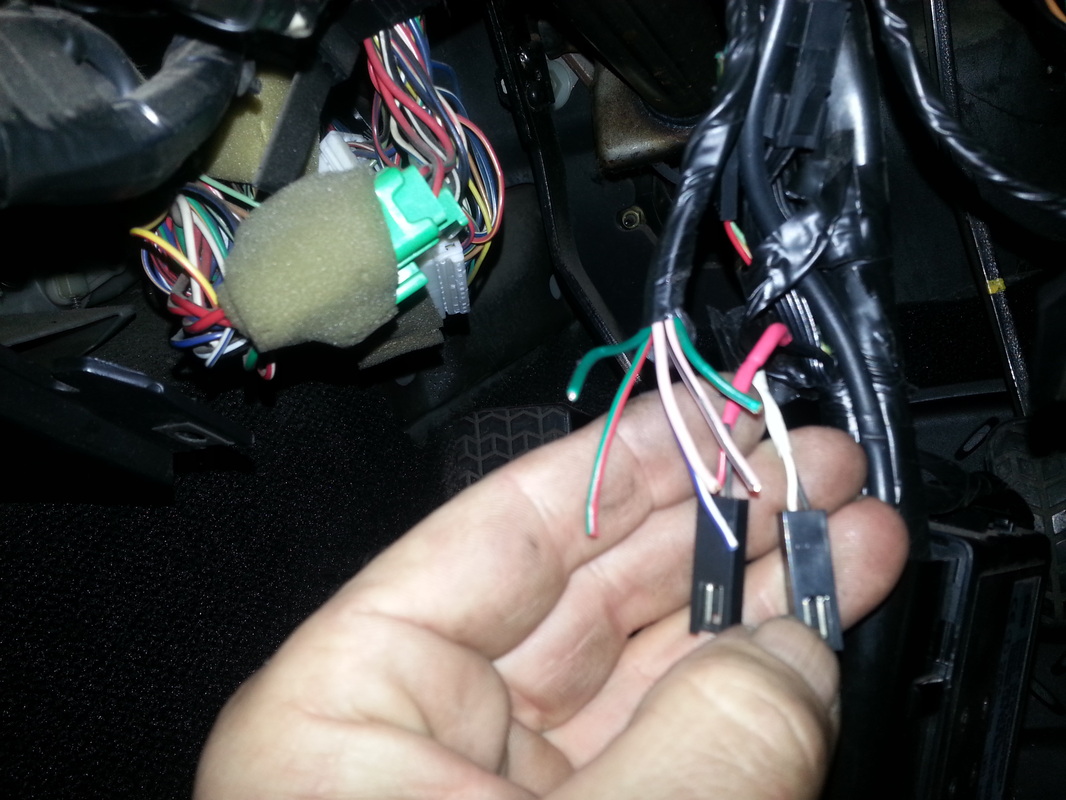
After a lot of pleading with the man at sigma (now scorpion ) alarms
and a good few emails he has confirmed the wires on the s series alarm i have fitted to the car.
this allows me to fit some door actuators and to have them fire (open and close) with the alarm arming.
and a good few emails he has confirmed the wires on the s series alarm i have fitted to the car.
this allows me to fit some door actuators and to have them fire (open and close) with the alarm arming.
in this pic you can see 6 cut wires these are the central door locking wires
basicly 2 live 2 ground and 2 switchable door actuator wires...
i am not sure what the 2 black plugs do
basicly 2 live 2 ground and 2 switchable door actuator wires...
i am not sure what the 2 black plugs do
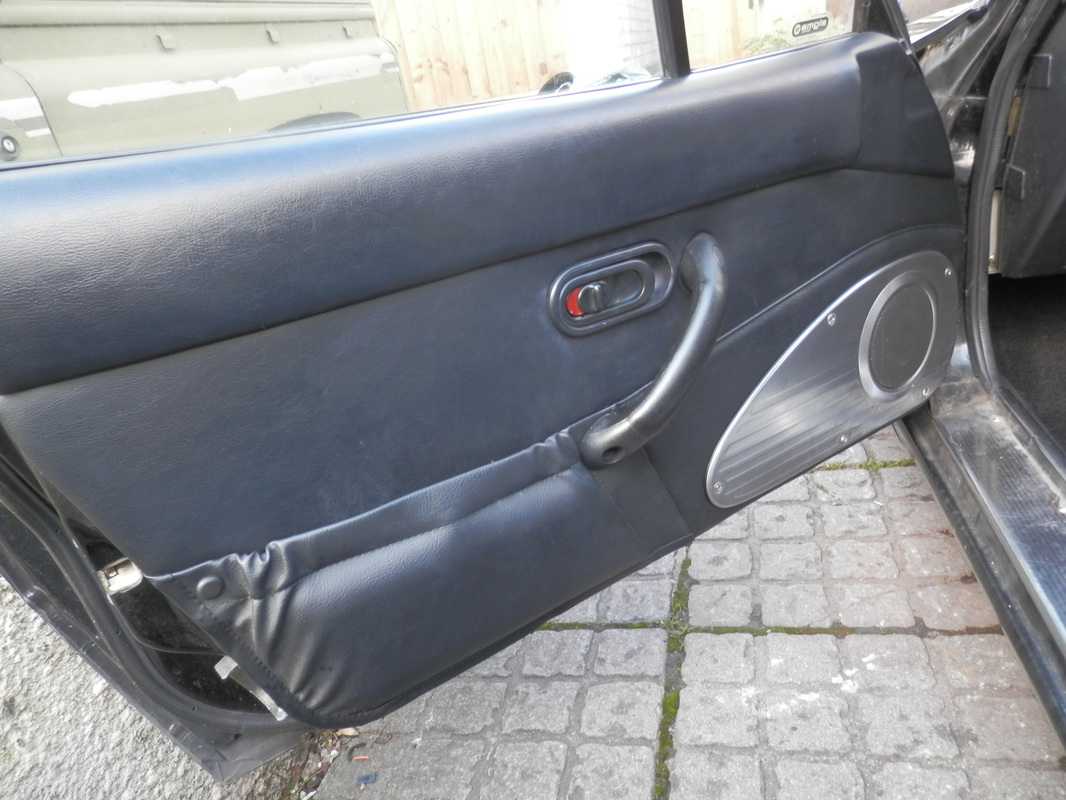
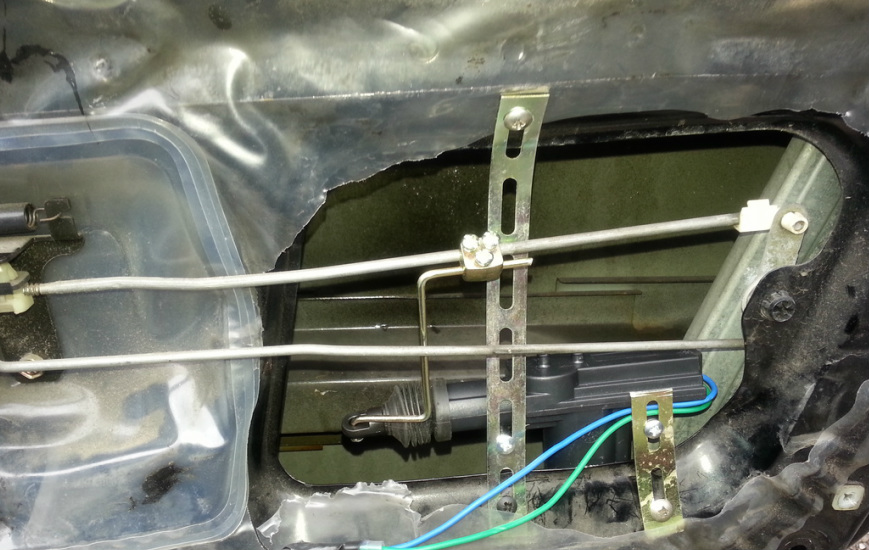
here is the door actuator fitted on the drivers door inc the wires all wired and tested.
all works well
all works well
Haven't had much time to spend on suzzy for a while
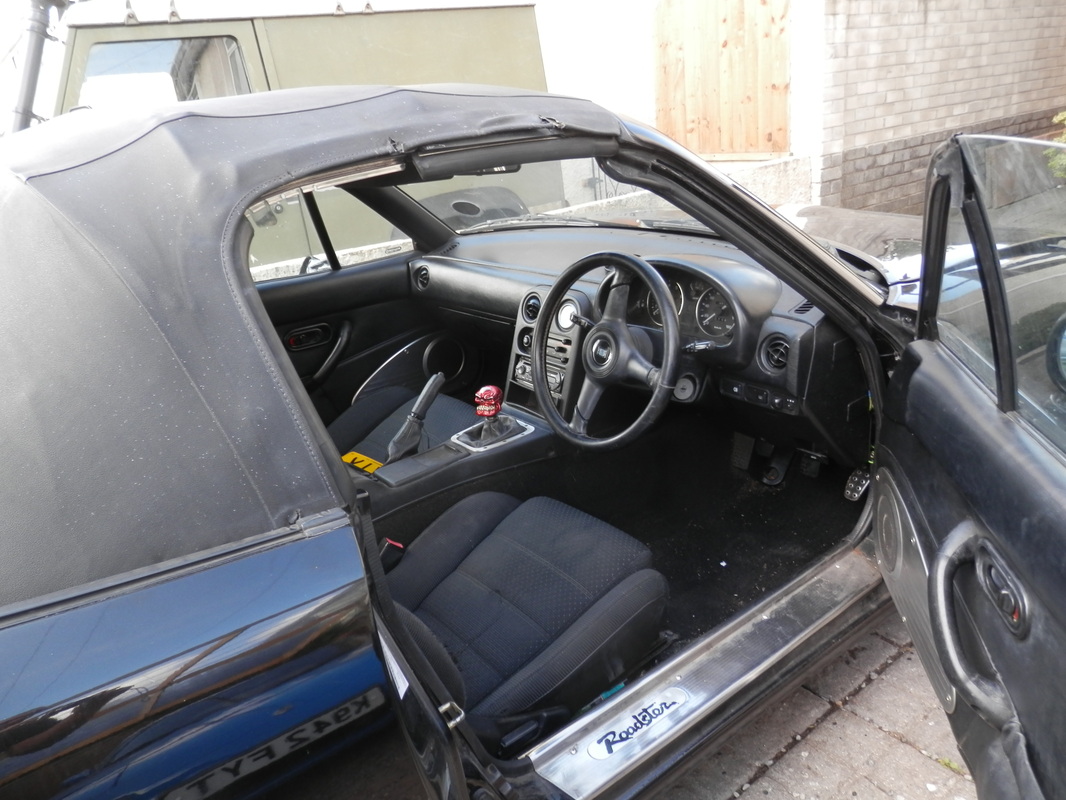
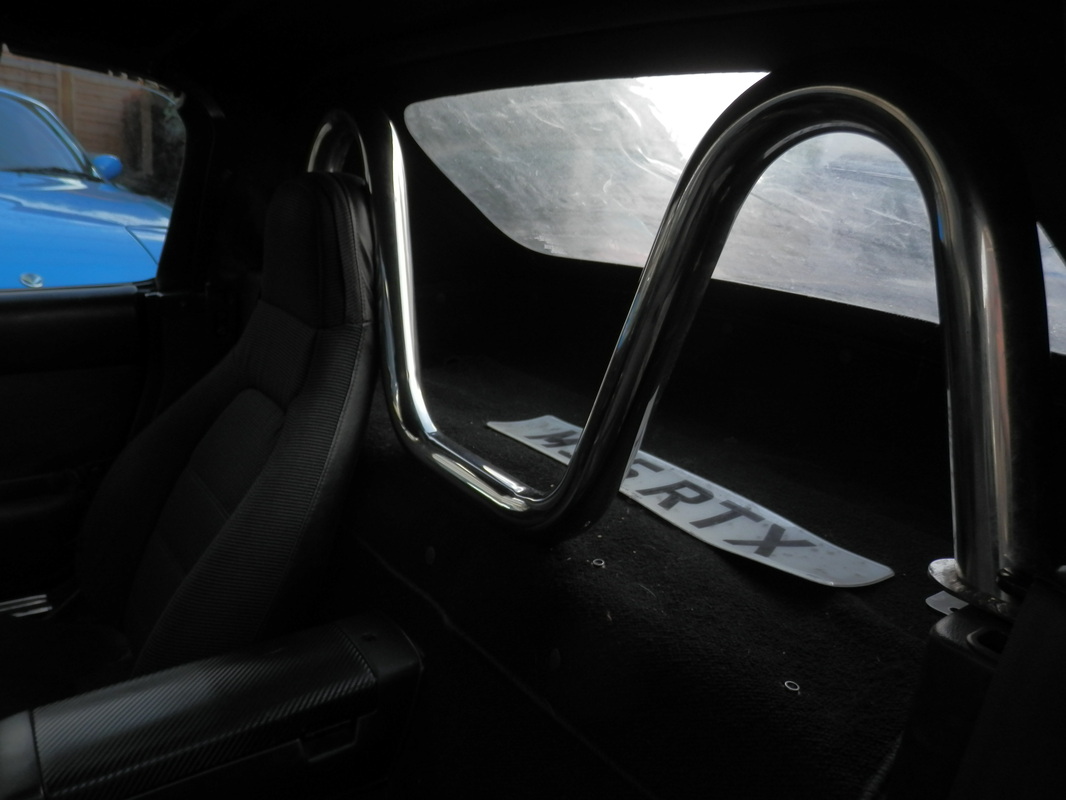
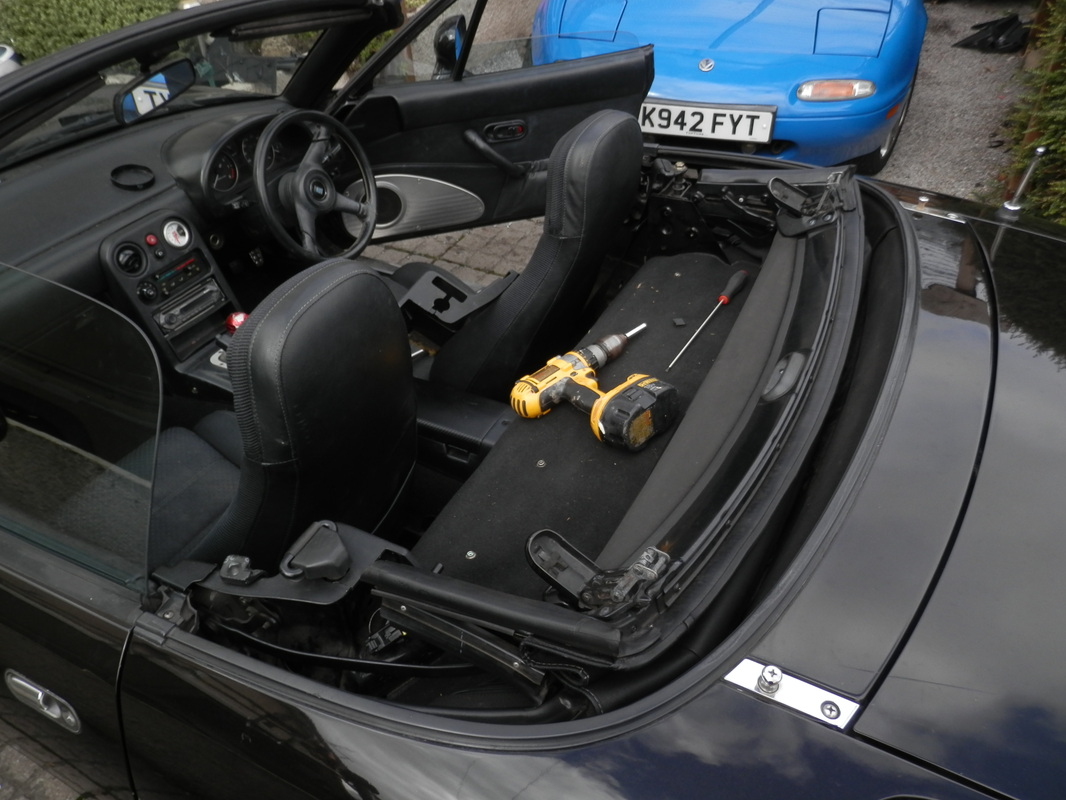
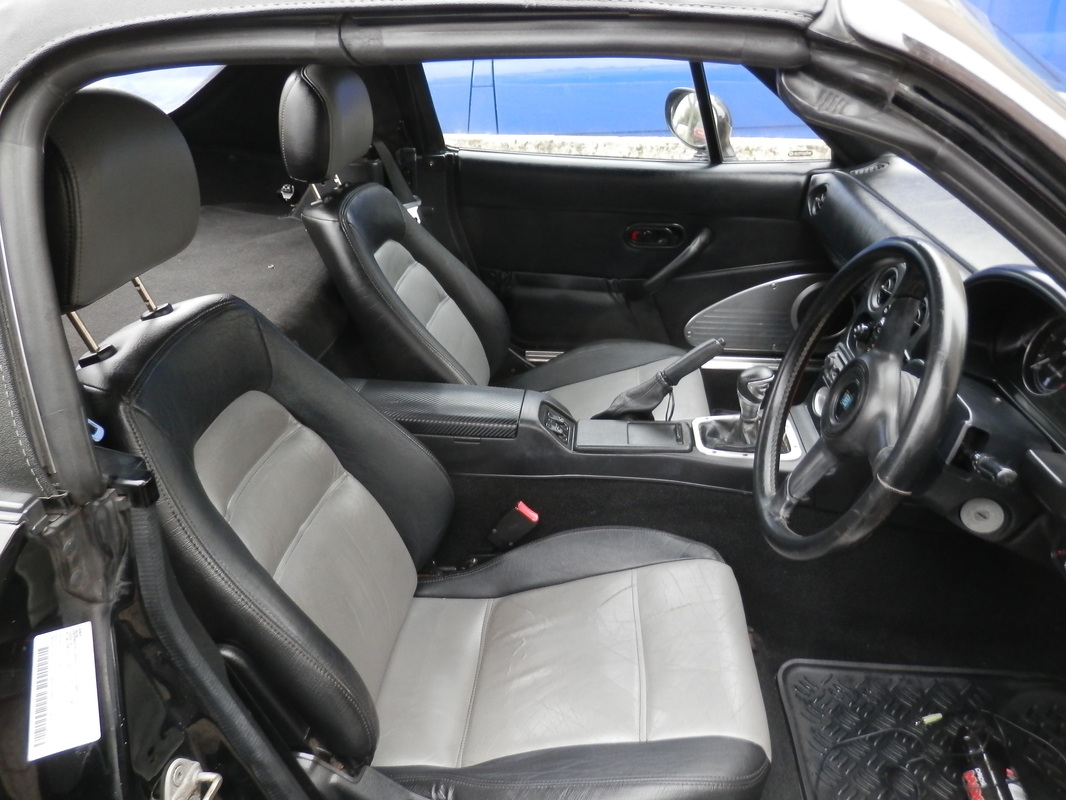
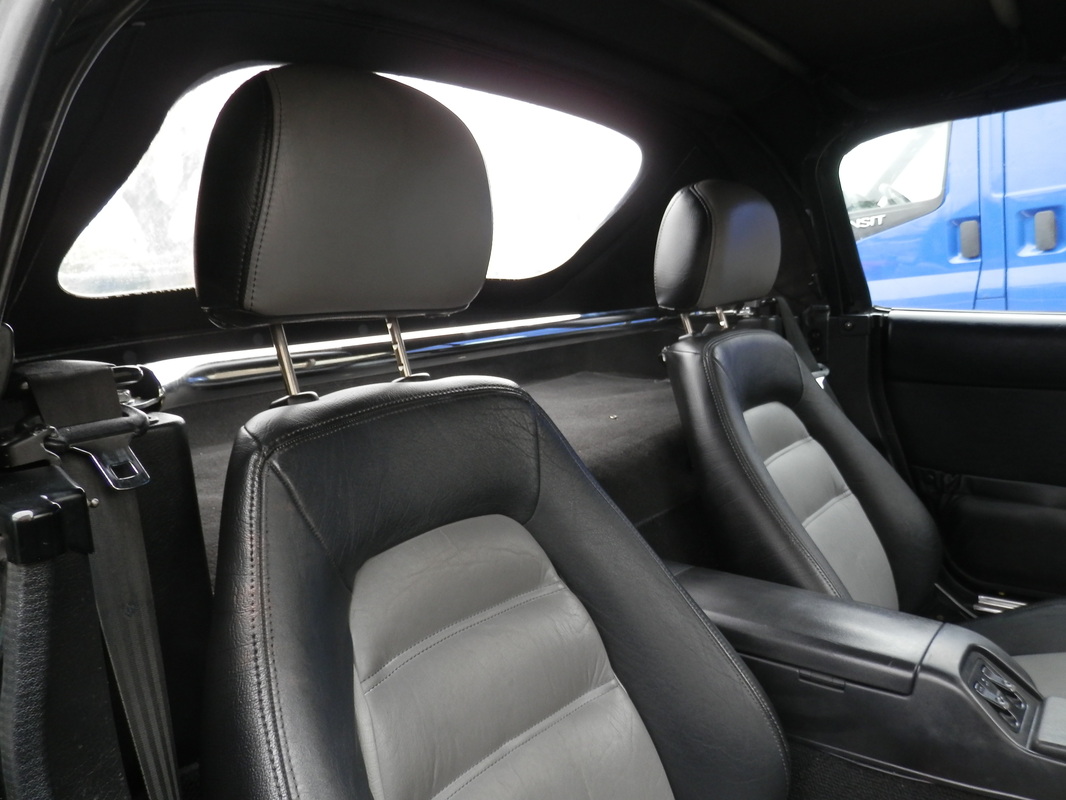
but i have managed to fit the leather seats and rear strut brace from the berkeley rust bucket i bought
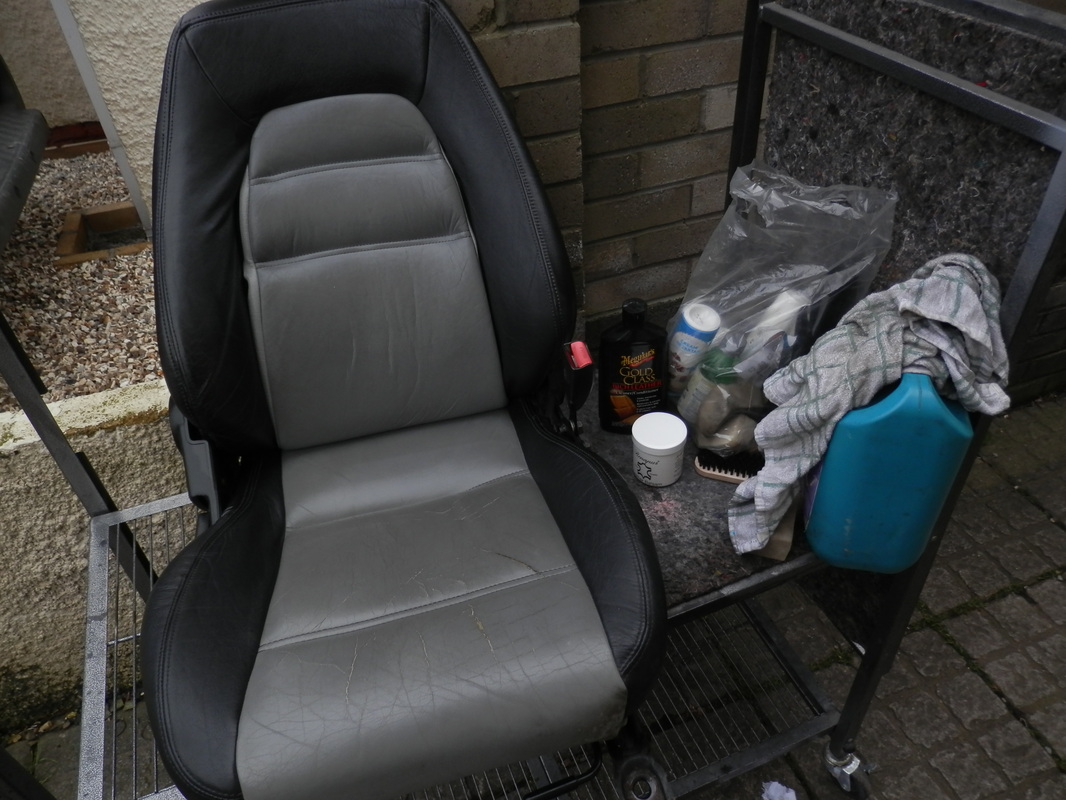
Always a pleasure removing the seats in a 5 to clean the mess out

Wow they look cool much better then they did in the green car
Rear brace fitted which included the seat belt tower plastics
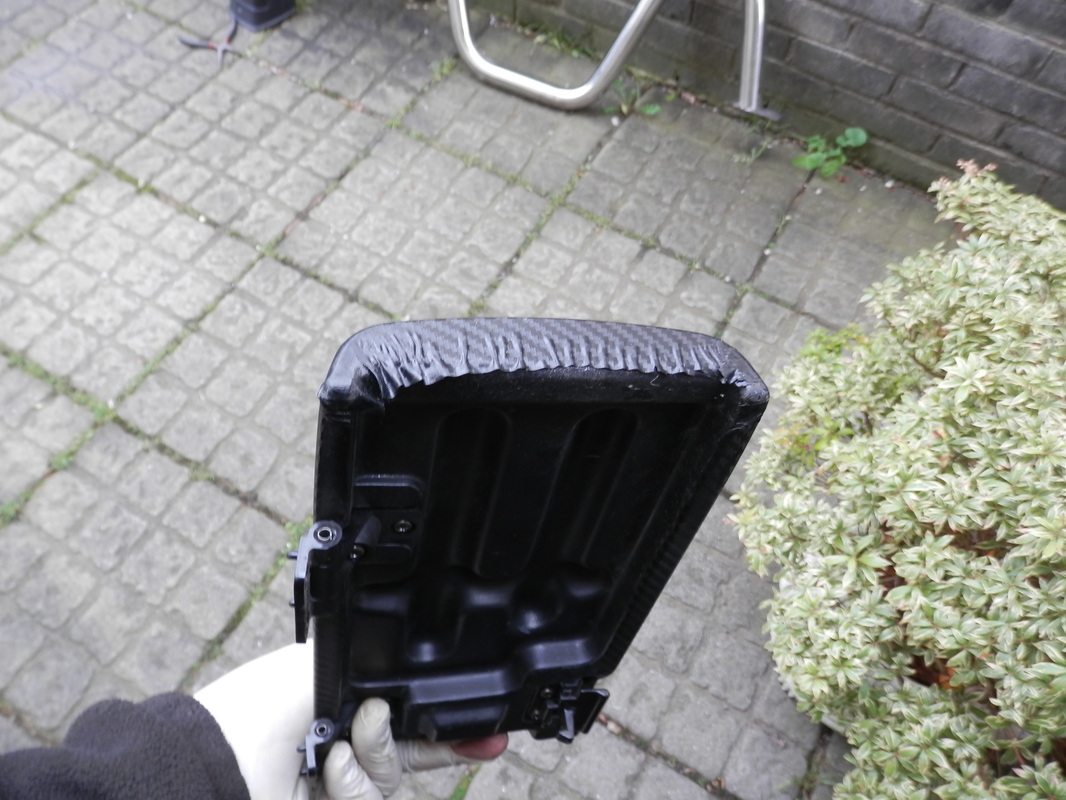
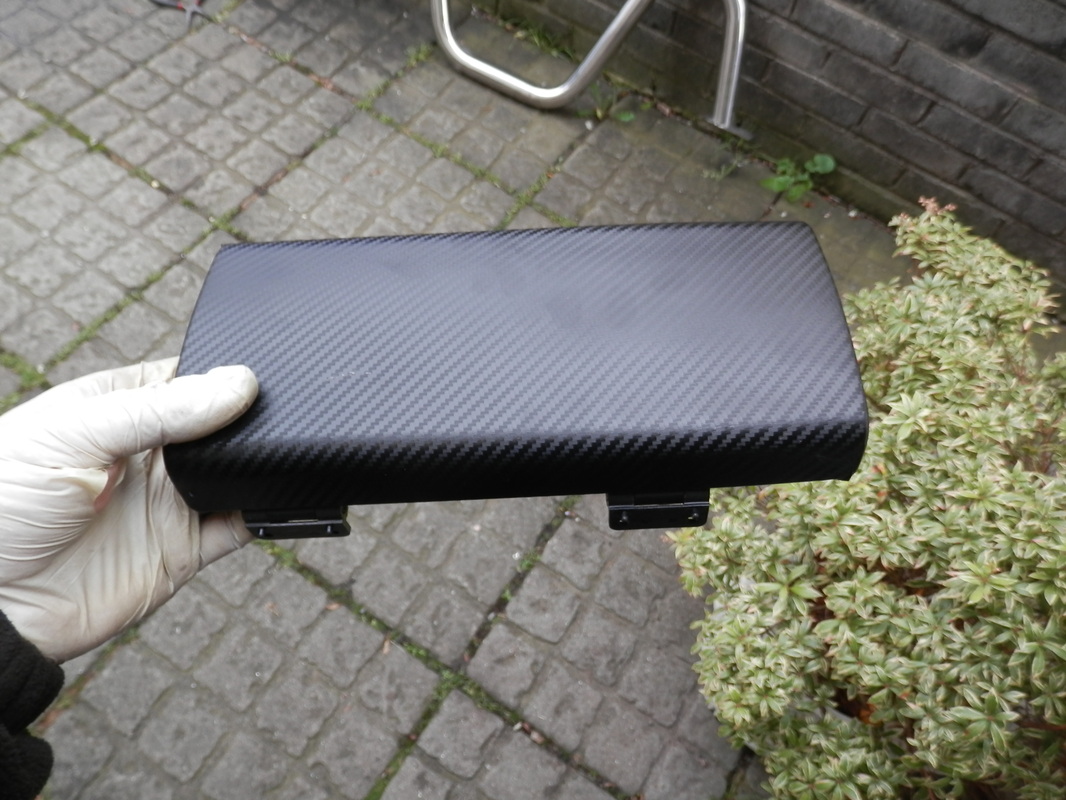
Ok time to remove the crappy carbon fiber wrapping from some of my plastic parts
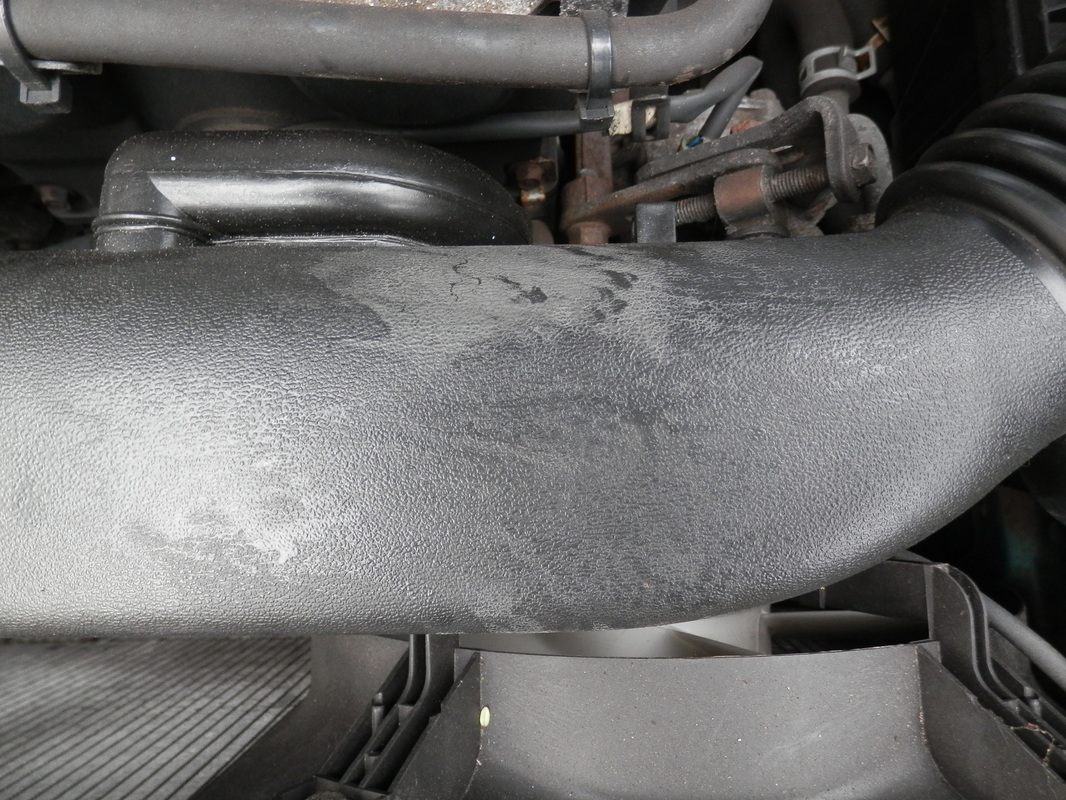
Horrid white mark on the inlet so swapped the pipe from the green horror
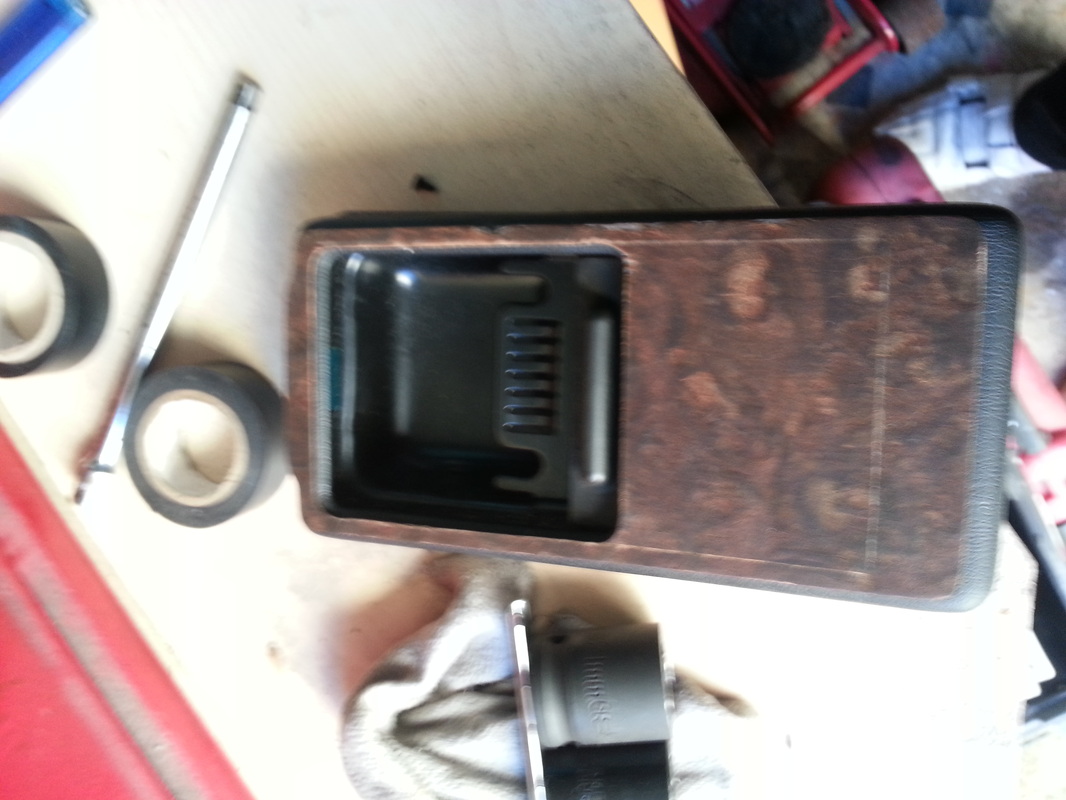
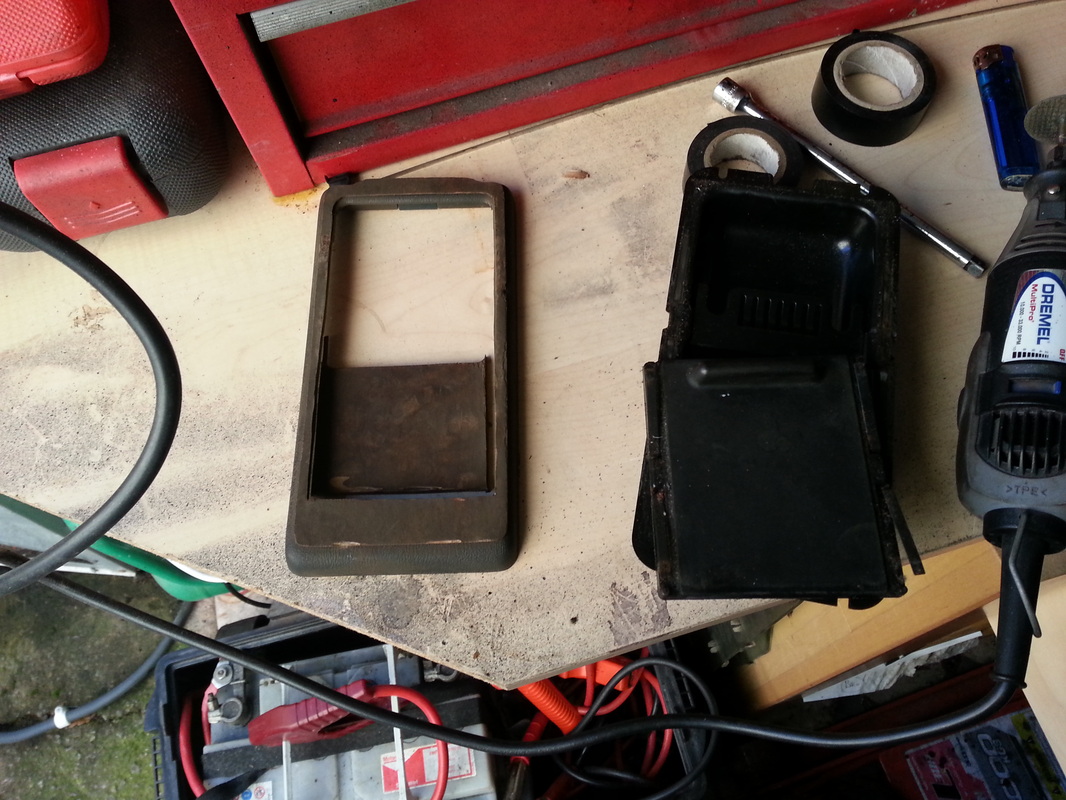
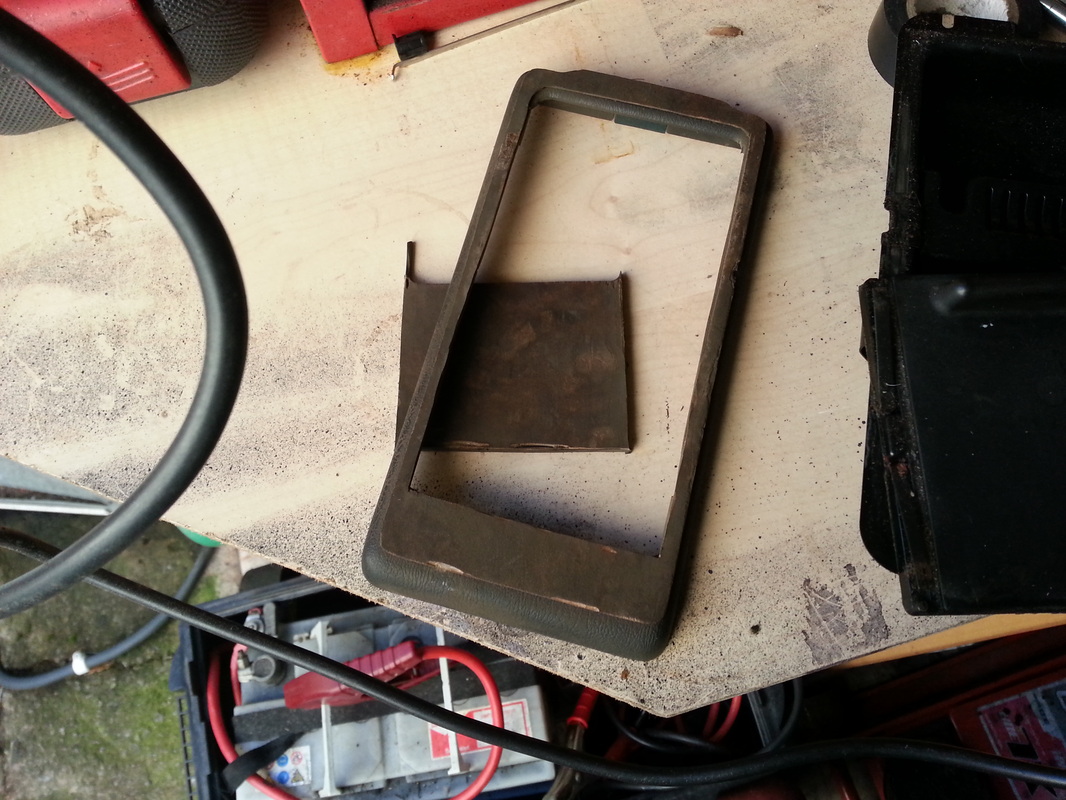
Samsung s3 ashtray mod so i can use the 3.5 jack plug on my stereo
for hands free phoning and mp3 playback.
Here is something very strange.. there is a new guy on the nutz forum who is even better at making good stuff from junk then me and he has let me borrow a design to help make my above dials stand out slightly better
so here are his set
so here are his set
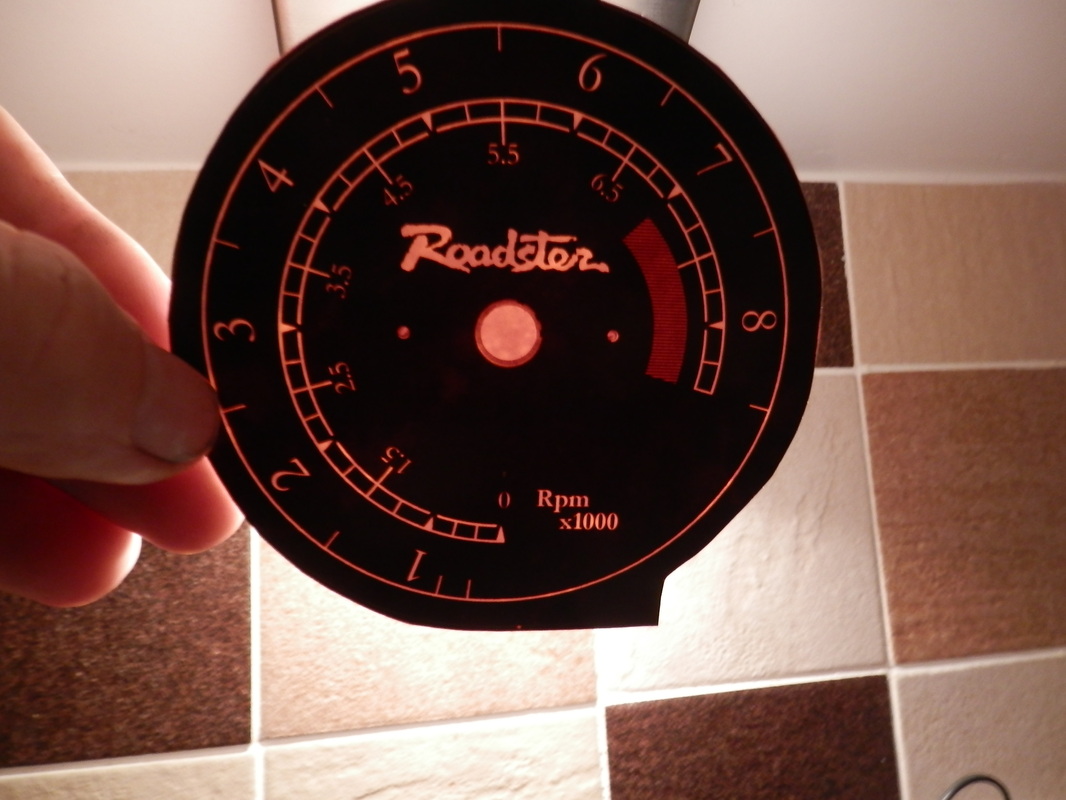
after some work and mixing the 2 together i am really happy
with the new dials
with the new dials
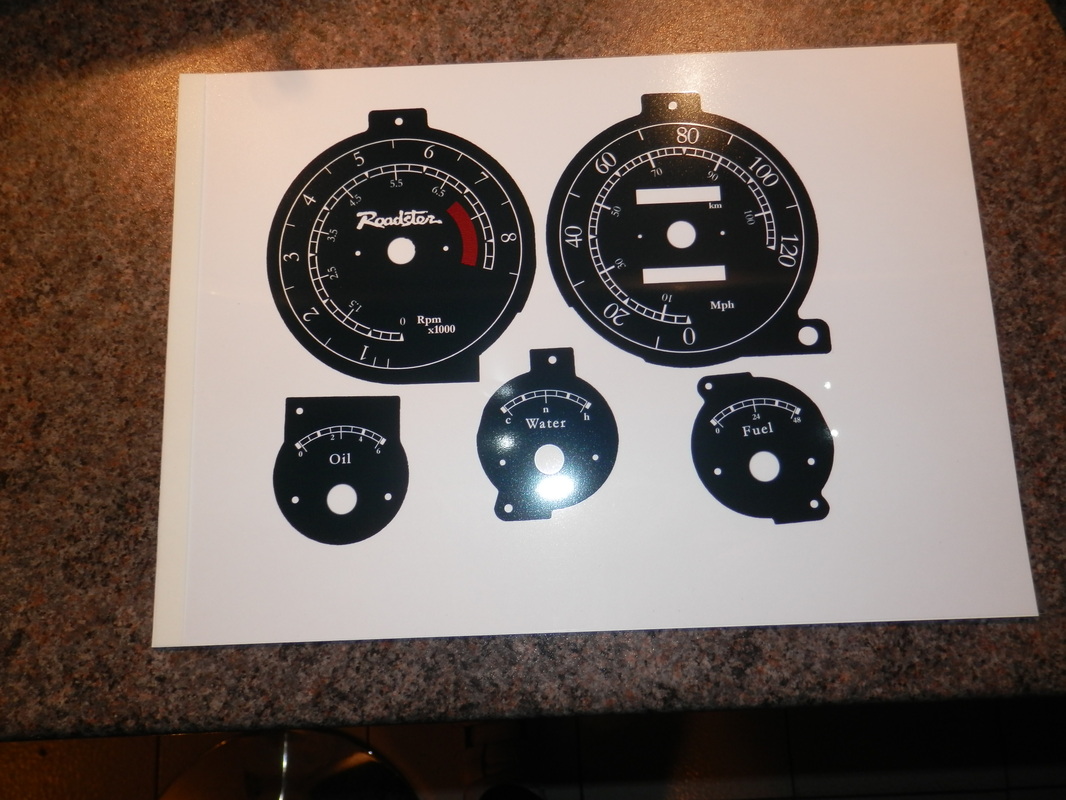
i have added an orange sheet of paper in the mix so i have a nice warm glow when the lights are on
next up i am going to try and make a new clock face like the very expensive kg works one
with a few differences.....
here is the kg works one not cheap.
i have seen these sell for over £200
with a few differences.....
here is the kg works one not cheap.
i have seen these sell for over £200
i have owned and sold a few of these in the past..
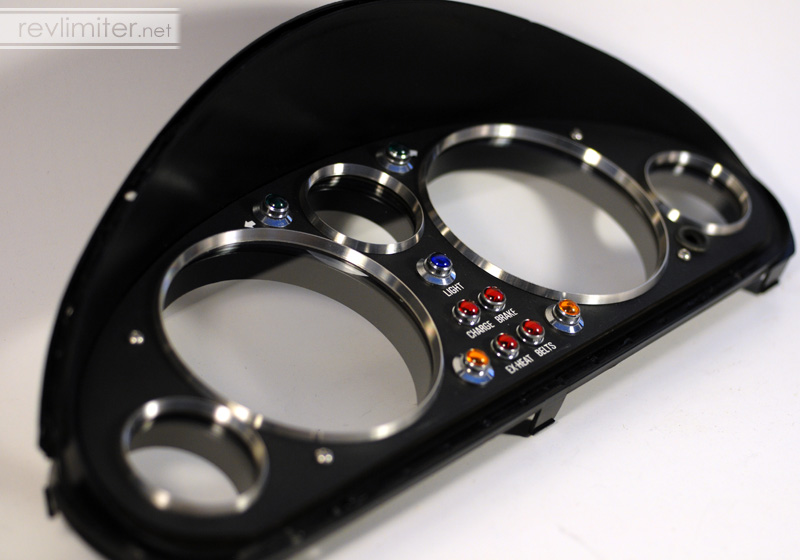
i am going to try and make something very much like it but with a twist
so here it starts
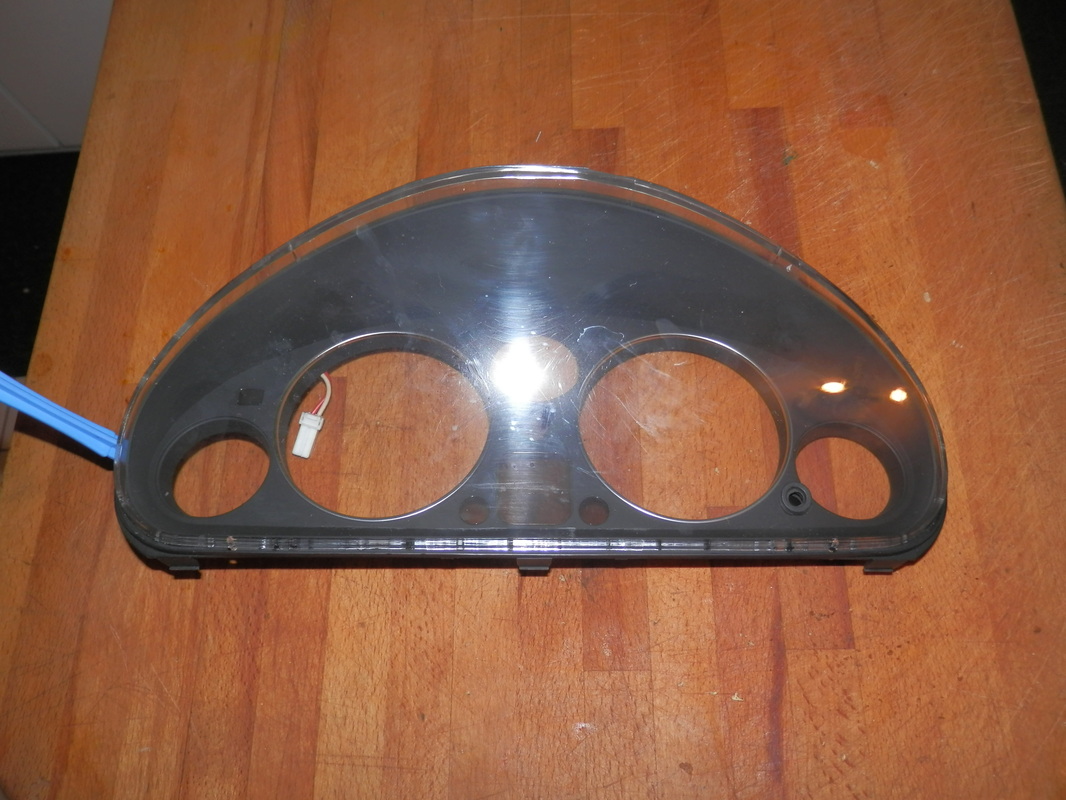
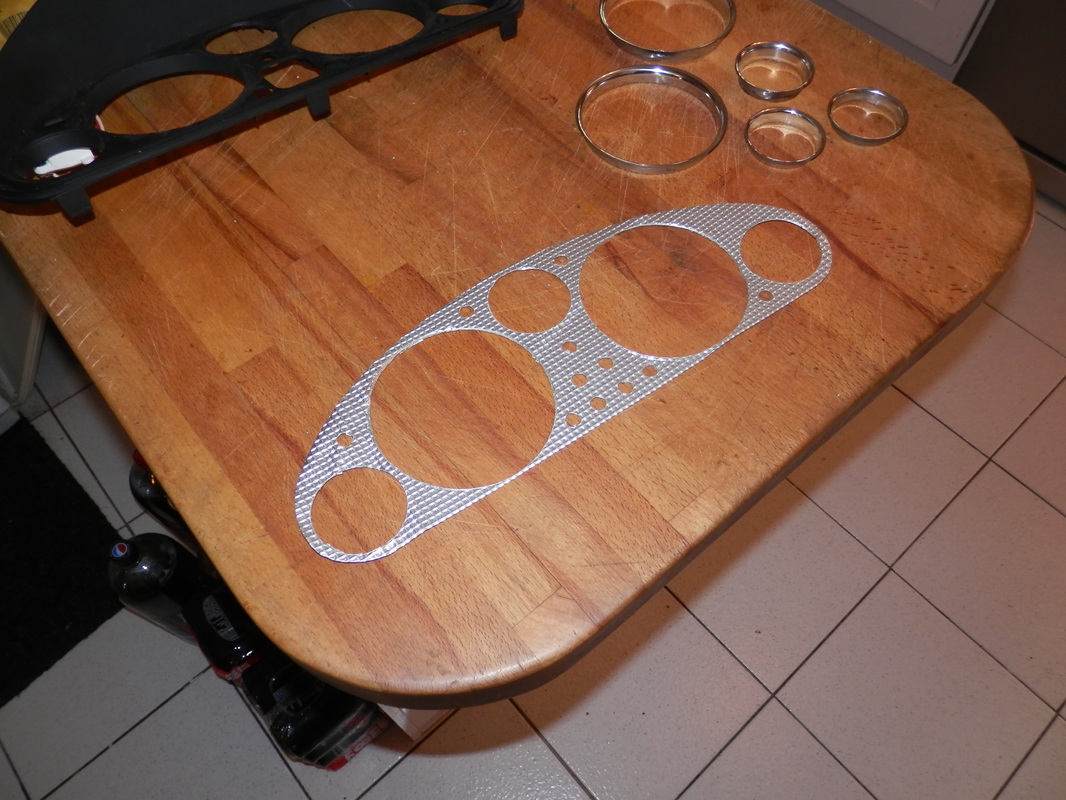
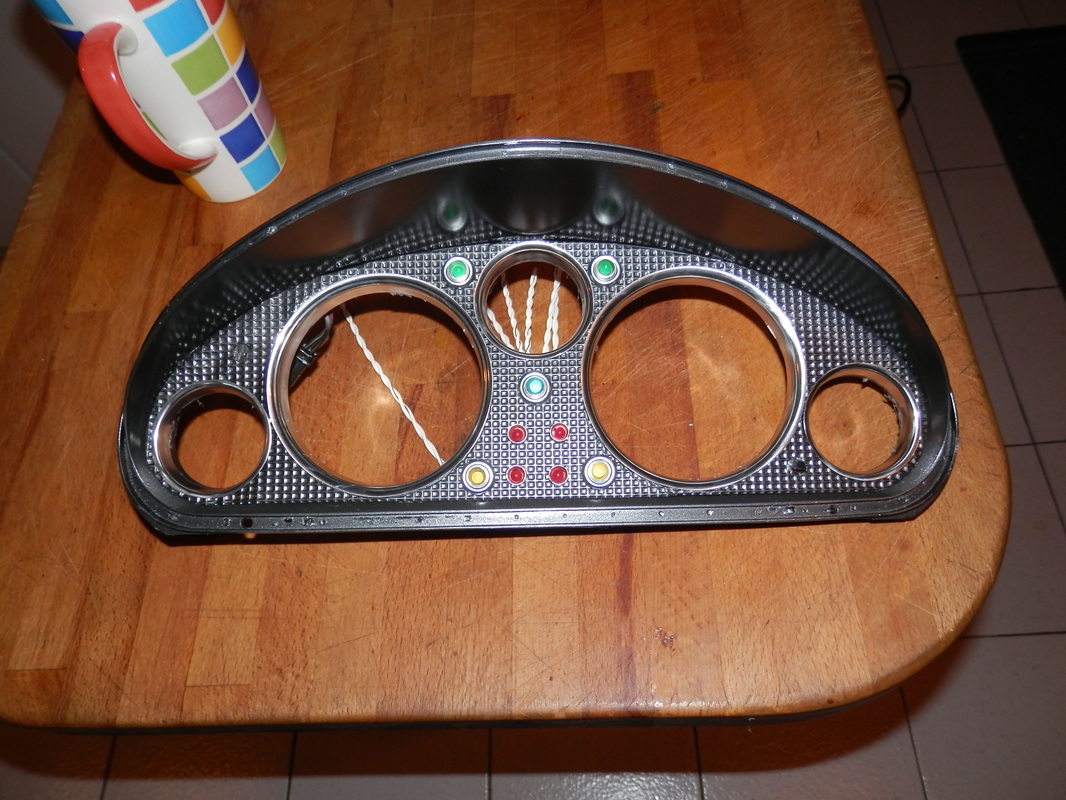
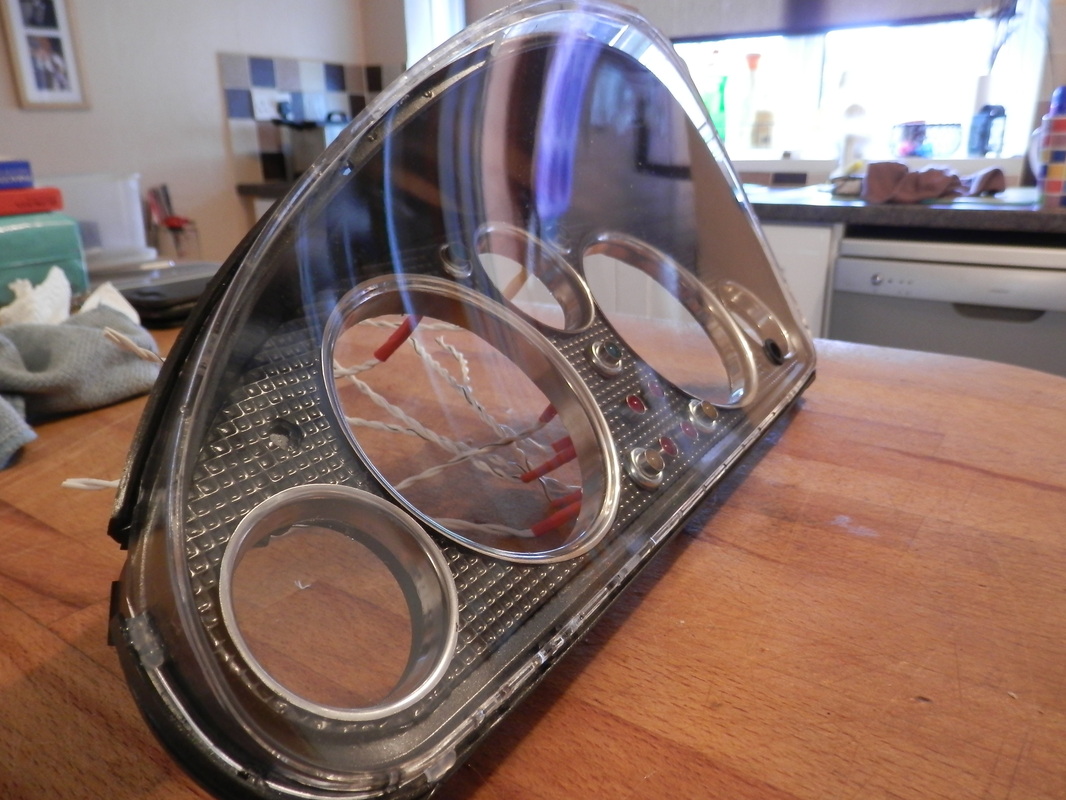
first of all i find an old cluster in the garage and start to strip the glass from it
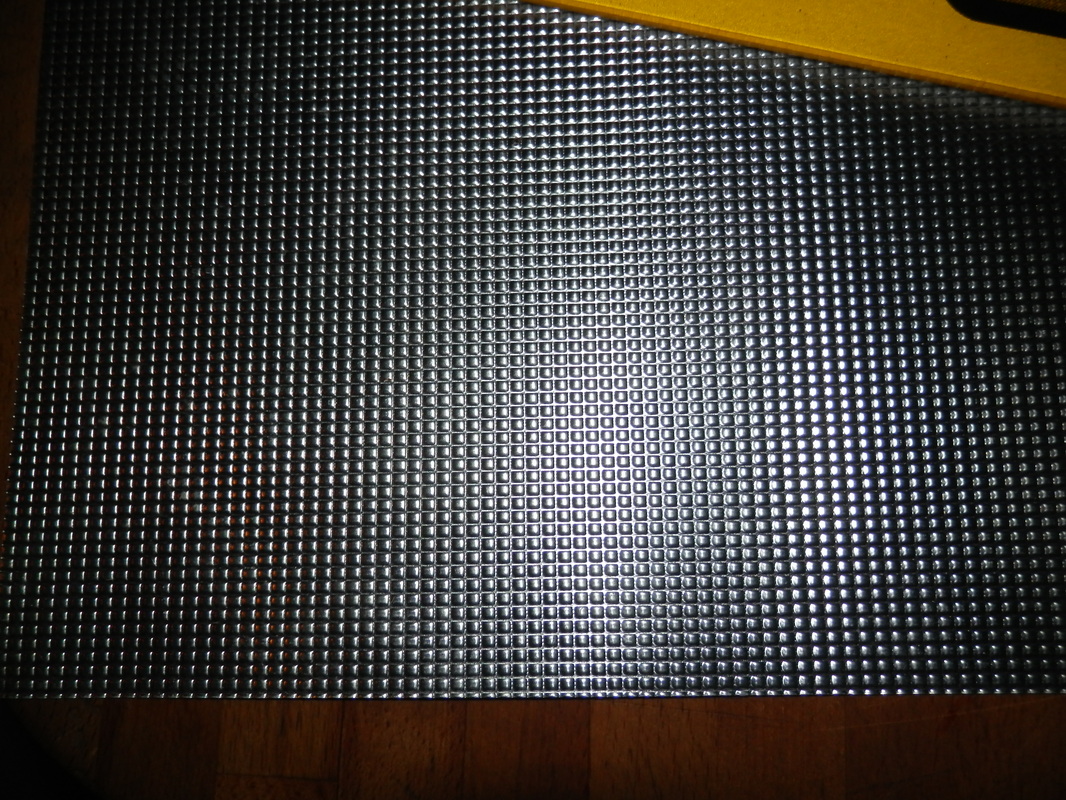
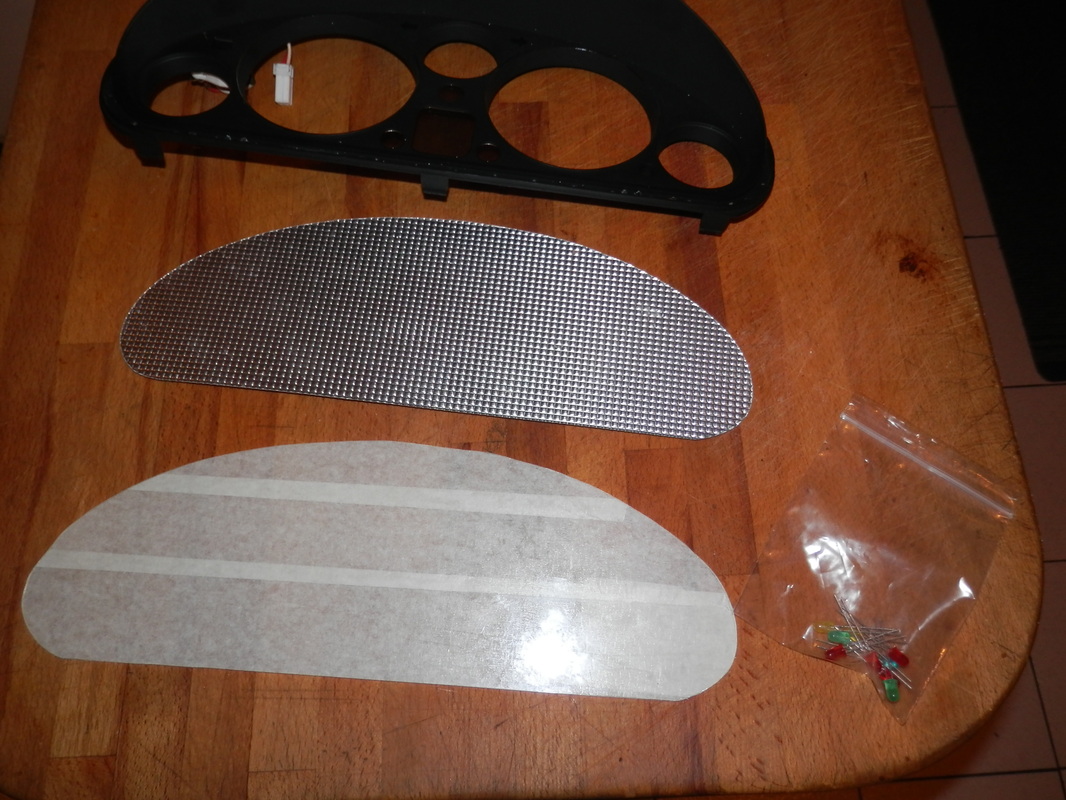
i have a sheet of diamond ally in the garage . so i think the face will be made from this
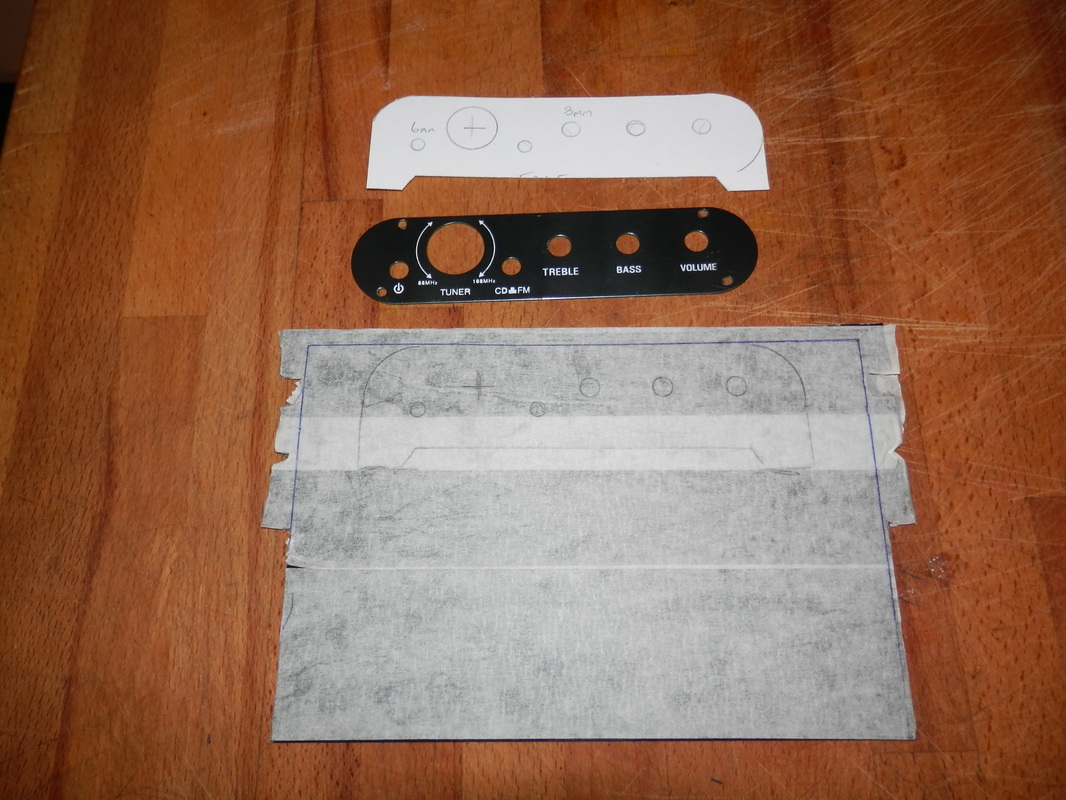
time to whip up a template for the clocks
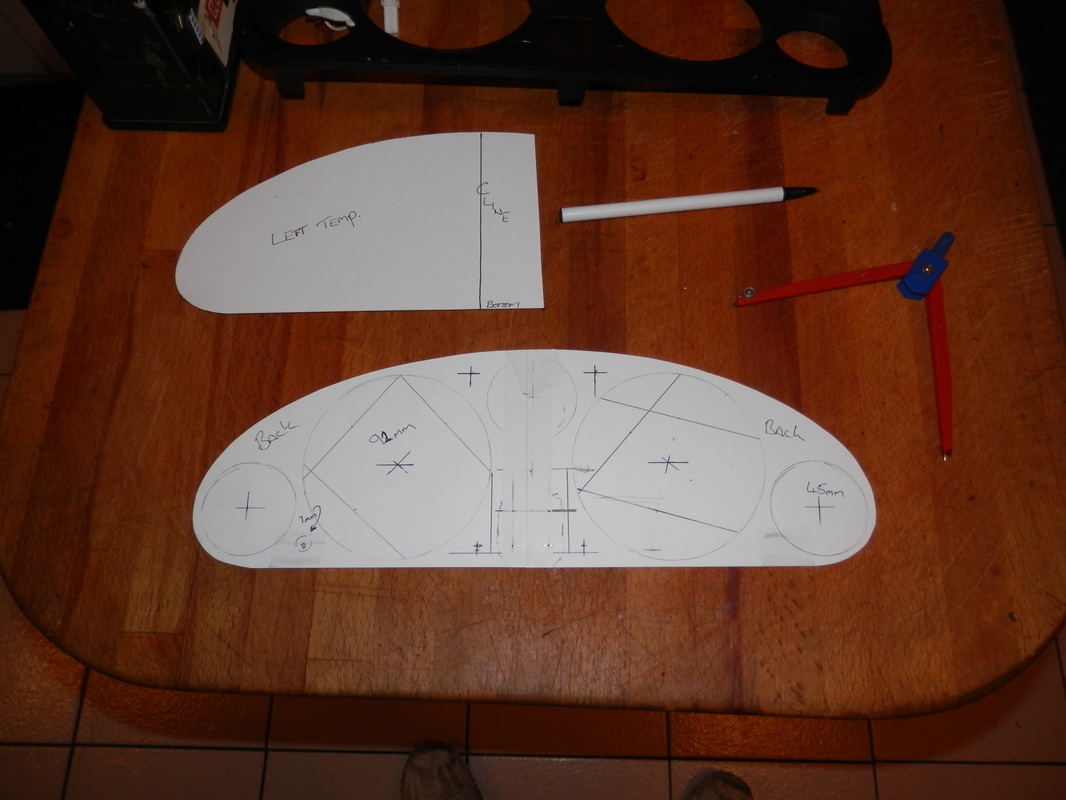
ally and glass cut out ready for work.. and also the leds sourced just need the chrome holders and work can get going

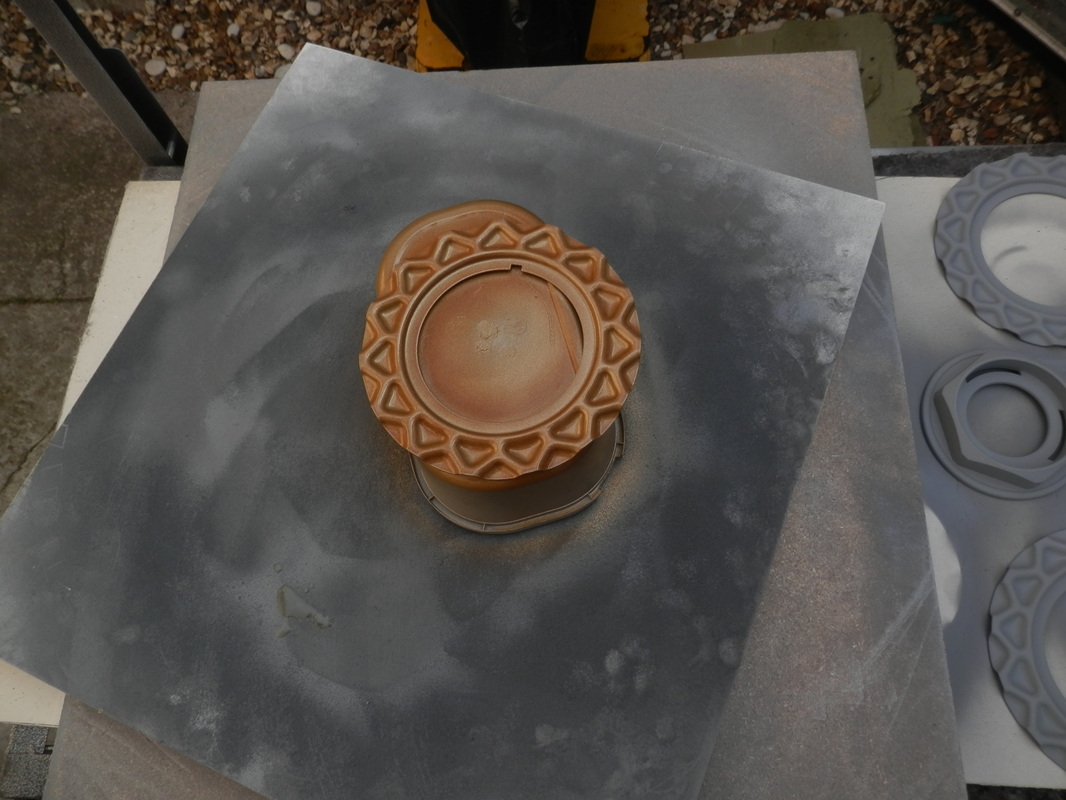
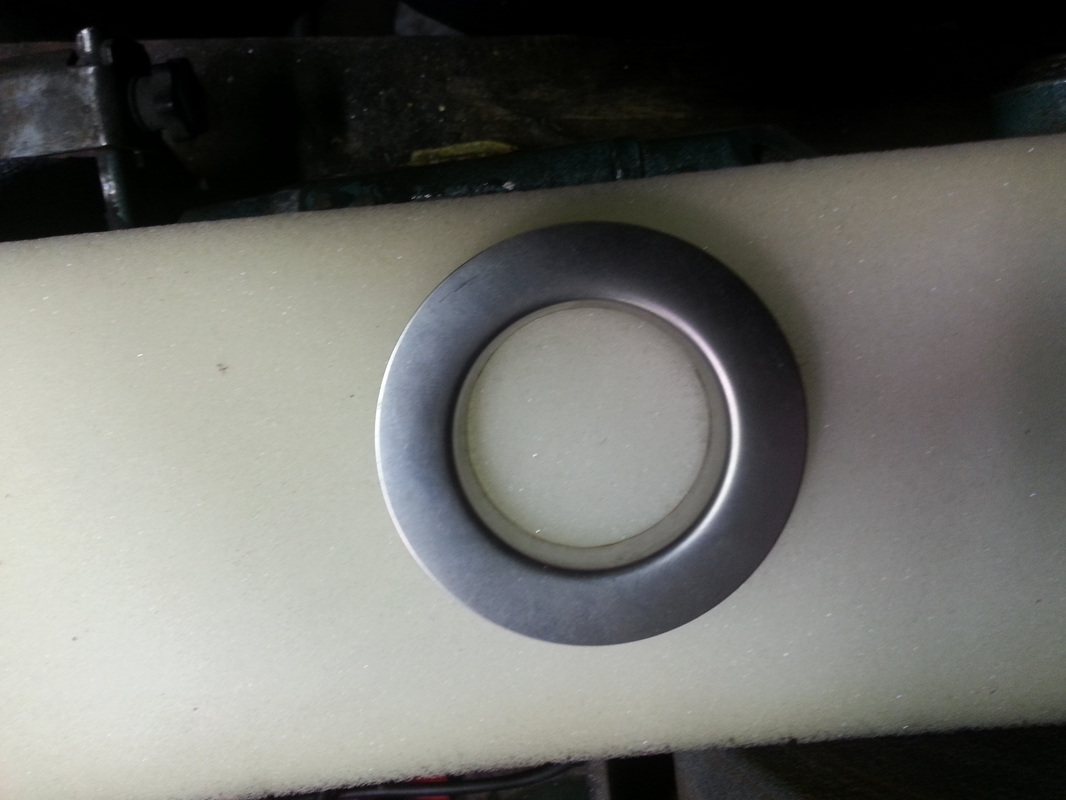
Ok on to the dial surrounds..
this has taken me some time to find a suitable item to use for the chrome surrounds but i think im there
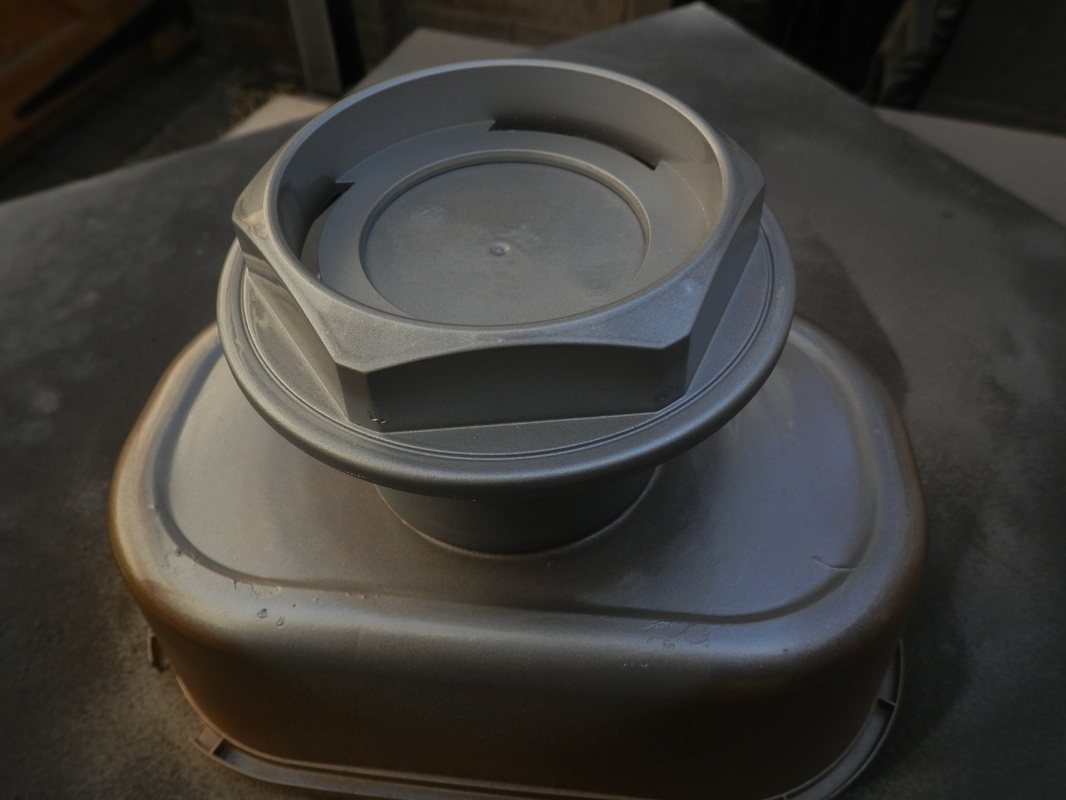
i have tried every thing i could and then i saw these. don't laugh.
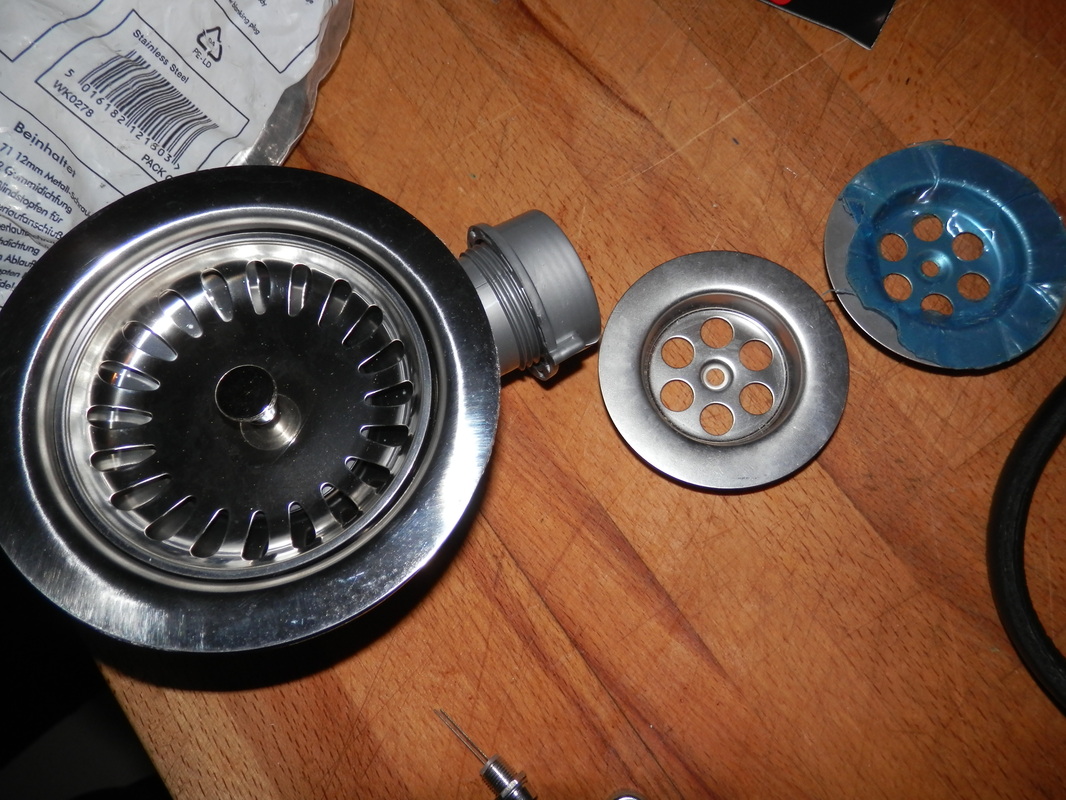
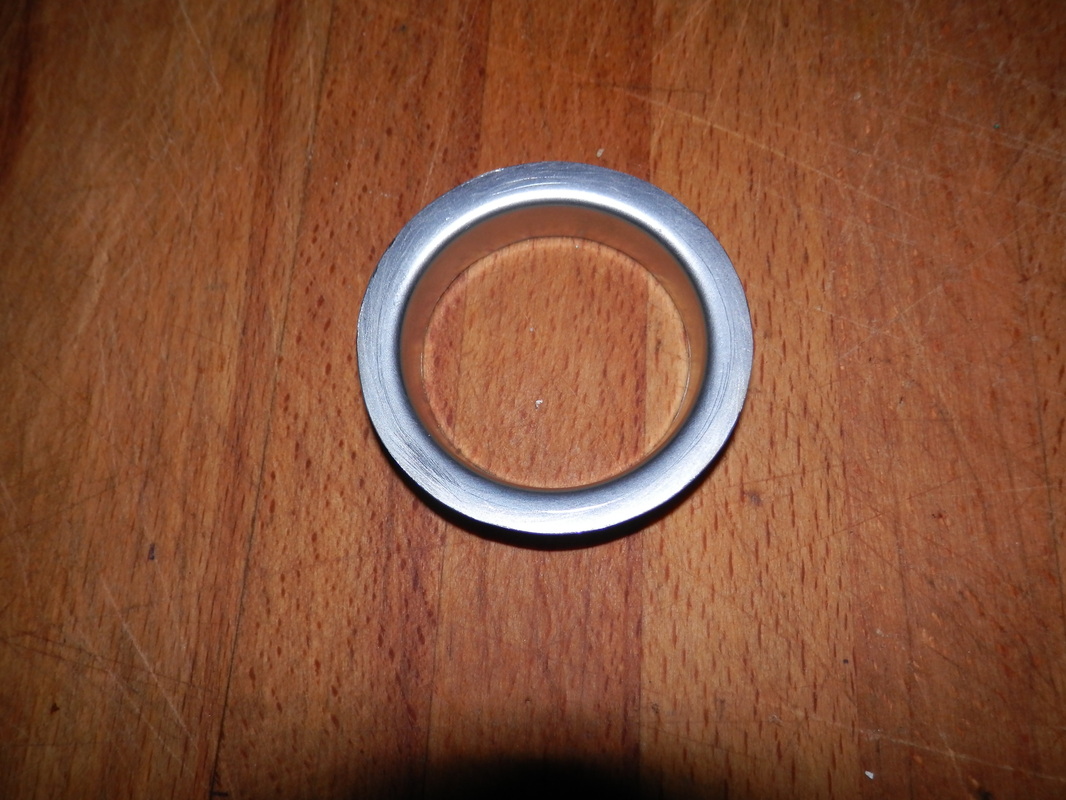
first thing is to grind the bottom off
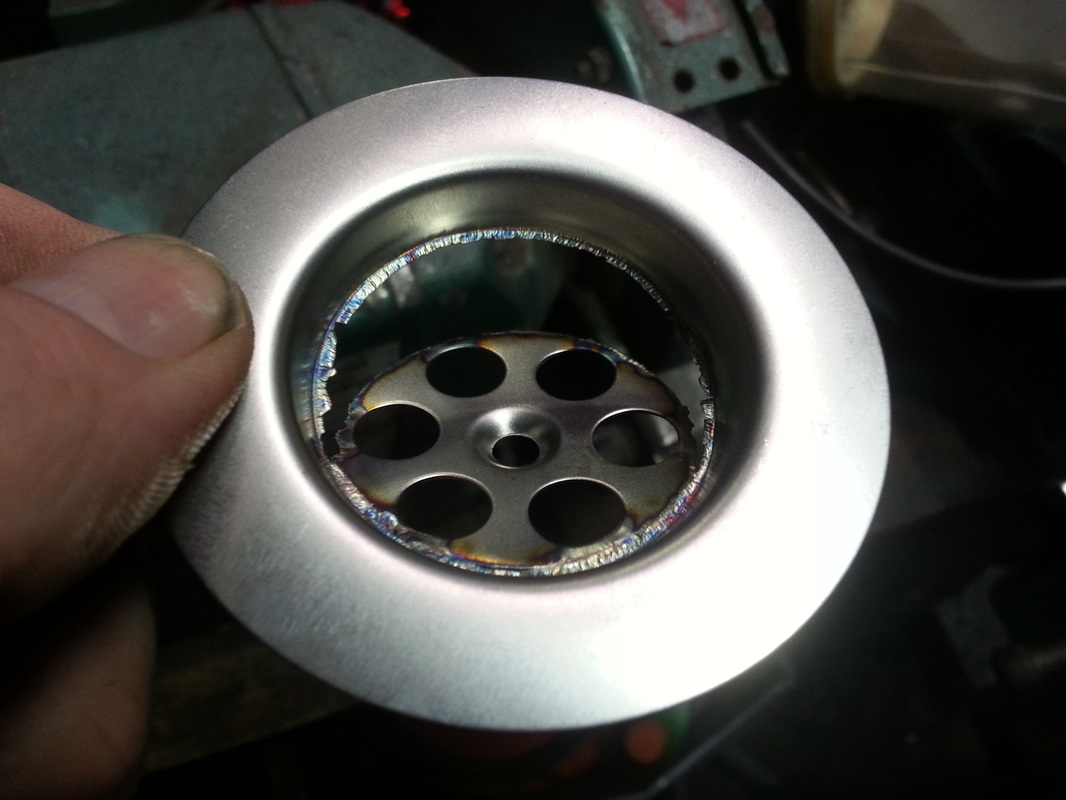
then cut the rim down as it is massive
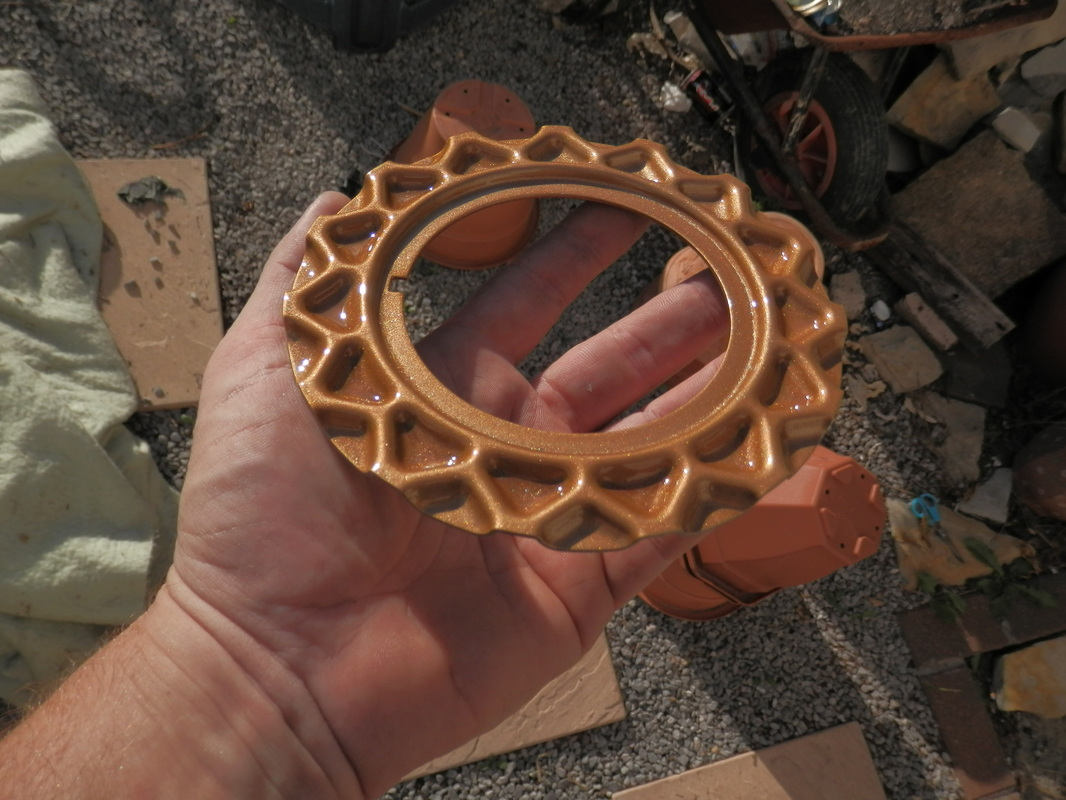
needs more grinding and more polishing
Opps i did a big one to.. still needs more polish
Opps i did a big one to... still needs work tho.
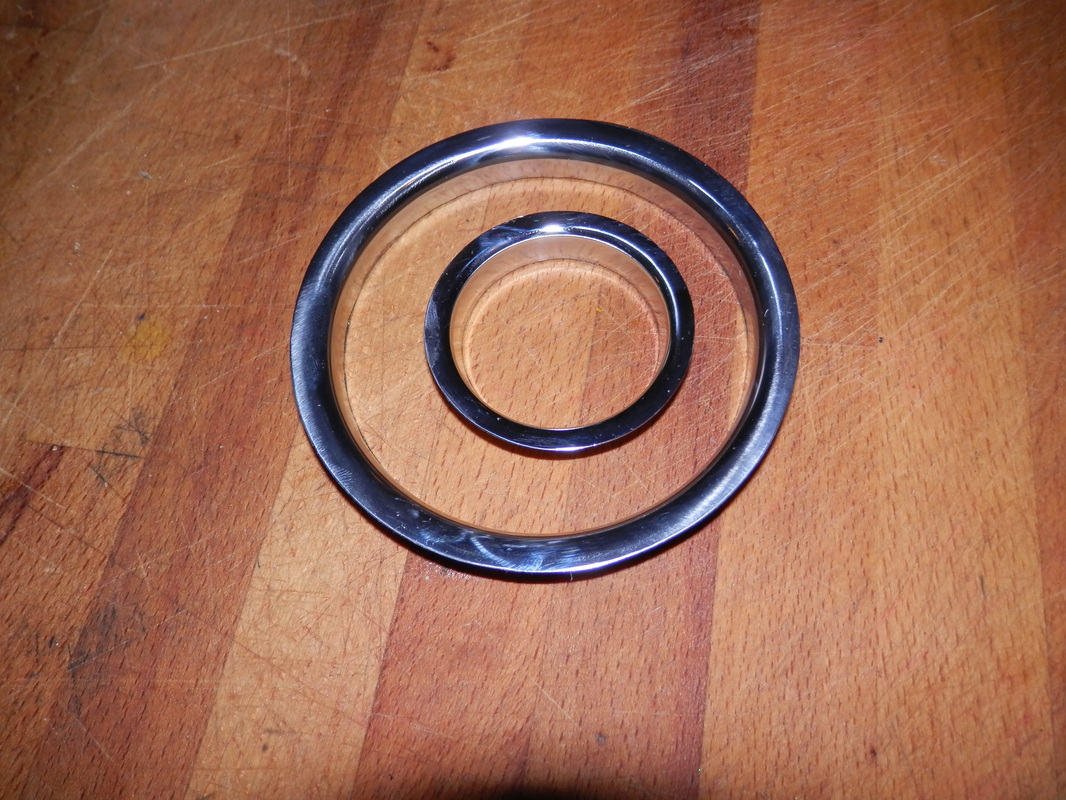
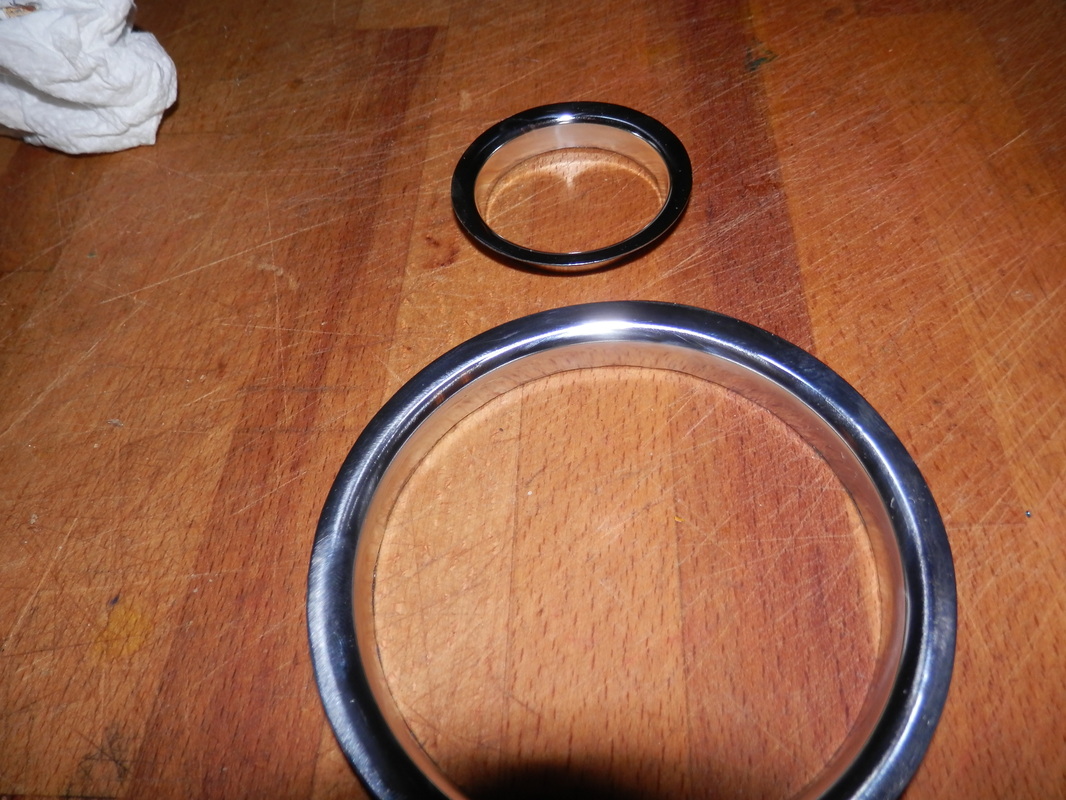
these large rings are 4mm smaller than stock dials so as you can see i need to re do the big dials so they fit neater
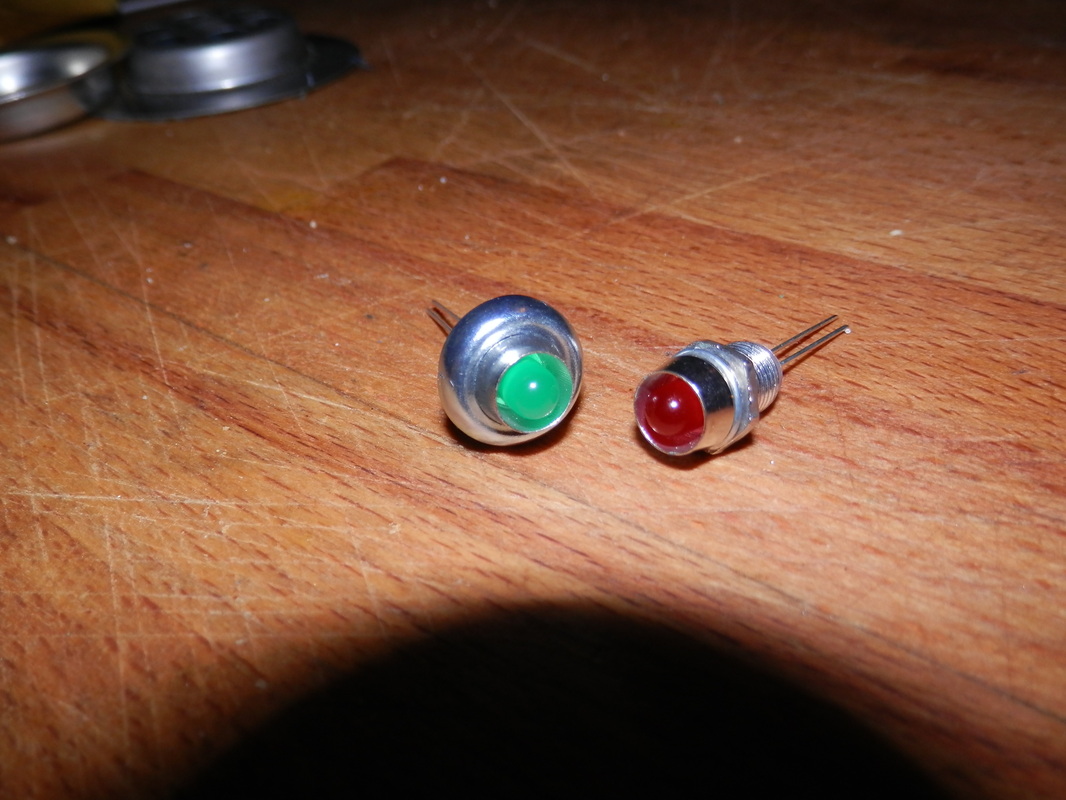
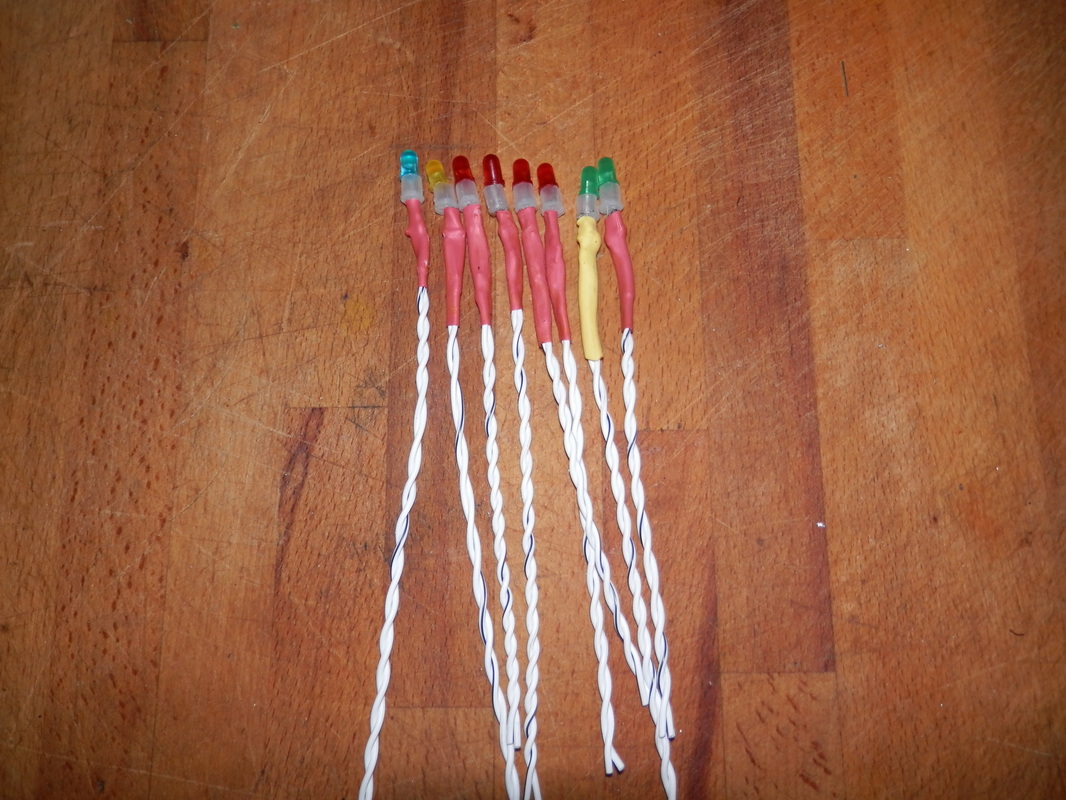
ok on to the lights and they are ready i have 4 reds in caps of chrome
and 1 blue 2 green and 2 amber ones which i have modded some screw caps to make them larger
and 1 blue 2 green and 2 amber ones which i have modded some screw caps to make them larger
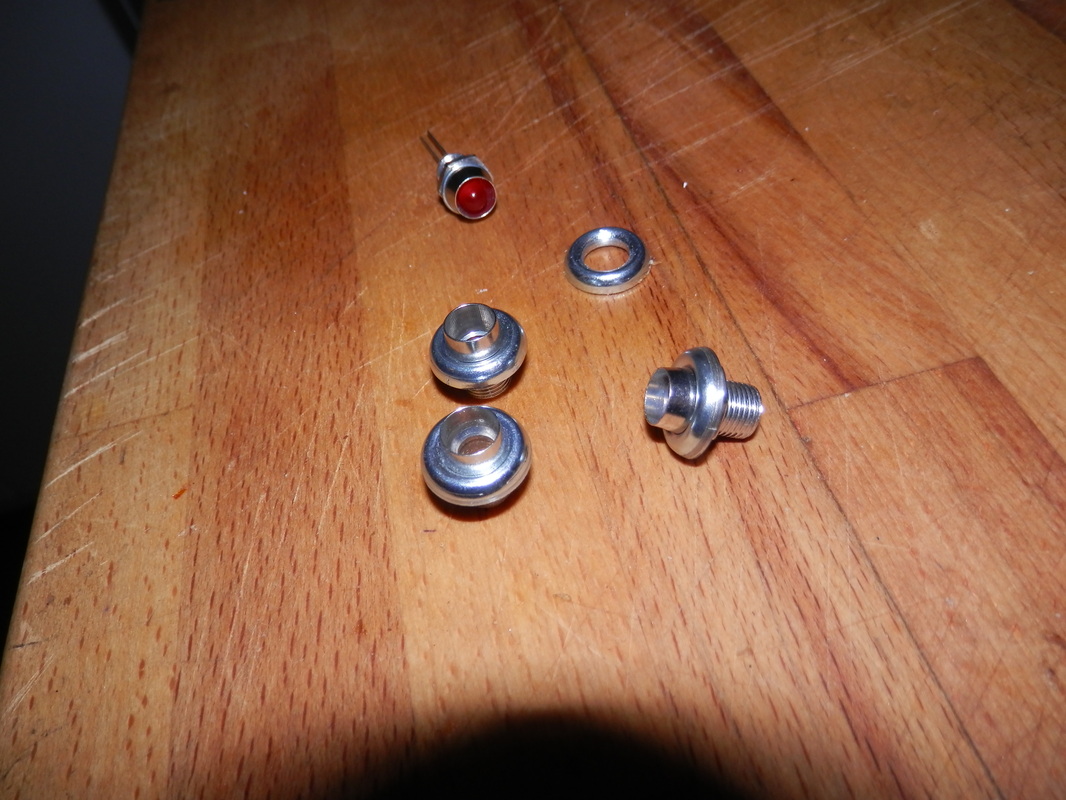
see here one large one standard
Just so you all know today is
Saturday the 7th december 2013
and i have decided its time to finish my kg works lookalikey dash
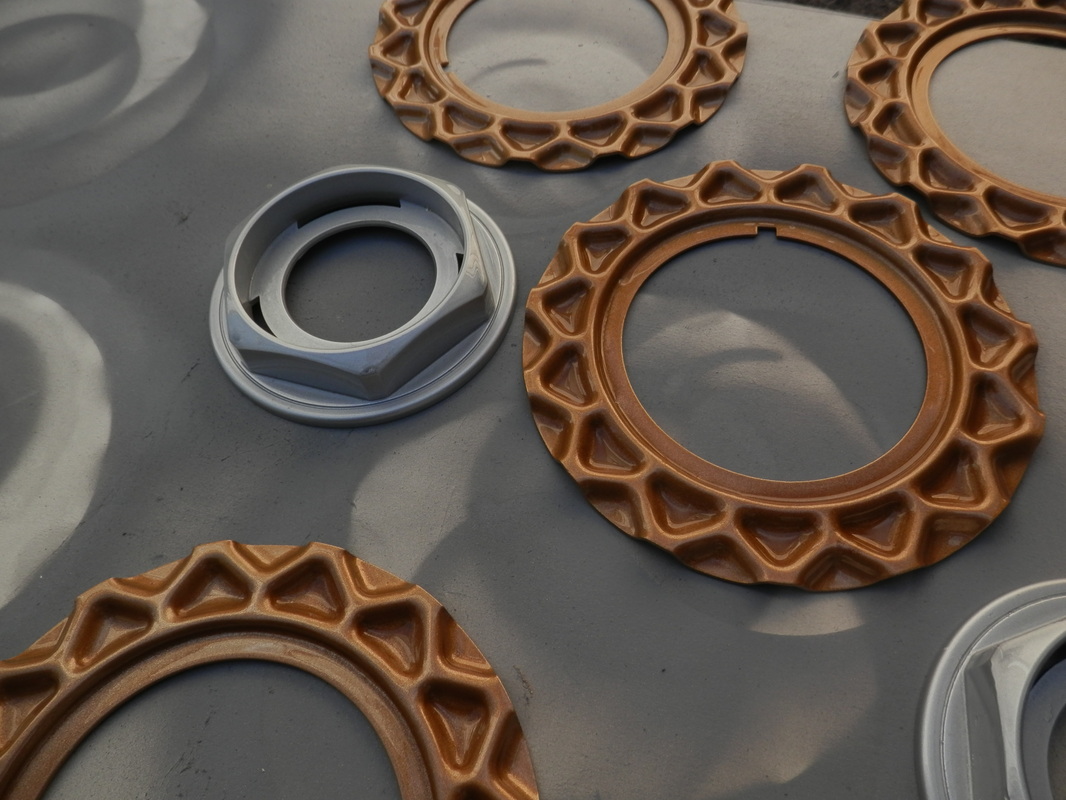
so i get on to the last 3 dial rings, grinding them takes about an hour each
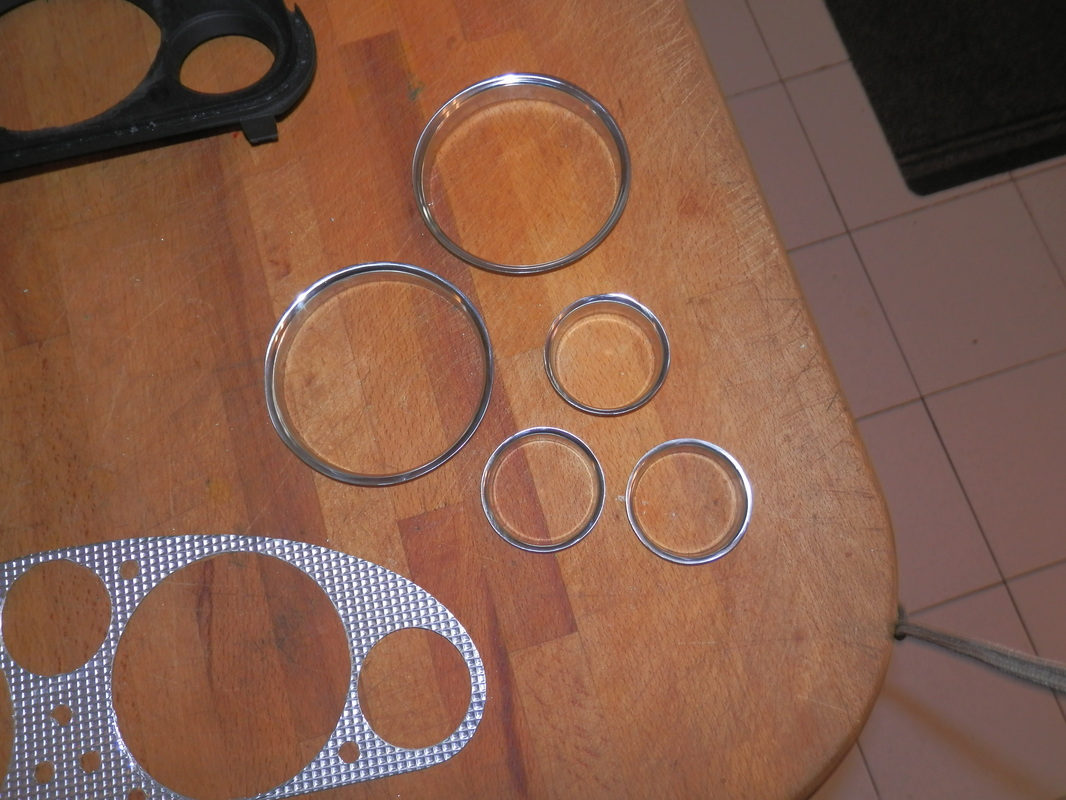
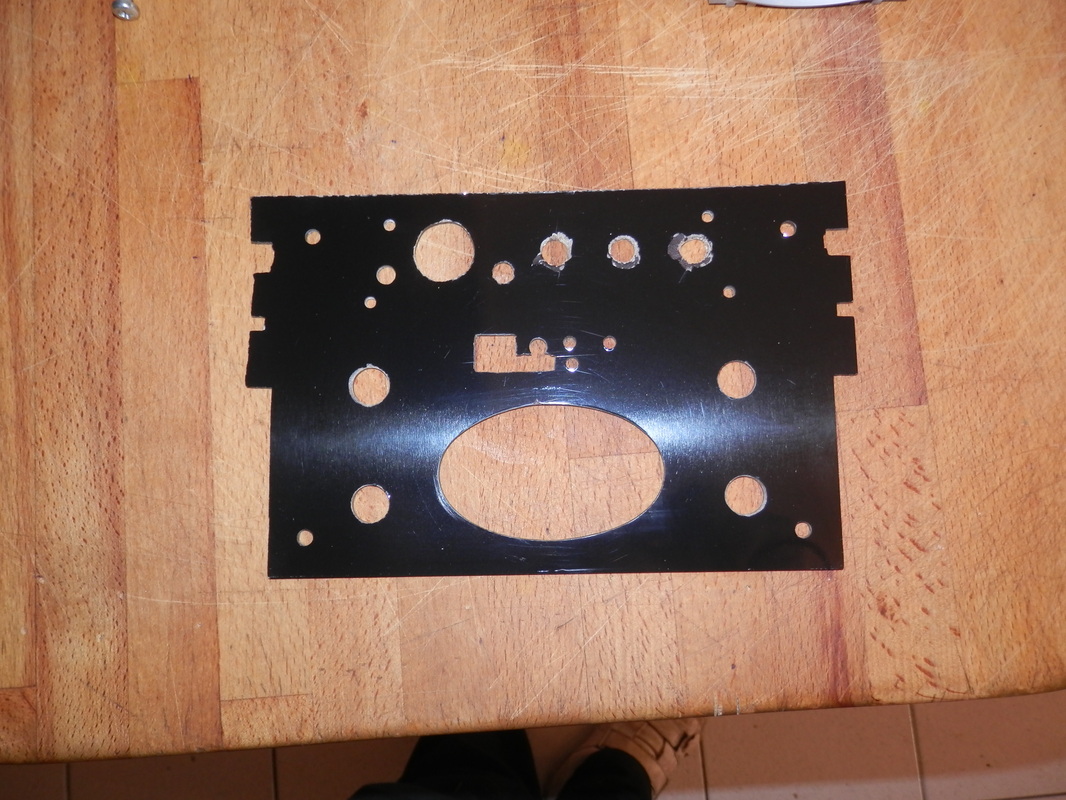
and as you can see above and bellow i have cut out the holes in the dash plate
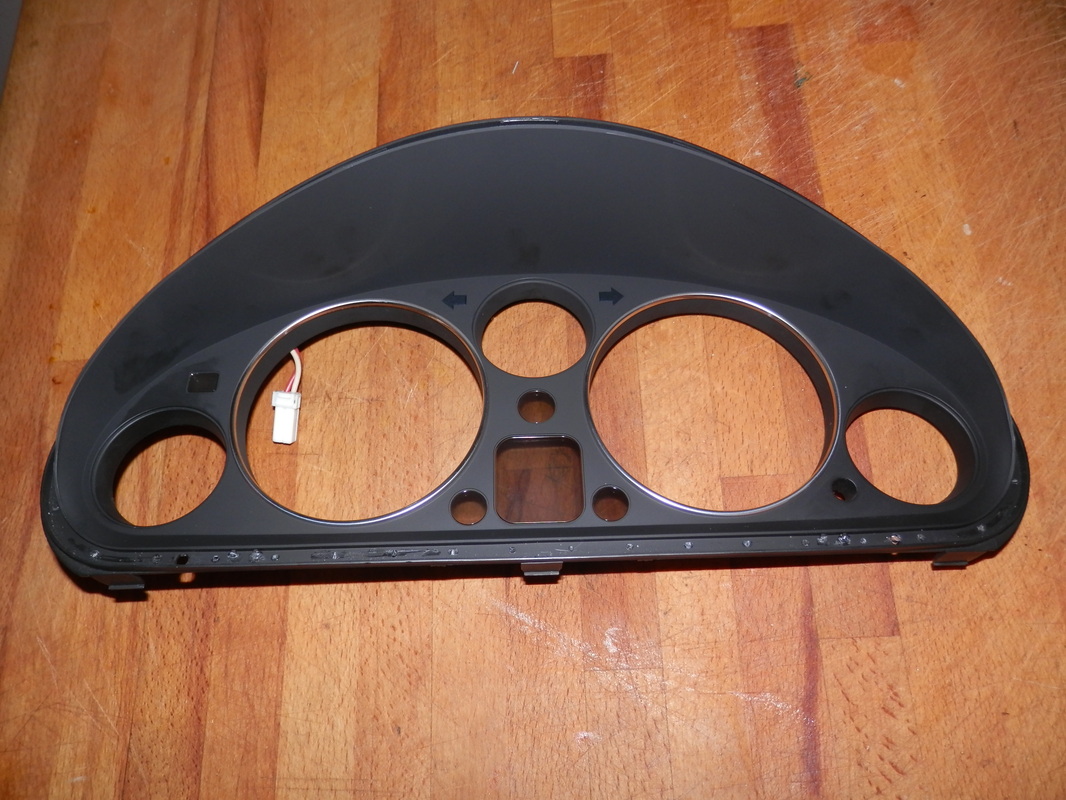
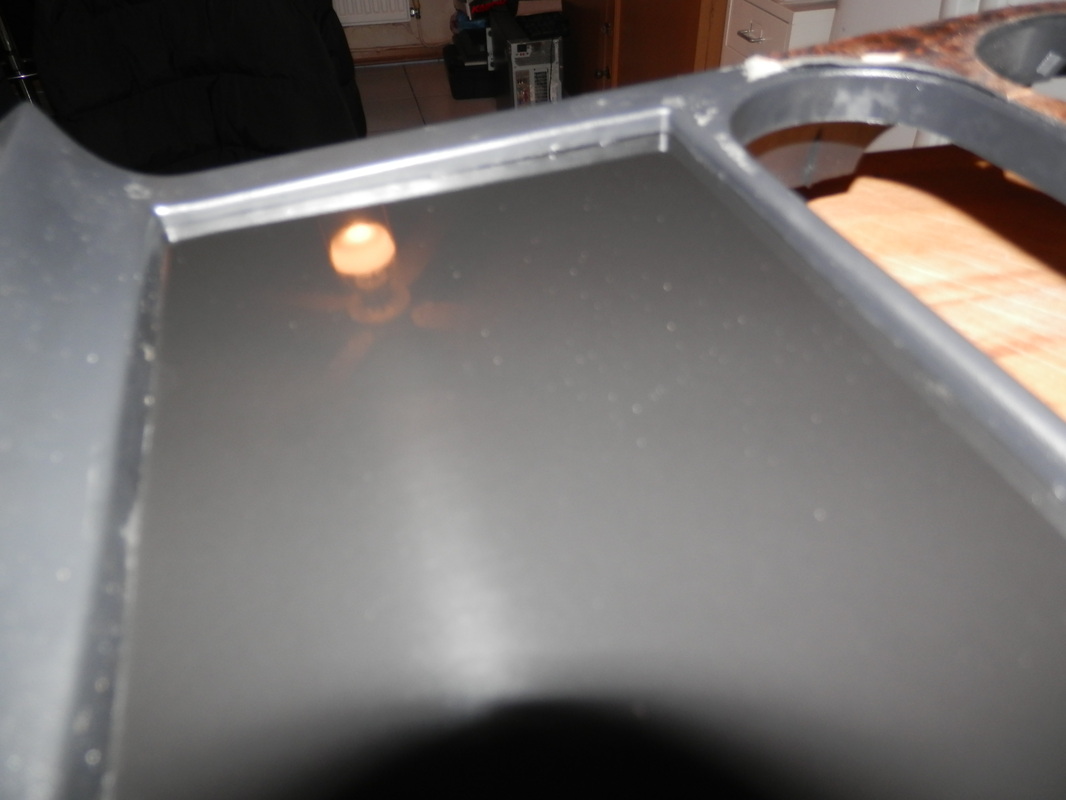
this was then stuck in the old dash plastic frame after a bit of cutting to the plastic was done
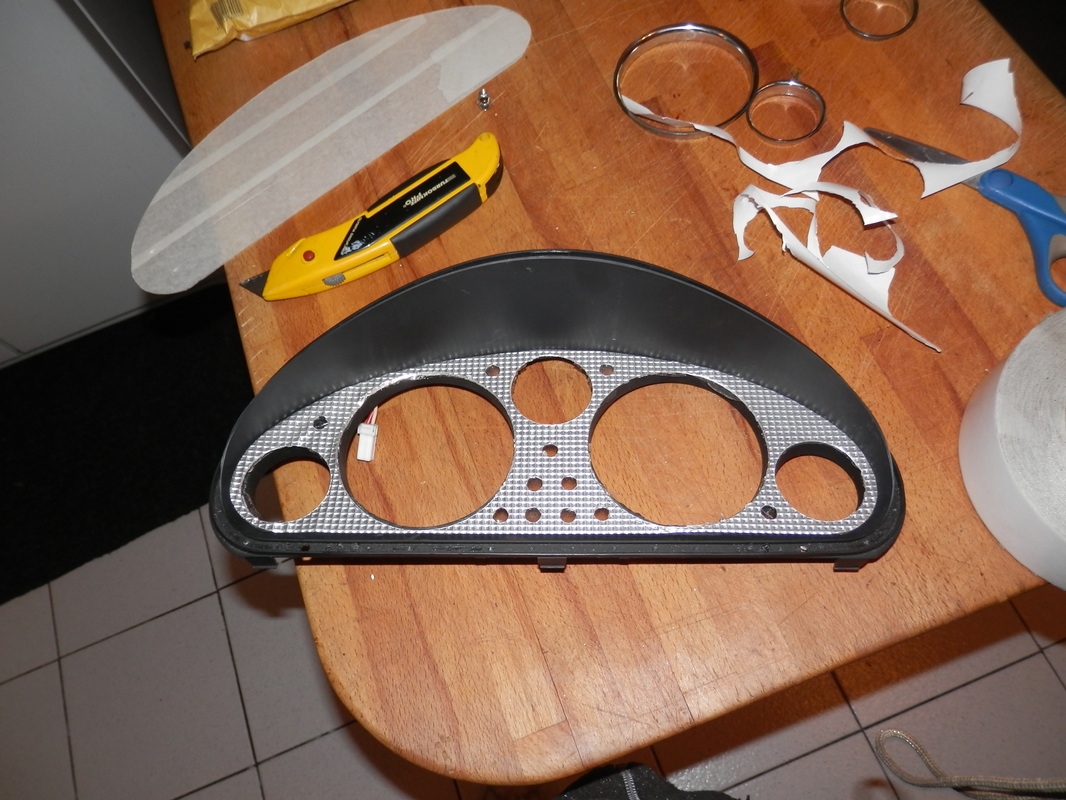
a few coats of primer and graphite grey to match it all in as one colour.
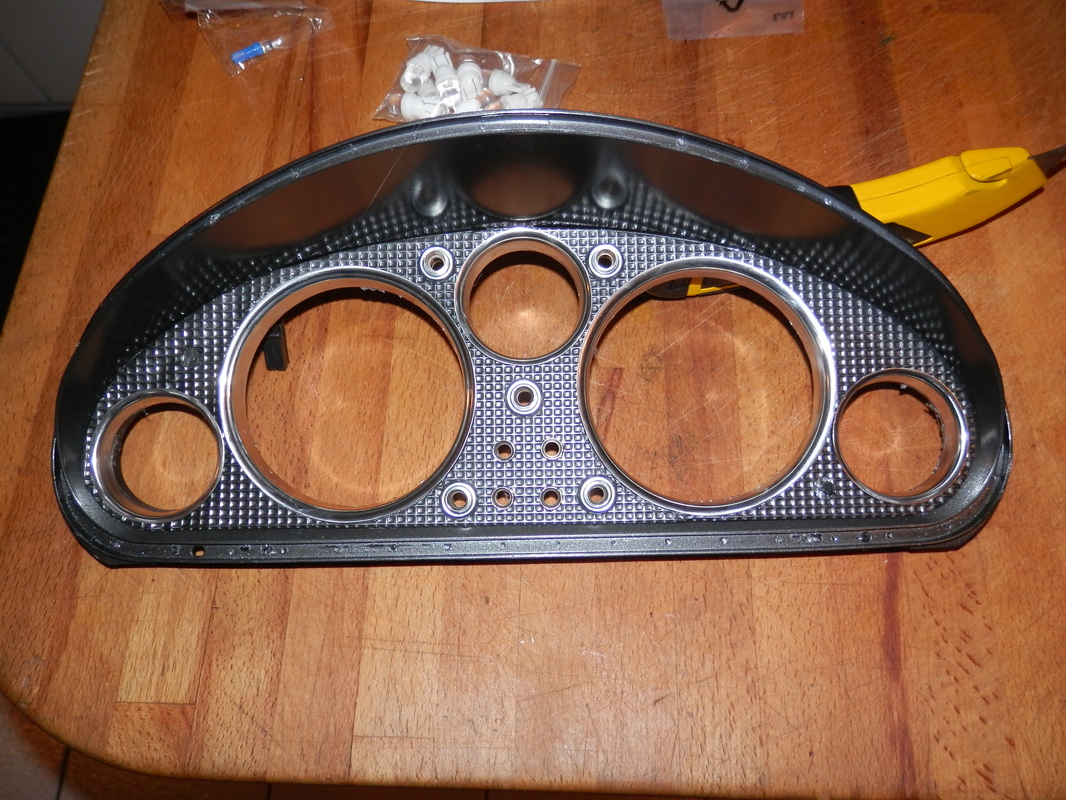
then i fitted all the rings and the led holders ready for wiring up
then i fitted all the rings and the led holders ready for wiring up
next up was to wire up the leds so they reach through the clocks to the old light bulb plugs
then fit them in the dash
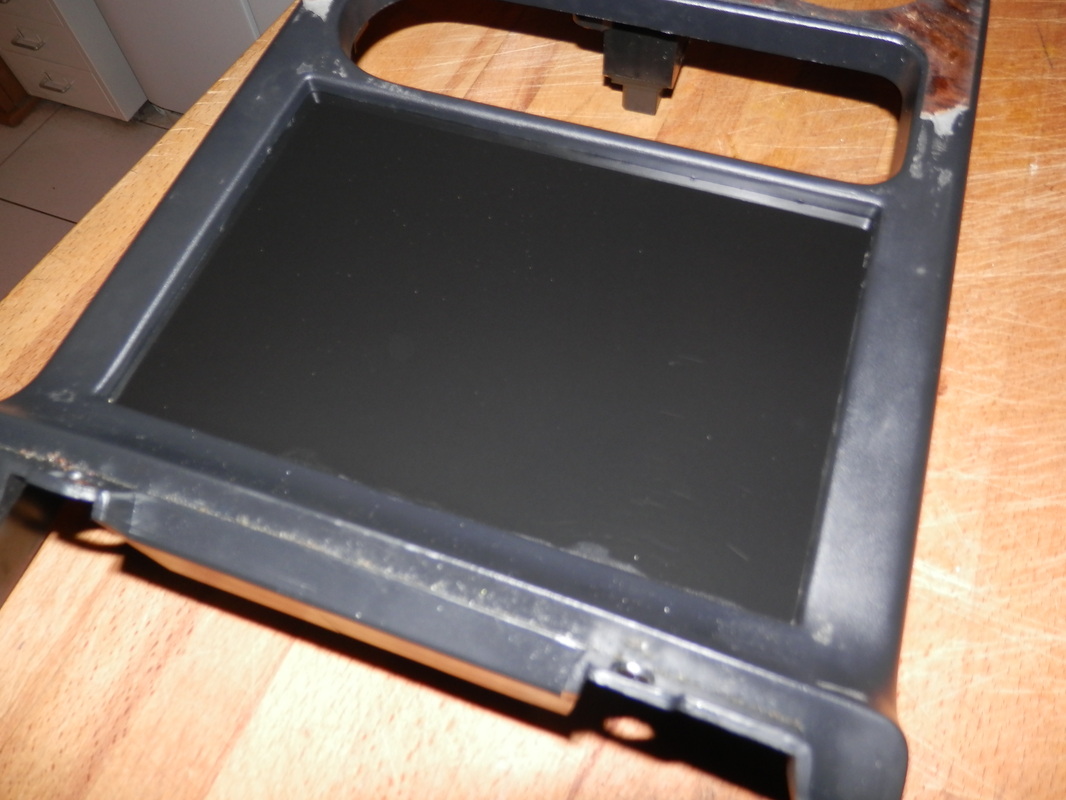
then refitted the plastic cover after it had the hell polished out of it to remove all marks
next job was to fit the new dials i had made and connect it all up.
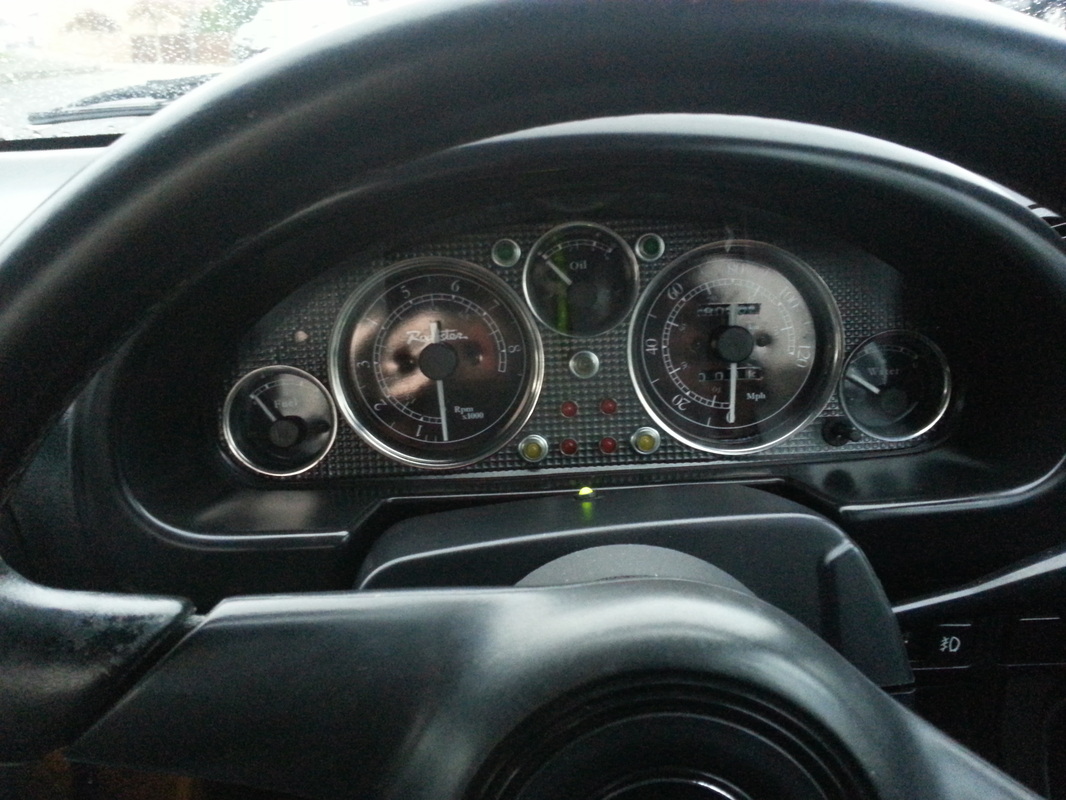
here its done ready tested and fit to go in the car
here its done ready tested and fit to go in the car

sorry shoddy phone pic of the new cluster fitted and all working fine
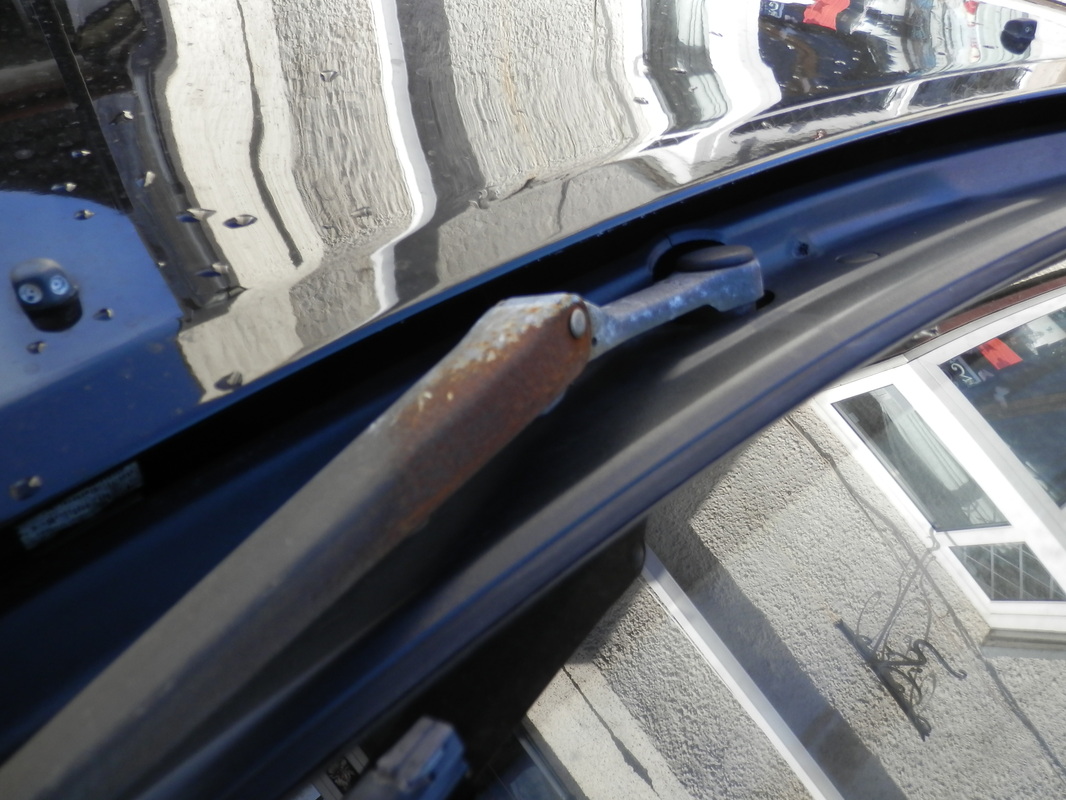
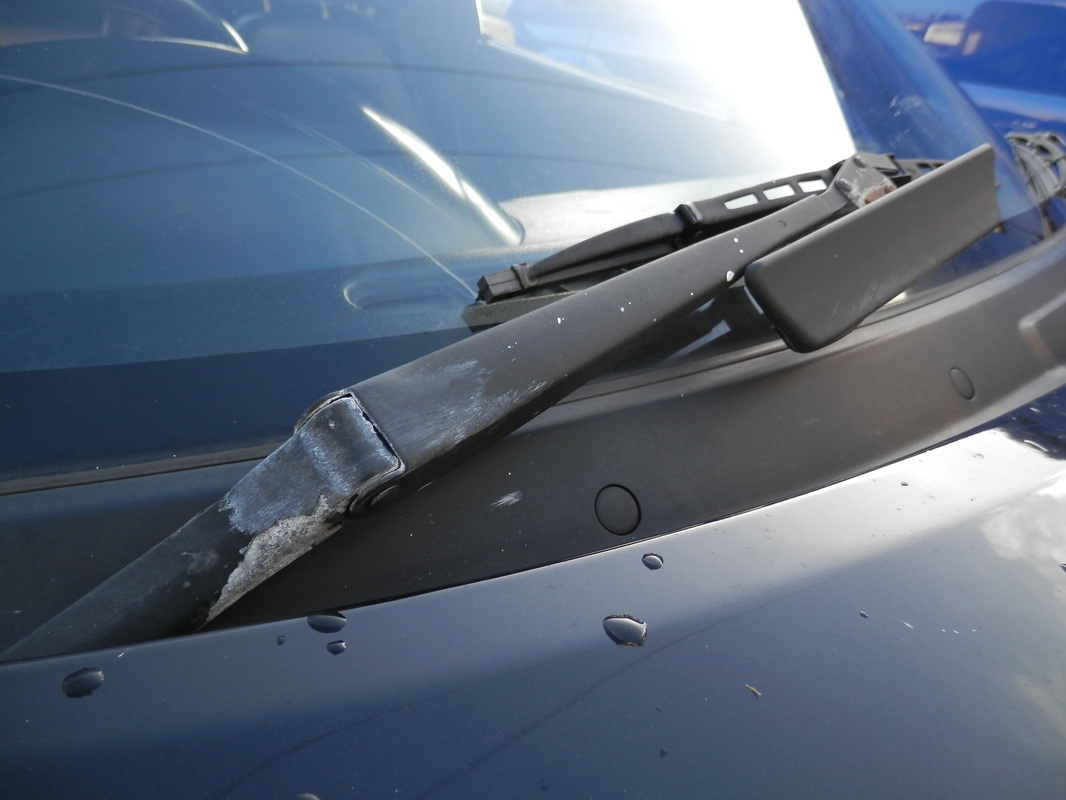
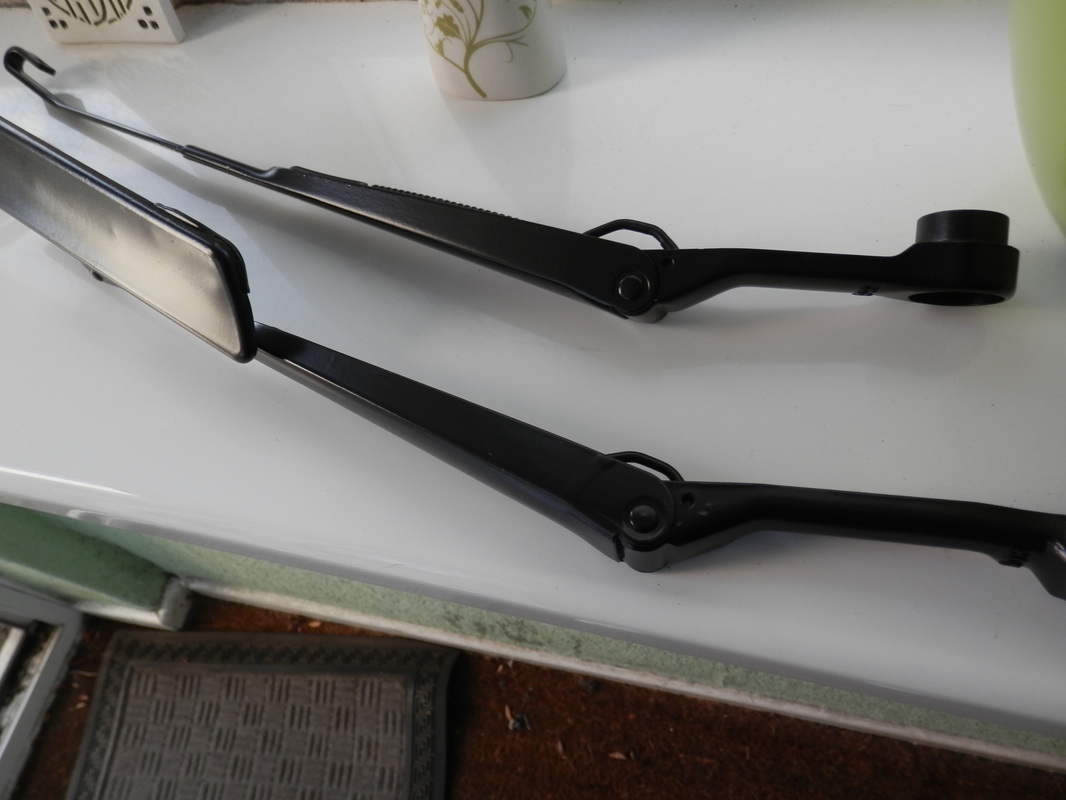
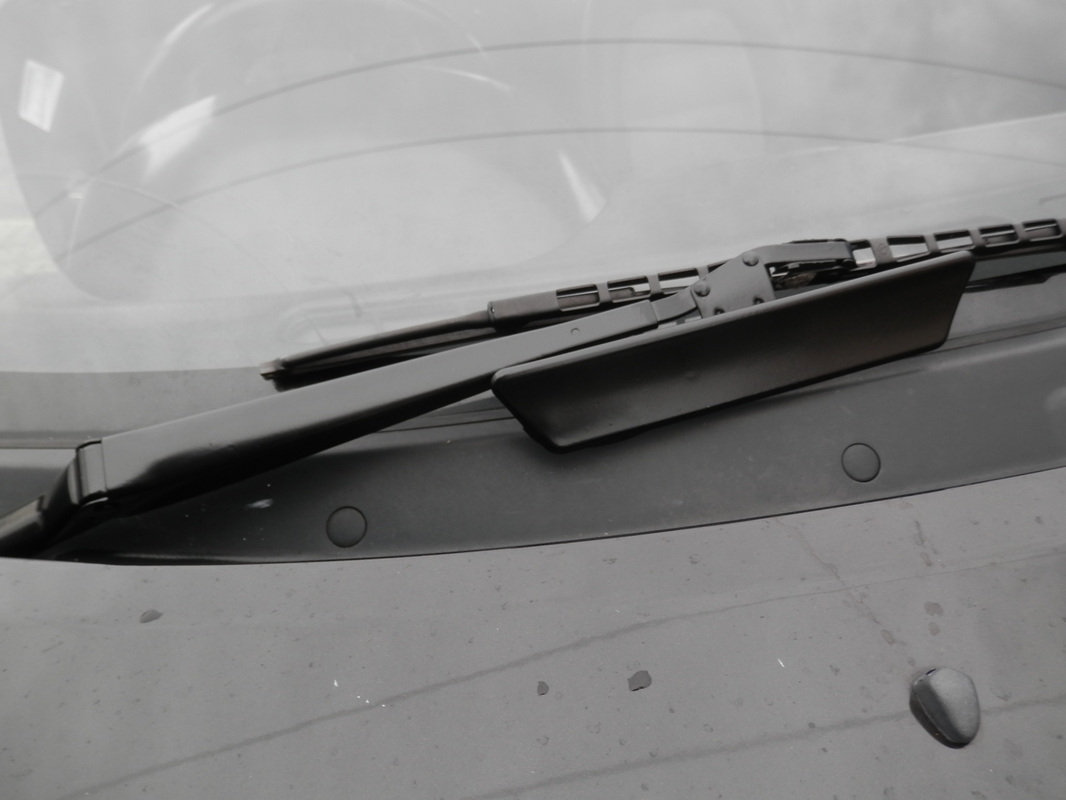
next up remove the rusty wipers and give them some paint..
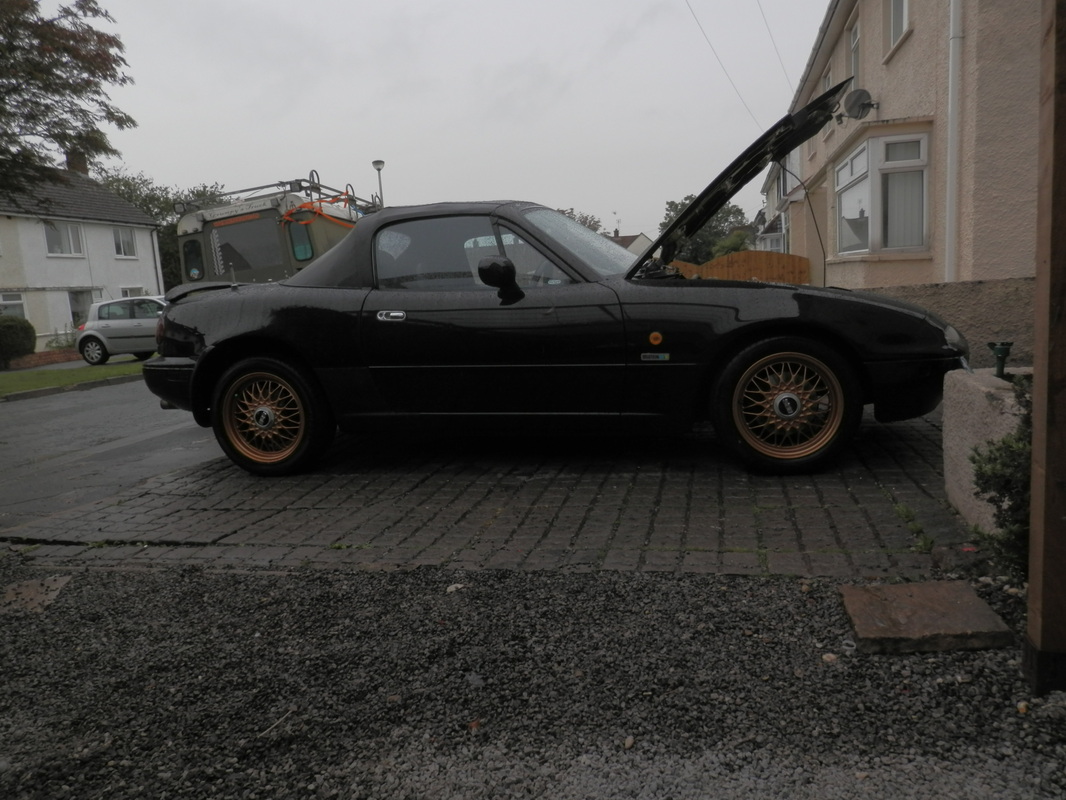
CHRISTMAS MX5 RUN OVER BRECON ON SUNDAY THE 29TH
so i have been getting the car ready for this
today 28th washed polished and waxed her
also gave her a good hoover out
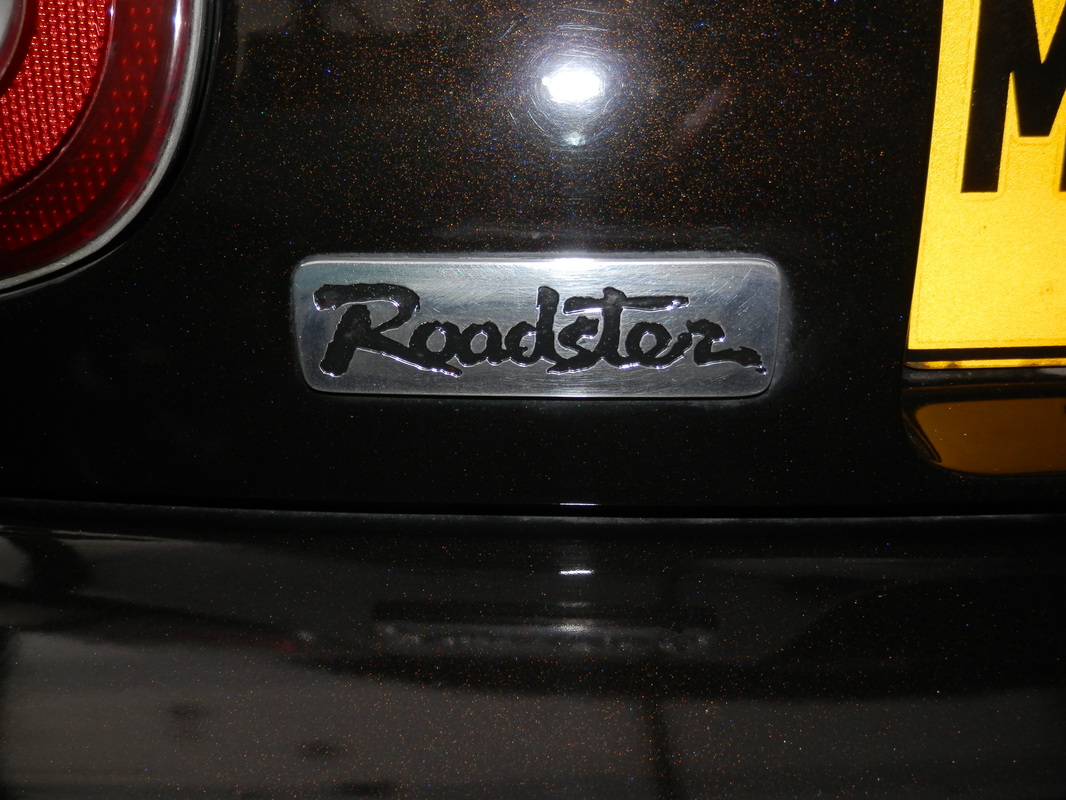
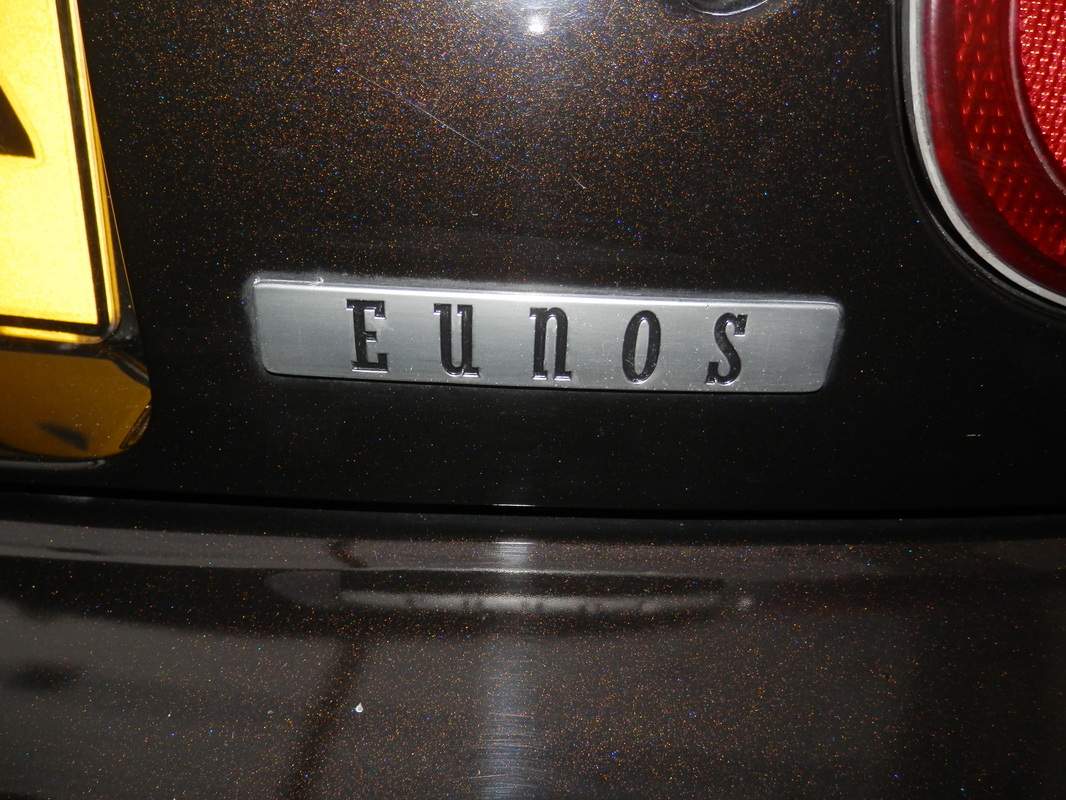
painted the rear badges black as the roadster was red and missing most of the colour
from this
so i have been getting the car ready for this
today 28th washed polished and waxed her
also gave her a good hoover out
painted the rear badges black as the roadster was red and missing most of the colour
from this

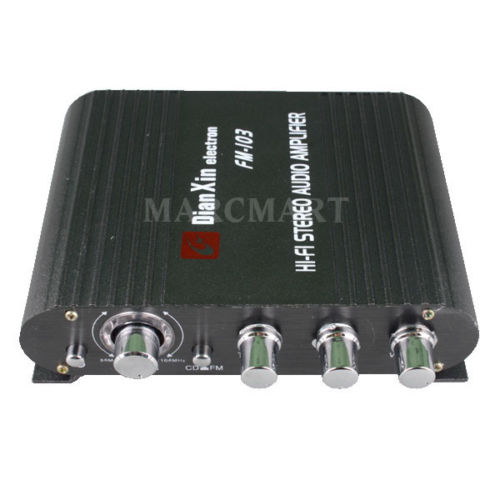
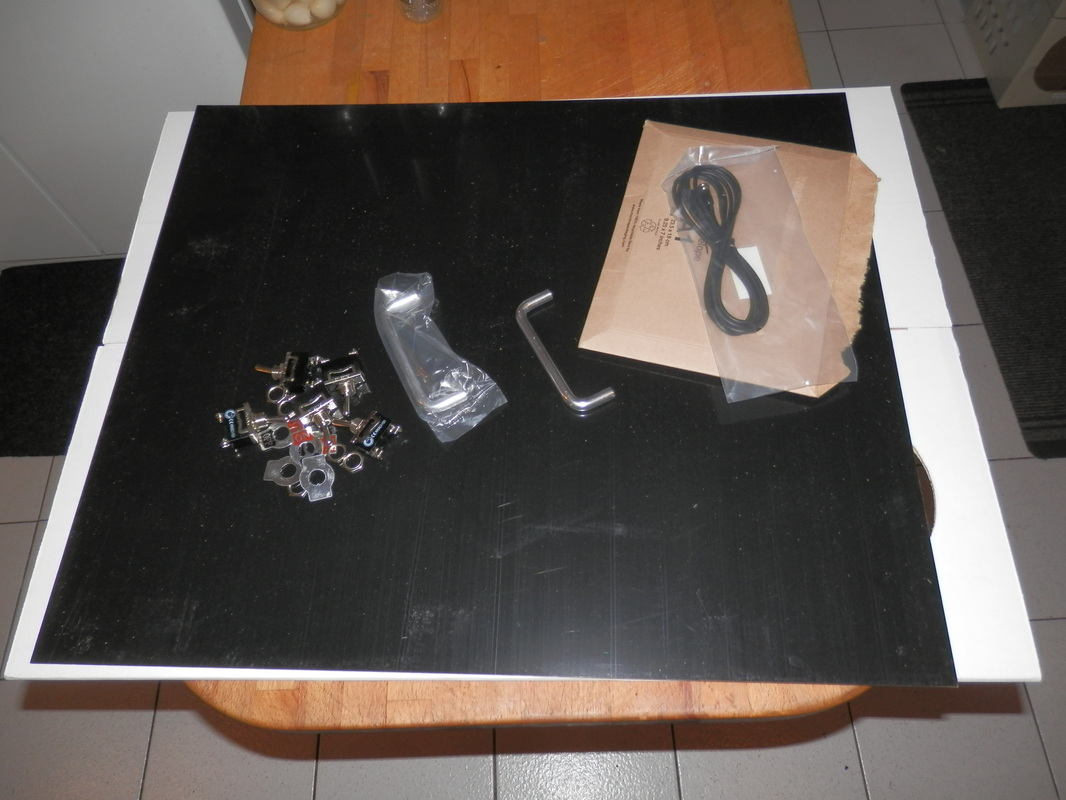
Time for a custom sound system
to include a sd card reader and usb reader
so with the bitd below lets see what we can make.....


poor old suzy is not getting the attention at the moment as the yellow 5 has taken over my time...
but i did set the base idle today and also replaced the ht leads and set the timing to 14 deg.
still haven't fitted the finished sound system
but i did set the base idle today and also replaced the ht leads and set the timing to 14 deg.
still haven't fitted the finished sound system
